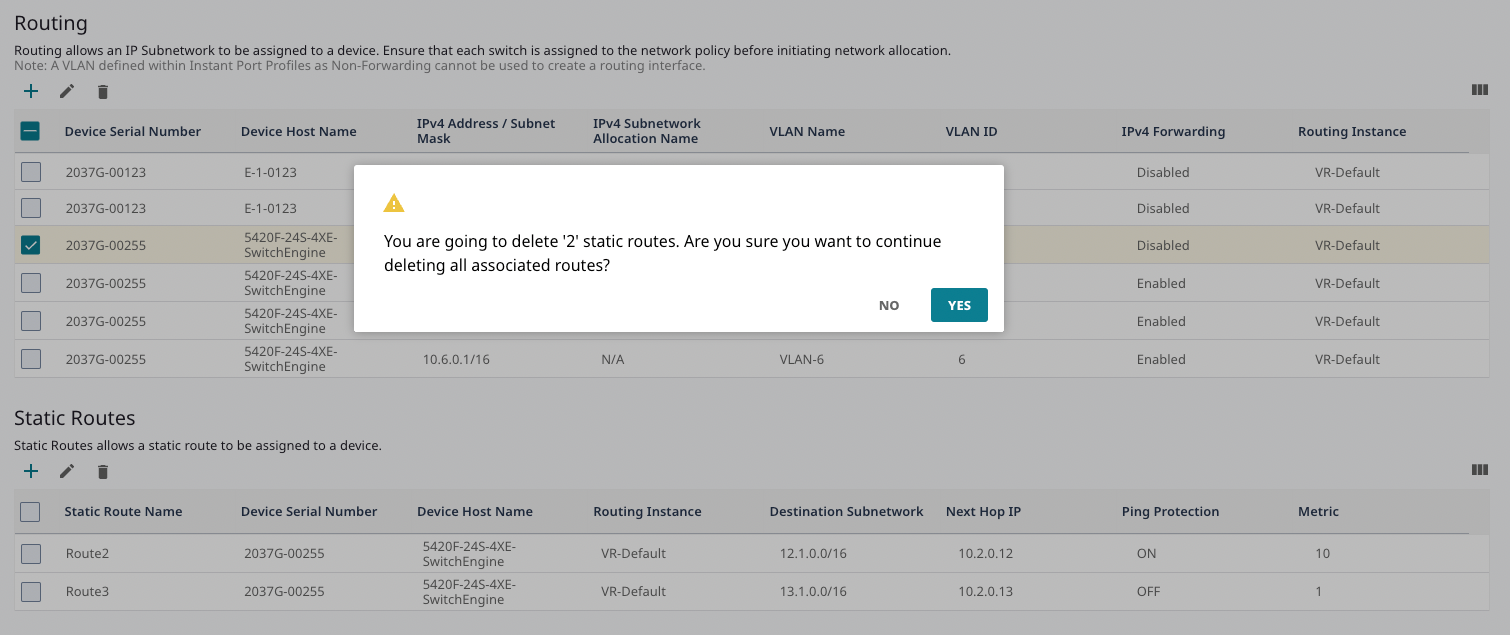
Static route configuration in a Network Policy allows you to create one static route entry and assign that static route entry to multiple devices. The device is required to have the corresponding directly connected interface present in the routing section.
If adding a static route configuration at device-level, then the device is still required to have a corresponding directly connected interface present in the device-level routing section.
To configure Static Routes:
 to
add or
to
add or  to edit.
| Setting | Description |
|---|---|
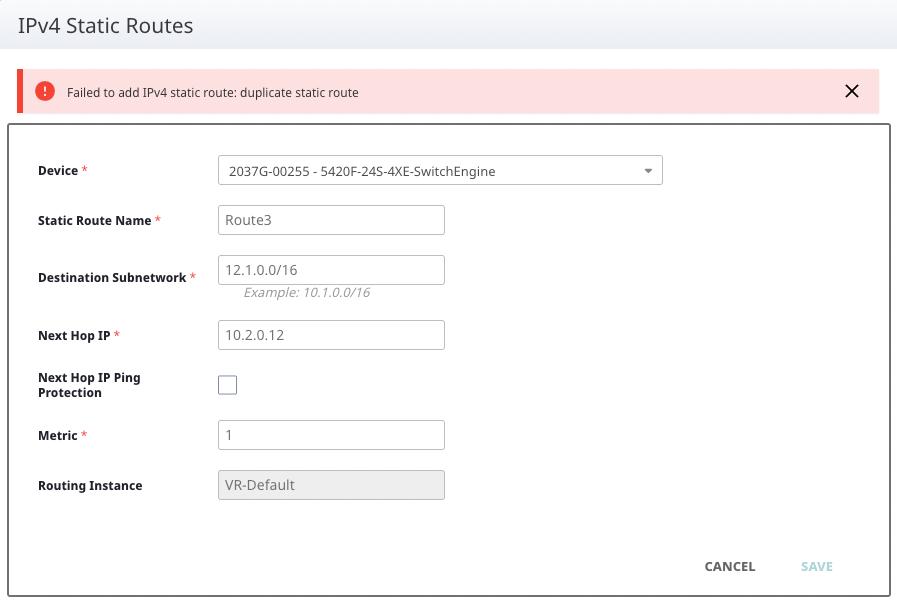
| Device (Mandatory) | Select a Device from the drop-down menu. Only standalone or stack EXOS/Switch Engine switches having this policy assigned can be selected. |
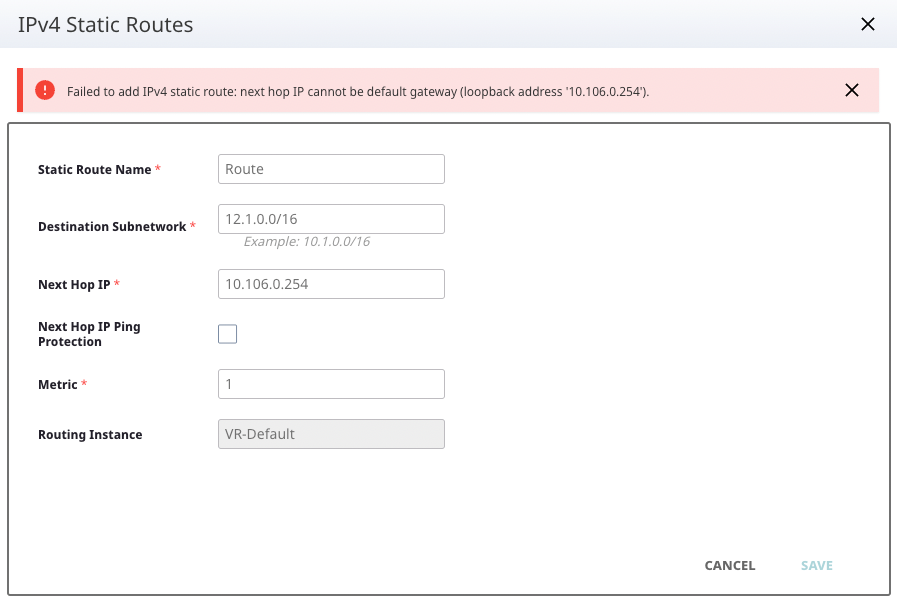
| Static Route Name (Mandatory) | Enter the name of the Static Route. |
| Destination Subnet (Mandatory) | Enter the desired subnet address, such as 10.1.0.0/16. |
| Next Hop IP (Mandatory) | Enter the desired IP Address for the next Hop, such as
123.321.132.312. Must be in the same
subnetwork with at least one of the IPv4 interfaces
configured for the device. Next hop IP cannot be configured
with the same IPv4 address as that of the interface
configured for device. |
| Next Hop IP Ping Protection (Mandatory) | Enable or Disable Next Hop IP Ping Protection. Note: Enabling
Ping Protection will generate a Ping Protection Status
tool tip when viewing your device within .
|
| Metric (Mandatory) | Enter your desired metric value from 1 to 255. |
| Routing Instance (Read-only) | Shows the Routing Instance. Note: IPv4 static routes can
only be created within VR-Default.
|
You cannot configure the same static route twice for the same device. A static route is defined by the following parameters: destination subnetwork, next hop IP, and routing instance.
By selecting a device when creating an IPv4 static route, routing feature allows device-level configuration to be performed from a network policy. The entries from Static Routes table will generate delta only for those devices selected when the IPv4 static routes have been created.

Note
All IPv4 static routes created from a network policy for a specific device are displayed and can be edited also from the device-level page of that device and vice-versa.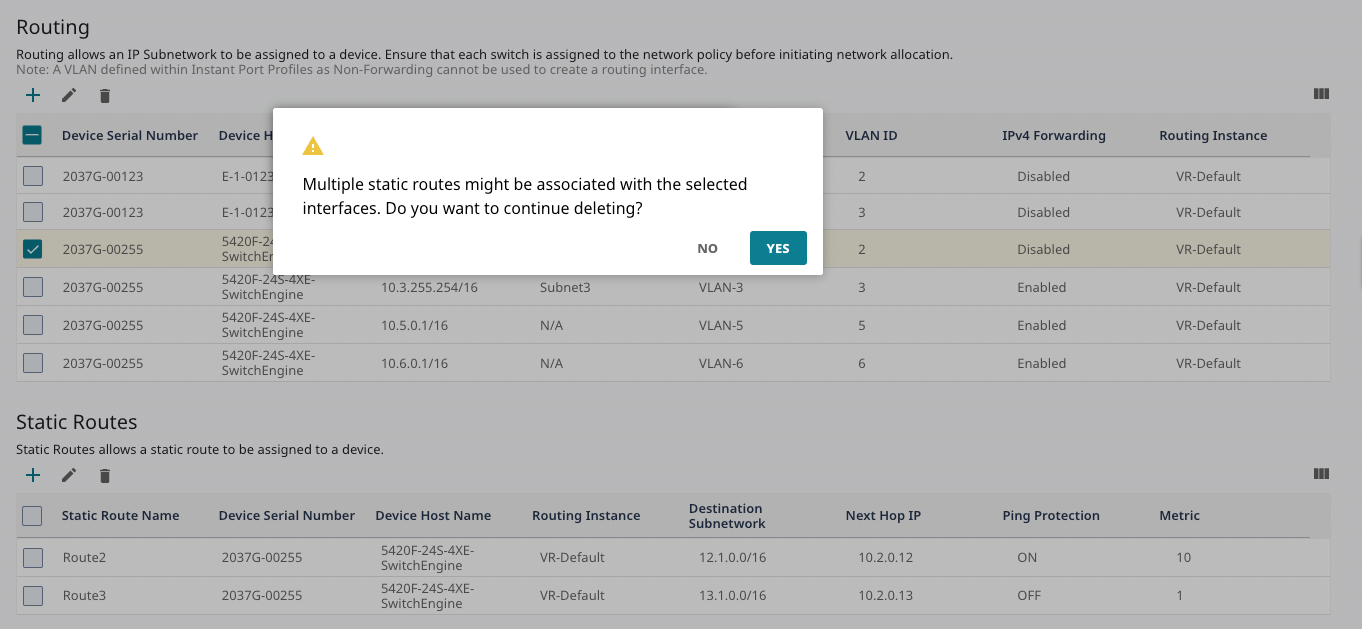
Note
When editing an IPv4 static route, only Next Hop IP Ping Protection and Metric fields can be changed. To change the other fields, create a new static route after deleting the existing one.Note
The default route defined within Management Interface Settings using Static Address option is displayed as read only in IPv4 static routes tables from both the device-level configuration page and network policy. In the device-level configuration page, the default static route name has a hyperlink to Management Interface Settings from the Device Configuration tab.Note
When creating an IPv4 static route, next hop IP cannot be default gateway defined within Management Interface Settings using Static Address option.