. Before you configure the Server Certificate, you must Manage CA Trusted Root Certificates in Universal ZTNA.
Before a Server Certificate can be requested, a Certificate Signing Request (CSR)
needs to be generated on behalf of Universal ZTNA to be signed by the
Certificate Authority or Intermediate Certificate Authority.
Use this task to create a SAN configuration file, and execute a command against that
file to create a new certificate file as well as a new private key file with no
password.
-
Access any Linux environment
using SSH.
-
After accessing the machine,
generate a key file using the following comment.
openssl genrsa -out
                        serverkey.pem 2048
-
Use vi, vim, or another editor
to create a file named san.cnf.
-
Edit the file and then copy in
the text below.
Edit the
[dn] and
[alt_names] fields to
reflect the current environment. Ensure that the FQDN and and DNS name is
reflective of the values shown in the field
section.
[ req ]
default_bits = 2048
prompt = no
default_md = sha256
distinguished_name = dn
req_extensions = req_ext
[ dn ]
CN = radius.va2-uz.extremecloudiq
emailAddress = remote_demo@extremenetworks.com
O = Extreme Networks
OU = Solutions Engineering
L = Salem
ST = New Hampshire
C = US
[ req_ext ]
subjectAltName = @alt_names
[ alt_names ]
DNS.1=radius.va2-uz.extremecloudiq.com
-
Save the file and then run the
following command:
openssl req -new -key
                        -serverkey.pem -out va2-uz-server.csr -config san.cnf
This command will create
a .csr file to be used to
create a new server certificate to be used along with the serverkey.pem file to
update the server certificate in Universal ZTNA.
-
Go back to Microsoft Active
Directory Certificate Services: https://<domain name>/certsrv.
-
Select Request a
Certificate and advanced certificate
request.
-
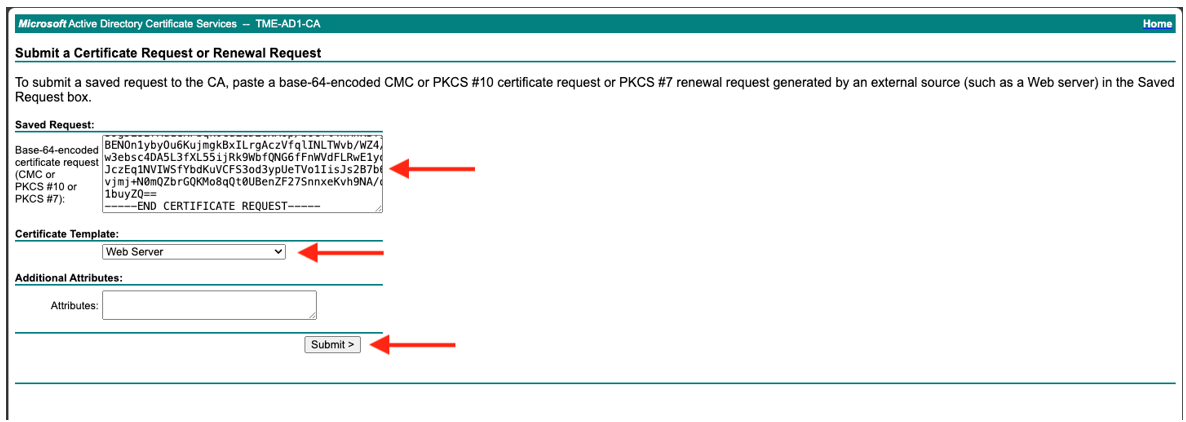
Copy the contents of the CSR
file and paste it into the Save Request
field.
-
Select Web Server from
the template drop-down and select Submit.
-
Once complete, select Base 64 encoded
and Download
Certificate.
-
The certificate request can also
be made using powershell by issuing the following command:
certreq -submit -attrib
                        “CertificateTemplate: WebServer” va2-uz-server.csr
-
Go to Universal ZTNA, select .
-
Within the Server & Intermediate
Certificates section, select
 and select Update Certificate.

Note
Both certificate and key
files must be renamed be renamed using a
.pem
extension before being uploaded.
-
Select Certificate with Embedded
Key or Certificate with Separate Key.
-
To upload the newly created
certificate as well as the key file drag and drop or browse for the file.
-
Select Update.
Validation of the
certificate will take upwards of two minutes to complete. Once this is
accomplished, clients should be able to connect using 802.1X
EAP-TLS.
-
To invalidate RADIUS server
certificates, select and select Invalidate Certificate from the drop-down menu.