AP150W Desktop Bracket Installation Instructions
Install the AP150W desktop bracket (AH-ACC-DSKSTD) using this topic.
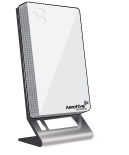
The AP150W is a compact, lightweight AP that can be mounted on a desktop using this desktop bracket kit (AH-ACC-DSKSTD).
Install the AP150W on a Desktop
The following sections describe how to install your AP150Wusing the desktop bracket kit.
Shipping Carton Contents
The AP150W desktop bracket shipping carton contains the following items:
- Read Me First card
- Installation Instructions
- Desktop mounting bracket and one T8 Torx security screw
- You will need a T8 Torx screwdriver to install the security screw. The correct bits are available from Extreme Networks in sets of three (AH-ACC-SEC-BIT-300-100-3PK).
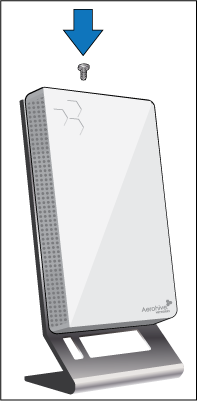
Secure the Bracket to the Surface (Optional)
To secure the AP in place, install the two thread-forming screws through the holes in the foot of the bracket into the horizontal surface.
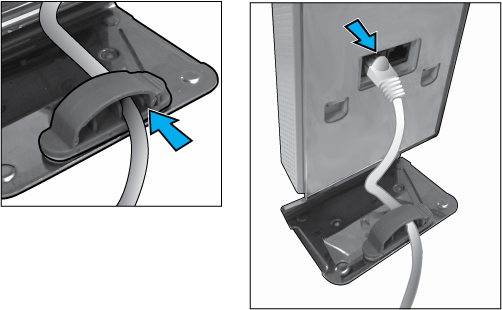
Attach the AP150W and Connect the Cable
Use the following steps to attach the AP to the bracket and connect the cable.
- Attach the AP to the bracket by inserting the two tabs on the bracket into the holes in the back of the device.
- Push the device down gently to seat the tabs. The flange at the top of the bracket fits into the slot at the top back of the device.
- Install the T8 security screw (ships with the device) in the top of the device to secure the unit to the bracket. If you do not have a T8 screwdriver or driver bit, you can order them from Extreme in sets of three (AH-ACC-SEC-BIT-300-100-3PK).
- Open the cable guide by depressing the tab. Feed the Ethernet cable through the cable guide and close the guide.
- Connect the Ethernet cable directly to the back of the AP, as shown in the second illustration above.
Copyright ©
2020
Extreme Networks. All rights reserved. Published March 2020.