Home > Hardware > acc > AP1130 Large Hose Strap Installation Guide

|
AP1130 Large Hose Strap Installation Guide
Read about the large hose strap kit (AH-ACC-1130-STRP-3-15) in this topic. Install a device with the hose strap kit using this topic.
The AP1130 is a multi-channel wireless access point with a watertight chassis that can be deployed in virtually any outdoor setting, including extreme environments.
This guide explains how to install the AP1130 on a pole with a 3" to 15" (76 to 381 mm) diameter using the large hose strap kit (AH-ACC-1130-STRP-3-15).
For more information about the AP1130, see AP1130 Hardware User Guide.
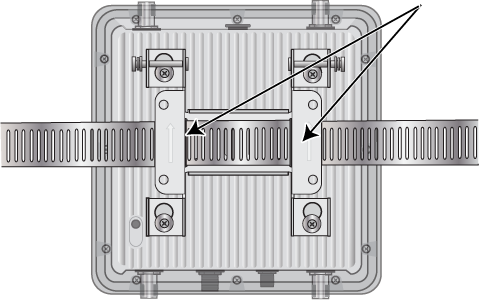
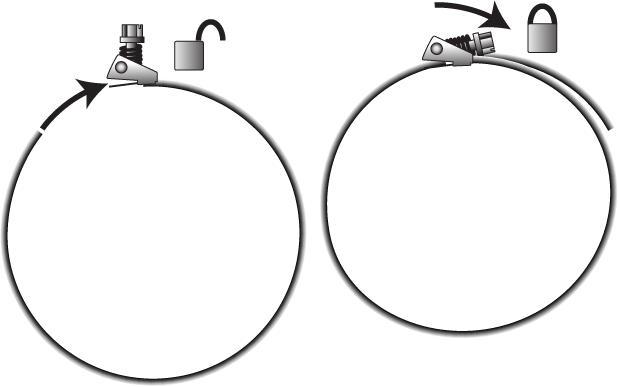
The illustration below shows the large hose strap. You will need a flat-blade screwdriver to tighten the strap. Use this strap in conjunction with the installation instructions that shipped with your AP.

Read and follow the safety information in the installation instructions that shipped with the AP1130.
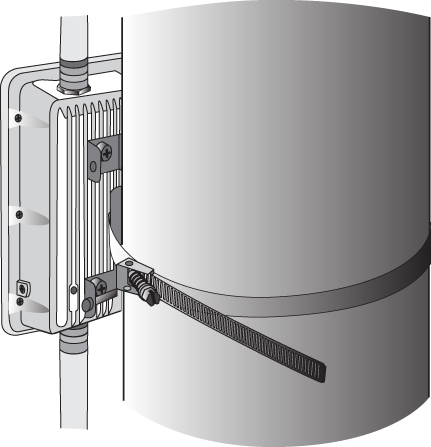
Follow these steps to mount the AP1130 on a large pole (3" to 15" or 76 to 381 mm) diameter using this strap.
Copyright © 2020 Extreme Networks. All rights reserved. Published March 2020.