Home > Hardware > acc > AP1130 Marine-Grade Bracket Installation Guide

|
AP1130 Marine-Grade Bracket Installation Guide
Read about the AP1130 marine-grade mounting bracket (AH-ACC-1130-MRN-KIT) in this topic. Install a device with the marine-grade bracket using this topic.
The AP1130 is a multi-channel wireless access point with a watertight chassis that can be deployed in virtually any outdoor setting, including extreme environments. To prevent corrosion in environments where the device is exposed to salt water, use the marine-grade bracket to install your device on a mast or pole with a diameter of 1" and 2.75" (25 to 70 mm). If you need to mount your device on a pole with a diameter of 2.75" up to 15" (76 to 381 mm), use the marine-grade large hose strap kit (AH-ACC-1130-STRP-MRN-3-15). See AP1130 Marine-Grade Large Hose Strap Installation Guide.
When installing your device, follow the safety cautions and warnings in the AP1130 Hardware User Guide.
Required Tools and Accessories
This section explains how to mount an AP1130 to a horizontal or vertical pole or flat surface in a marine environment.
To install your AP1130, you will need the following accessories (ordered separately) and tools:
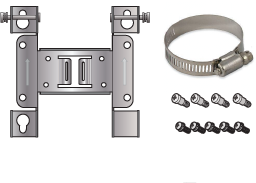
Shipping Carton Contents
The AP1130 marine-grade bracket kit ships with the following components:
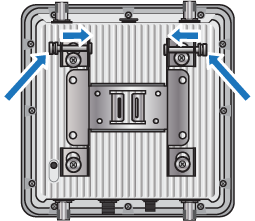
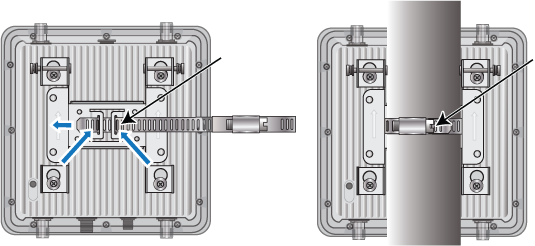
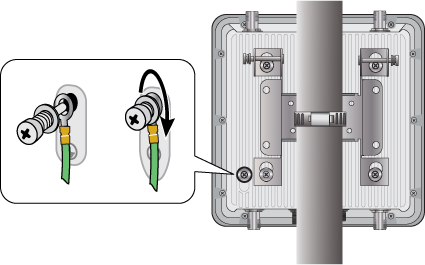
Vertical or Horizontal Pole Mount
The following steps explain how to mount the AP1130 on a vertical or horizontal pole. The pole can be from 1.0 - 2.75 inches (25 to 70 mm) in diameter. You can also order a marine-grade hose strap (AH-ACC-1130-STRP-MRN-3-15) to fit poles with a 3" to 15" (76 to 381 mm) diameter (see AP1130 Marine-Grade Large Hose Strap Installation Guide).
The illustration on the left below shows the bracket installed for a vertical pole mount. The image on the right shows the bracket installed for a horizontal pole mount.
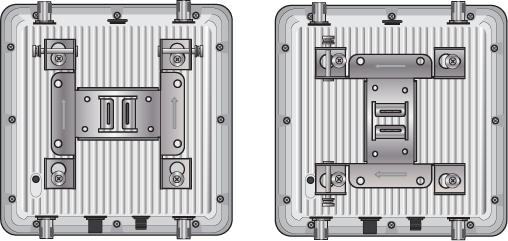
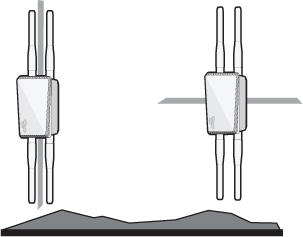
Correct Alignment for Horizontal Mounts
When attaching the AP1130 to a horizontal pole, such as the arm of a street light, make sure that the face of the device is perpendicular to Earth for optimal RF coverage.
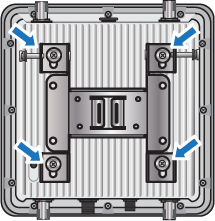
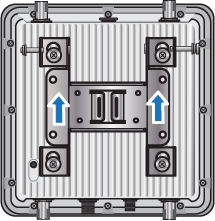
Flat Surface Installation
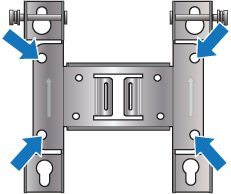
The following steps explain how to mount the AP1130 on a flat surface or wall. You will need the mounting bracket and the four bolts without washers in the plastic bag labeled "Wall Mount". You will also need four mounting screws and wall mount anchors (not included) that are appropriate for the wall type where you are installing the unit.

Note
If you are not installing the device on a concrete wall, you can use threaded screws and plastic wall anchors (not supplied) to mount the device.Copyright © 2020 Extreme Networks. All rights reserved. Published March 2020.