Home > Reference > guides > HiveManager NG Virtual Appliance QuickStart Guide

|
ExtremeCloud IQ Virtual Appliance QuickStart Guide
This guide describes how to install a IQ Virtual Appliance.
The IQ Virtual Appliance is a VM (virtual machine) that you can download in an .ova (Open Virtual Appliance) file format and deploy on VMware ESXi hypervisor running on a physical device on your corporate network.
You also need to install VMware vSphere Client on your management system, and use it to access the ESXi host and IQ Virtual Appliance. Note that computers running Windows support vSphere Client.
Although scalability depends on the number of devices, the number of clients per device, the number of applications that are accessed, and other factors, the values stated here provide sufficient performance margin to allow for additional devices in a typical deployment.
Low-Capacity Virtual Machine Recommendations
Recommended minimum hardware requirements for deploying a total of 500 APs or switches:
| Low-capacity Virtual Machine Recommendations(up to 500 devices) |
|---|
| Xeon E3-1220 v5, 3.0GHz, 8MB cache or better CPU |
| 4 CPU Cores, and 4 Threads |
| 24 GB RAM |
| SSD (solid state drive) |
| 300 GB of Storage Capacity |
High-Capacity Virtual Machine Recommendations
The IQ Virtual Appliance OVA defaults to the high-capacity version.
Recommended minimum hardware requirements for deploying a total of 5000 APs or switches:
| High-capacity Virtual Machine Recommendations(up to 5000 devices) |
|---|
| Xeon E5-2620 v4, 2.1GHz, 20MB cache or better CPU |
| 8 CPU Cores, and 16 Threads |
| 32 GB RAM |
| SSD (solid state drive) |
| 300 GB of Storage Capacity |

Note
IQ Virtual Appliance does not support storage area networks (SAN).
The 64-bit IQ Virtual Appliance software is available for Extreme Networks customers on the Extreme Networks Support Portal. After you log in, navigate to Software Downloads > Current Software Releases to find the current version of IQ Virtual Appliance.
Log in and download the IQ Virtual Appliance OVA (Open Virtual Appliance) package to your local directory, and then follow the VMware documentation for instructions on how to import the .ova file to your virtual machine.
The FQDN (fully qualified domain name) is how the DNS server resolves the IQ Virtual Appliance address. After installation, you can use the management system to modify the IQ Virtual Appliance settings.
Before you begin, use the following checklist to make sure that you have all the items needed to complete your virtual appliance installation:
On initial setup, IQ Virtual Appliance is a DHCP client and requests an IP address from your DHCP server. You can change this address—and the other information below—later in the Management System (see ExtremeCloud IQ Virtual Appliance Management Console).
The procedure for deploying the Hierarchical ExtremeCloud IQ Virtual Appliance is the same as in deploying the IQ Virtual Appliance.
Use the VMware vSphere Client to install the OVA package onto your virtual machine.
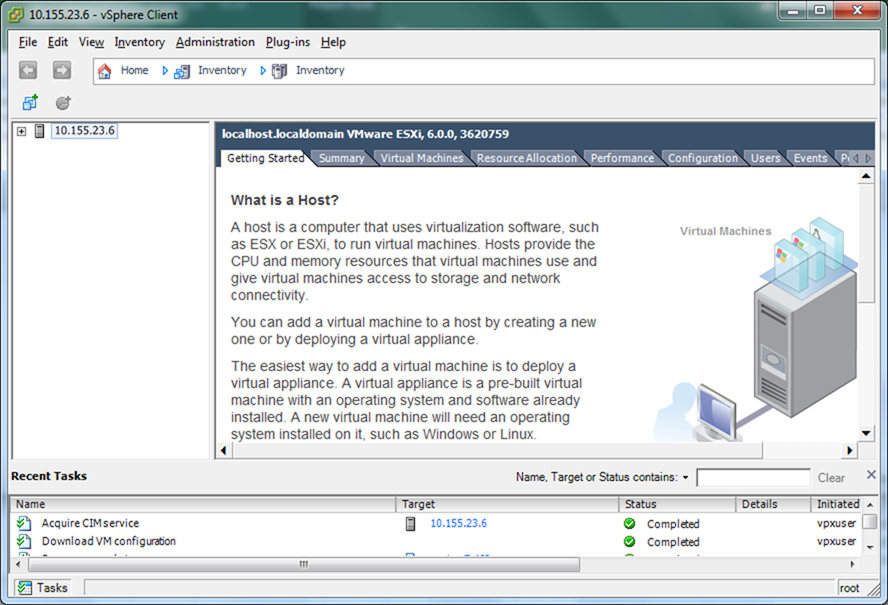
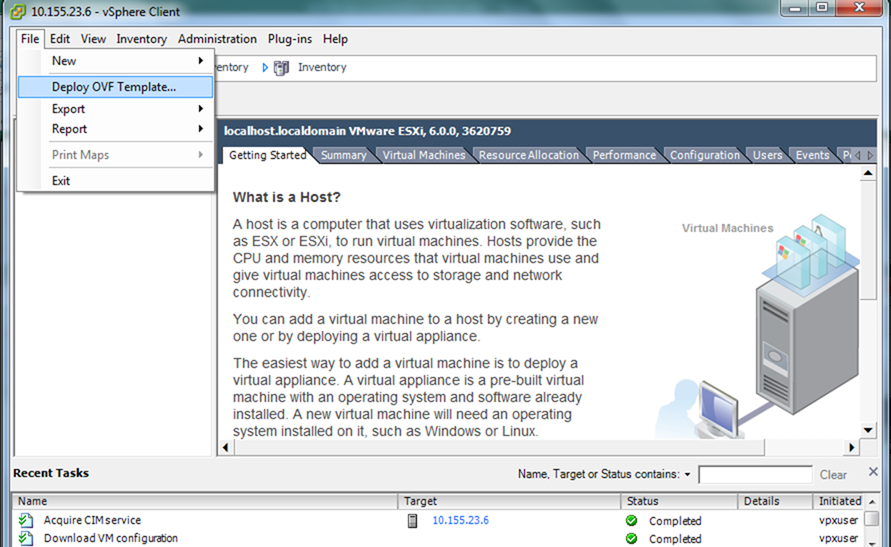
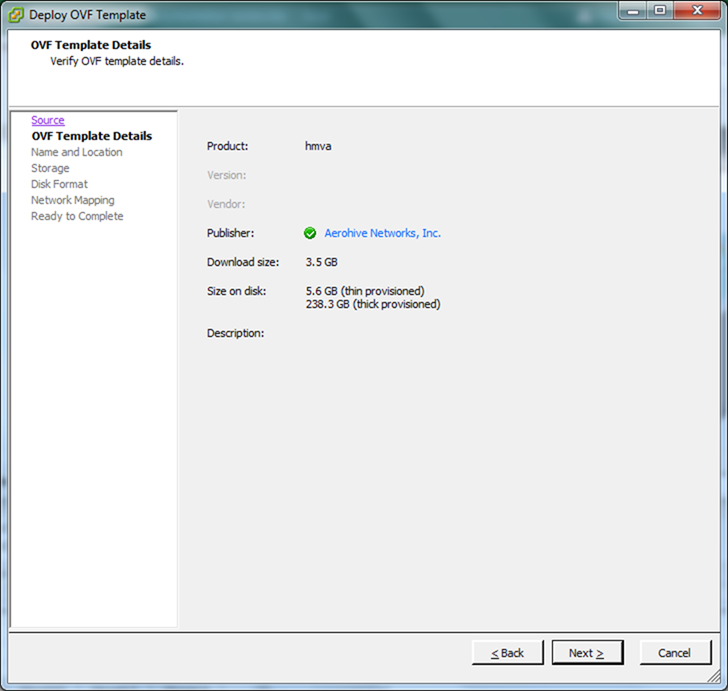
The Deploy OVF Template wizard launches and guides you through the following steps for deploying an OVF template or an OVA package.
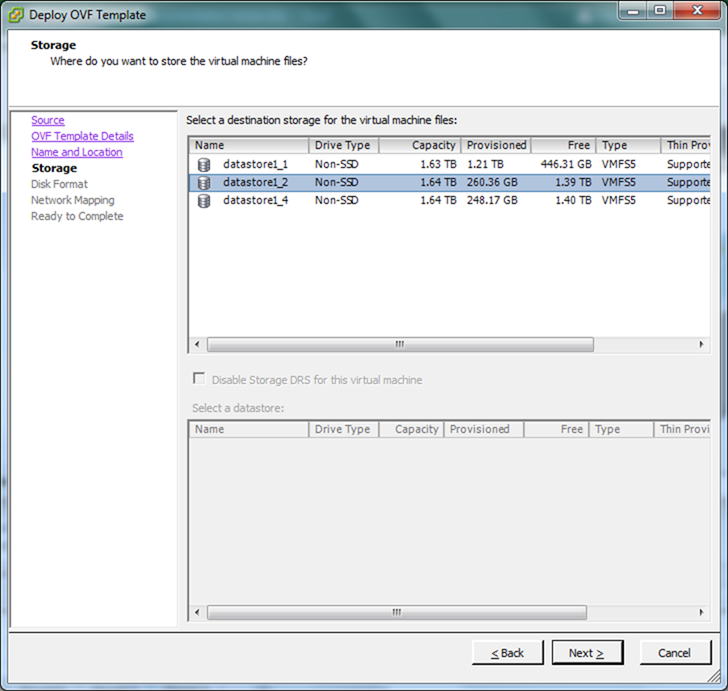
Accept or change the current datastore disk format and disk space in gigabytes, select the provisioning option, and then select Next.
Make sure you select a data store that is large enough for the virtual machine and all of its virtual disk files. You can also choose whether you want the storage to be thin provisioned or thick provisioned.
After you make your selection, select Next.
Note
It might take up to 30 minutes for the ExtremeCloud IQ login prompt to appear, depending on the speed of the server. Please note that a progress bar is not displayed while the server is starting up. 
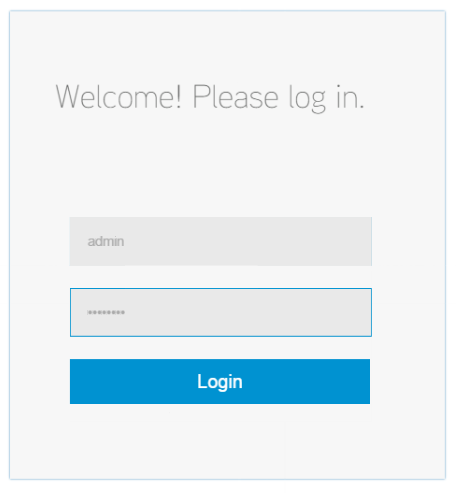
Log in to IQ Virtual Appliance through your Web browser using the following default credentials:
ExtremeCloud IQ: admin
Password: aerohive
After the IQ Virtual Appliance processes have started, you can proceed to the IQ Virtual Appliance four-step workflow that includes the following:
For detailed information about the above workflow, see Configuring the IQ Virtual Appliance online Help.
Use the procedure contained in the entitlement key email to install the entitlement key into ExtremeCloud IQ.
You can either upgrade IQ Virtual Appliance manually (as described above) or use the Auto Check method which is on by default. When IQ Virtual Appliance uses the auto check method, the software checks for upgrades every night. When an upgrade is available, it is downloaded onto your virtual machine and a notice appears on the banner indicating a new release is available.
Note
This upgrade method is available on software version 11.9.3.3 and later.To upgrade with the auto check method, do the following:
Copyright © 2020 Extreme Networks. All rights reserved. Published March 2020.