Home > Reference > guides > ExtremeCloud IQ Multi-VM Virtual Appliance QuickStart Guide

|
ExtremeCloud IQ Multi-VM Virtual Appliance QuickStart Guide
This guide describes the installation of Hierarchical ExtremeCloud IQ virtual appliance; a solution designed for large-scale deployments of many thousands of devices controlled and managed by your organization. The solution runs on multiple VMs (virtual machines), and is supported by ExtremeCloud IQ.
Extreme Networks also supports a smaller capacity solution on a single VM that can manage up to 2,000 devices. For more details, see HiveManager NG Virtual Appliance QuickStart Guide.
Before you can install Hierarchical ExtremeCloud IQ virtual appliance, you must first install VMware vCenter 6.0 or later. This application is required to configure your IP address, DNS, and host name for your virtual appliance.
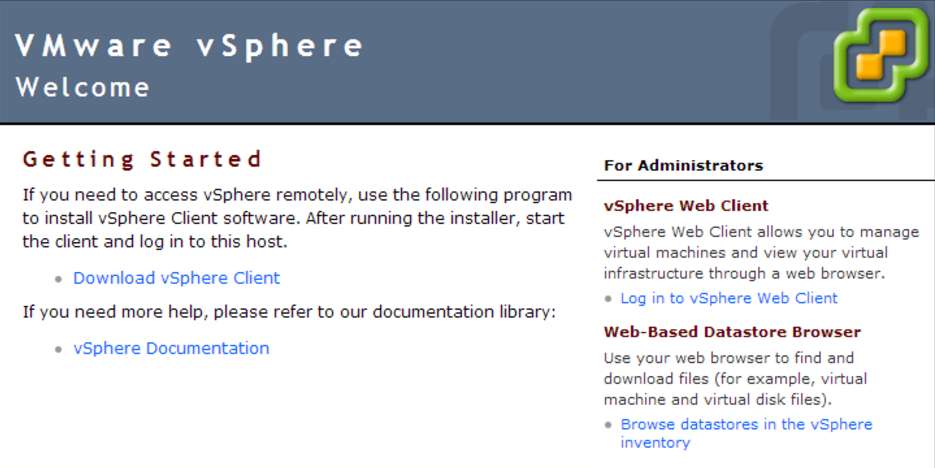
In addition, you must download, in an .ova (Open Virtual Appliance) file format, a basic image package from Extreme Networks, and deploy the VMware ESXi hypervisor running on a physical device on your corporate network. Also, you must install VMware vSphere Client on your management system in order to access vCenter and the Hierarchical ExtremeCloud IQ virtual appliance.
This deployment procedure assumes that you have already installed VMware vCenter 6.0 or later on hardware that meets the minimum requirements below.

Note
Use the vSphere Essentials Kit which includes vCenter Server Essentials. You can obtain it by visiting the VMware web store: http://store.vmware.com. Screen shots appearing in this topic reflect the vCenter 5.5 hypervisor.vCenter 6.0 or later
ESXi Server
vSphere Client
Recommended minimum hardware requirements for deploying a total of 500 APs or switches:
| Low-capacity Virtual Machine Recommendations(up to 500 devices) |
|---|
| Xeon E3-1220 v5, 3.0GHz, 8MB cache or better CPU |
| 4 CPU Cores, and 4 Threads |
| 20 GB RAM |
| HDD (hard disk drive) |
| 1 TB of Storage Capacity |
High-Capacity Virtual Machine Recommendations
The OVA defaults to the high-capacity version.
Recommended minimum hardware requirements for deploying a total of 5000 APs or switches:
| High-capacity Virtual Machine Recommendations(up to 5000 devices) |
|---|
| Xeon E5-2620 v4, 2.1GHz, 20MB cache or better CPU |
| 8 CPU Cores, and 16 Threads |
| 24 GB RAM |
| SSD (solid state drive) |
| 1 TB of Storage Capacity |
Although scalability depends on the number of devices, the number of clients per devices, the number of applications that are accessed, and other factors, the values stated here provide sufficient performance margin to allow for additional devices in a typical deployment.
Recommended minimum hardware requirements for deploying up to 20,000 APs and switches:
Single dedicated host, two or more recommended
Processors: 16 core
Memory: 128 GB RAM
Disk: 6 TB Hard Drive
Recommended dedicated physical hosts: two or more for better load balancing and high availability.
The FQDN (fully qualified domain name) is how the DNS server resolves the IQ Virtual Appliance address. The DNS server and FQDN are specified in the OVA package. After installation, you can use vCenter to modify the IQ Virtual Appliance settings through vApp Options.
Before you begin, use the following checklist to make sure that you have all the items needed to complete your virtual appliance installation:

|
Items | Notes |
|---|---|---|

|
.ova file | Download the files from the link provided |
|
|
Network Setup for your OVA deployment | |
|
|
IP address defined for the ExtremeCloud IQ Virtual Machine | |
|
|
IP address of the default gateway | |
|
|
FQDN (fully qualified domain name) | |
|
|
IP address for the DNS server | |
|
|
Domain name or IP address of an SMTP server |
The system is grouped into eight clusters plus the hadoop cluster managed by Cloudera Manager. Each of the eight clusters requires at least one virtual machine. Extreme Networks recommends that each cluster contains a minimum of two virtual machines, except for the load balancer cluster. The OVA Deployment Plan below provides an example deployment scenario.
OVA Deployment Plan
The tables below show an example deployment plan. In this scenario, you plan on deploying two virtual machines in each of the clusters except for one virtual machine for the load balancer cluster.
| Multi-VM System Manager | OVA | Notes |
| System Management Console and GUI | pc-system-manager |
| ExtremeCloud IQ Cluster | OVA | Notes |
| Load Balancer | pc-load-balancer | |
| Front End | pc-core | |
| Back End | pc-core | |
|
Network Communication |
pc-core | |
| Messaging | pc-messaging | |
| Cache | pc-cache | |
| Rdb | pc-db | |
| IDM | pc-idm | Optional |
OVA Summary
The specific number of required OVAs are listed below.
| Quantity | OVA | Notes |
| 1 | pc-system-manager | |
| 1 | pc-load balancer | |
| 6 | pc-core | |
| 2 | pc-messaging | |
| 2 | pc-cache | |
| 2 | pc-db | |
| 14 nodes total |
Login to the VMware vCenter Single Sign-On page. vCenter is required to configure your IP address, DNS, and host name for your virtual appliance. The Hierarchical ExtremeCloud IQ virtual appliance consists of multiple VMs (virtual machines) that you can download in an .ova (Open Virtual Appliance) file format and deploy on VMware ESXi hypervisor. You also need to install VMware vSphere Client on your management system, and use it to access the vCenter and the Hierarchical ExtremeCloud IQ virtual appliance.
Use the VMware vSphere Web Client to install the Hierarchical ExtremeCloud IQ virtual appliance onto your virtual machines. The process is similar to that of deploying the IQ Virtual Appliance. The main task is to use the .ova files provided by Extreme Networks to set up and deploy the OVF Template in vCenter.
Note
You deploy an OVF (Open Virtualization Format) template from an OVA (Open Virtual Appliance) directory copied from the Customer Support Portal. An OVF template is a distribution package of several files contained in a single directory that comprises an XML descriptor, metadata, and other information for the OVF package. This directory is distributed as an OVA package that contains the OVF directory within a .tar archive file. An .ova file contains a virtual machine that is prepackaged and ready for deployment.To view more details on the initial set up and OVF template deployment, select HiveManager NG Virtual Appliance QuickStart Guide.
Hierarchical ExtremeCloud IQ Virtual Appliance System Organization
The following list describes the OVA files that must be deployed using VMware vSphere Web Client. Each node has a corresponding IP address that is visible on the Summary page of the vSphere Web Client console. You must first deploy the system manager, or pc-system-manager.ova to vCenter. After you have deployed this first image, enable the virtual machine. After the virtual machine starts, continue to deploy the remaining OVA images.
Note
The clusters do not need to be set up in sequence. For example, you can start at the top of the table and set up the Load Balancer first, or you can start at the bottom of the table and set up Rdb.VMware provides detailed steps that describe how to deploy OVAs to vCenter.
Enter the IP address associated with each node as displayed on the vSphere web client page. The first OVA you must install is the System Manager and Web UI. In the screen capture below, the OVA name is, "haitian-pc-controller-gigned-0".
Note
Alternatively, "pc-system-manager-signed.ova". 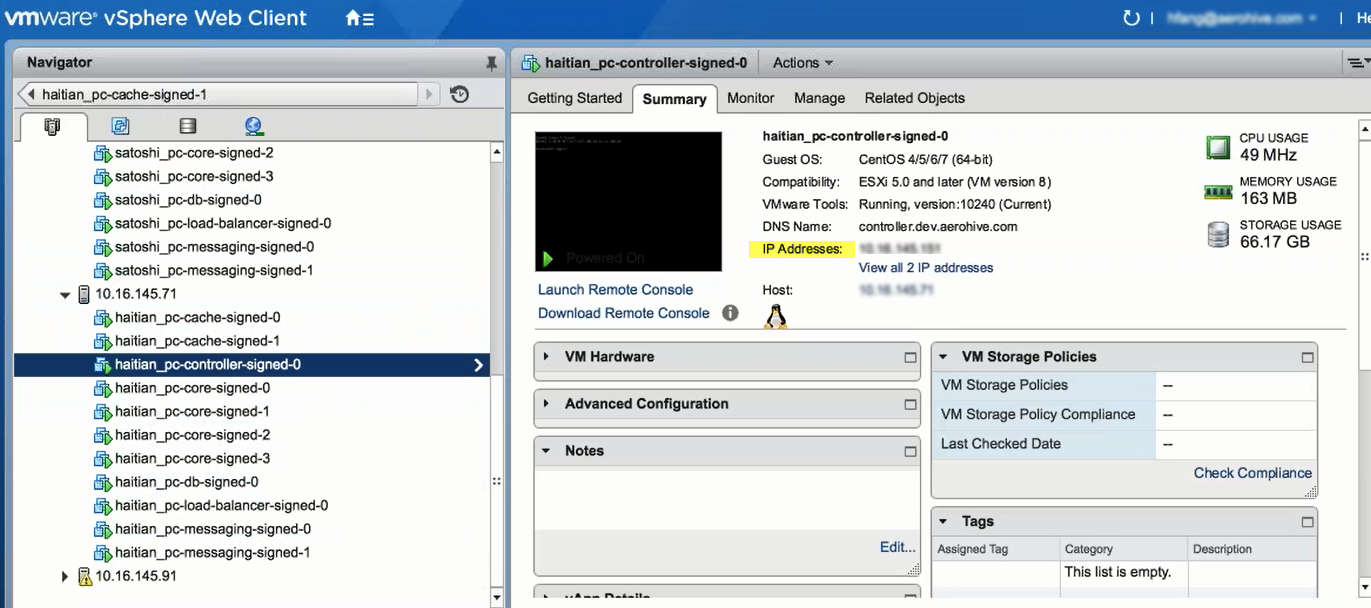
Note
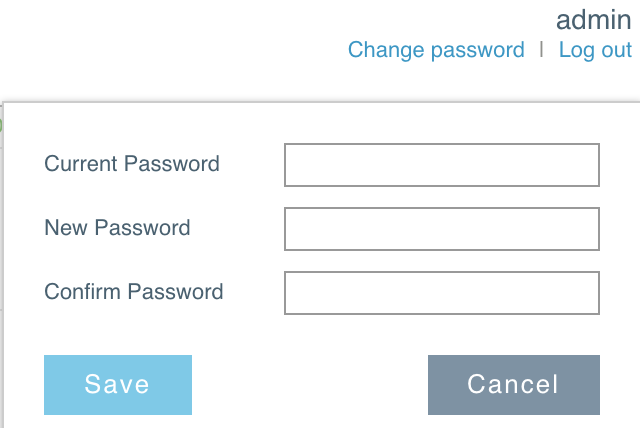
You can change the default password after you log in. At the top right of the My System page, select Change password. After you enter the information, select Save.

Note
If you inadvertently added a wrong node, you can remove it and then add it to the correct cluster. To remove the node from a cluster, select the cluster title, and then select Action. After the dialog box appears, select Remove. 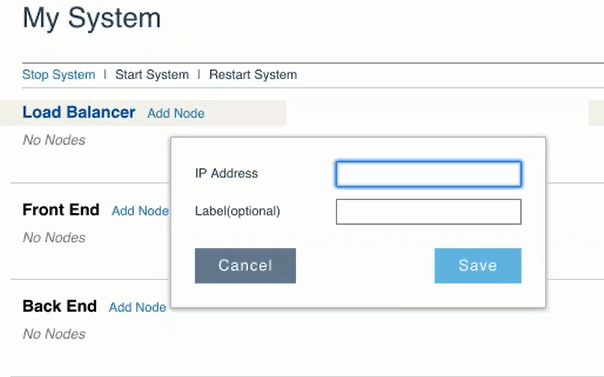
Note
You must wait for up to a minute before the node is added. Once the dialog box disappears, you can continue with adding each subsequent node in the same way. 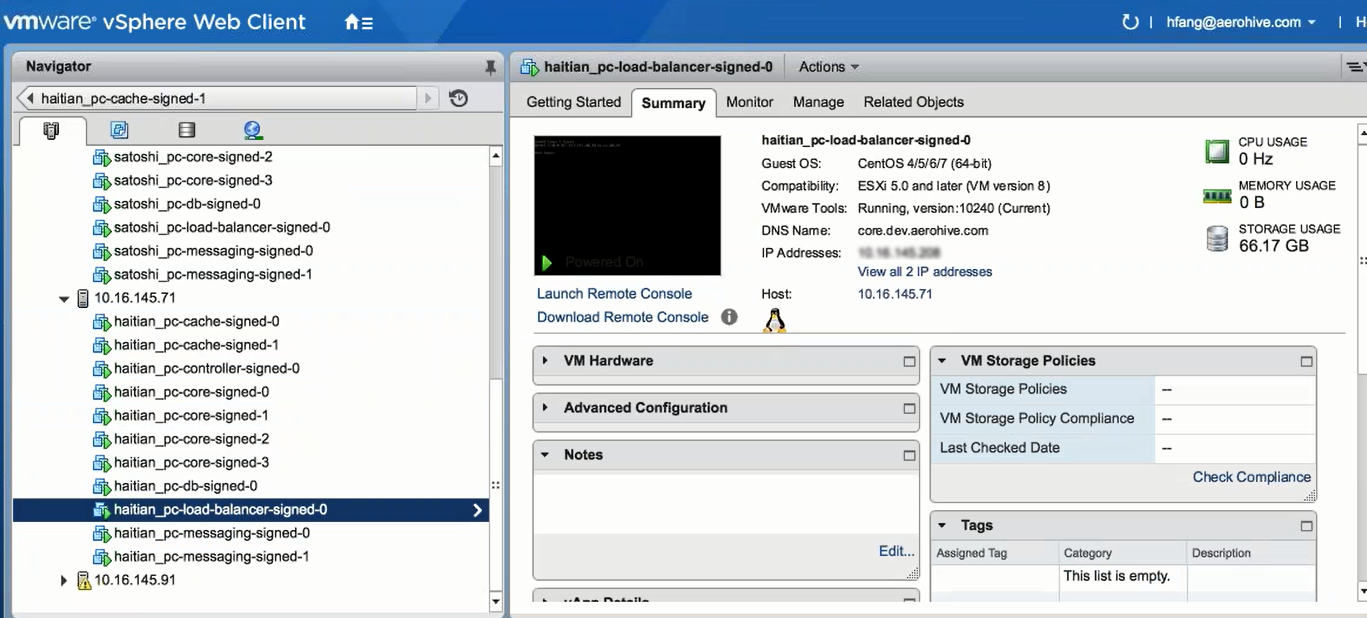
After the Load Balancer node is added, you can see the IP address that you entered appear beneath the Load Balancer title. Continue to add nodes to the appropriate cluster until you have completed this process.
Note
As you hover your cursor over each of the vertical segments (representing system components), you can see a brief description where previously, there was none. This means that the components are communicating properly. Each of the nodes can be added by copying the IP addresses from their corresponding .ova images. 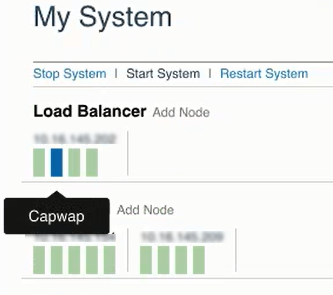
Continue with adding nodes in sequence. For the Front End, copy the IP addresses corresponding to pc-core-signed-0 and pc-core-signed-1. Continue adding nodes until you are finished with Rdb. For Hadoop, enter the Hostname, User name and Password. This is the last node to add.

Note
It might take up to 60 minutes for all the components added in My System to be ready, depending on the speed of the server. 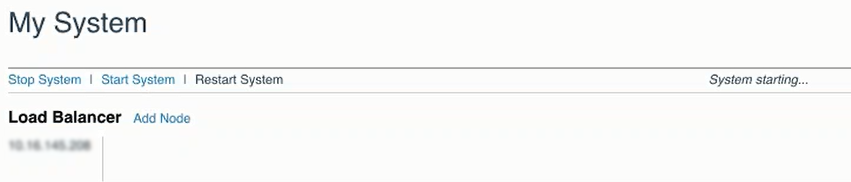
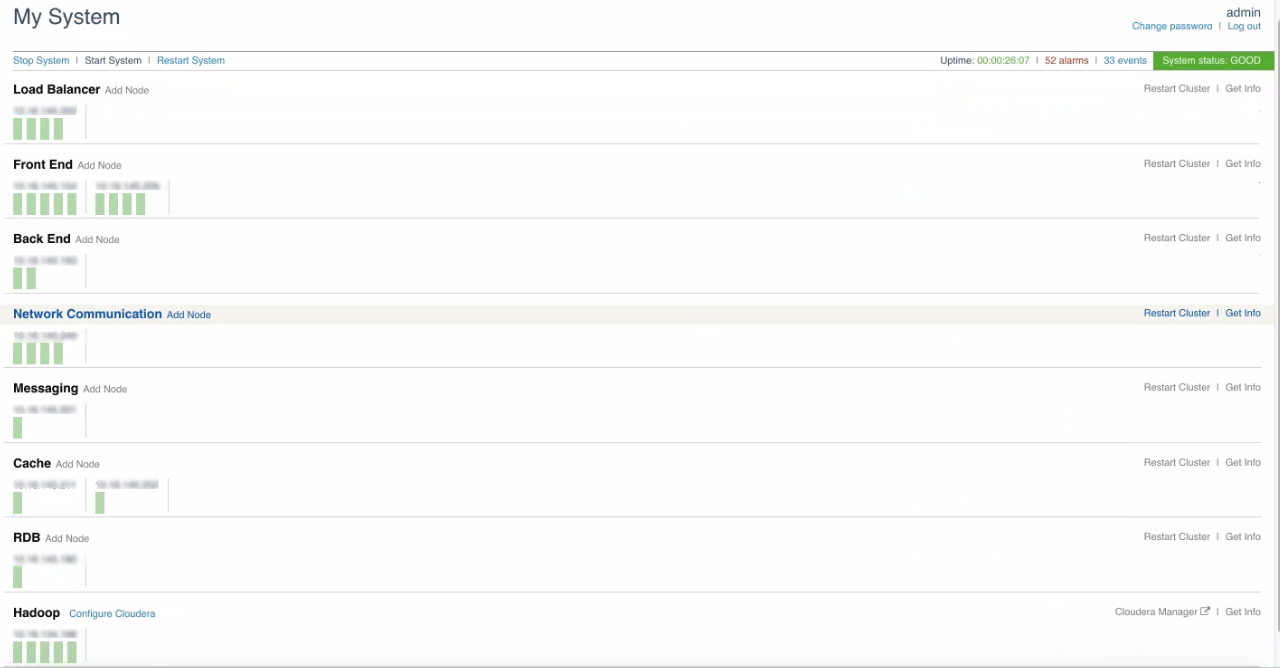
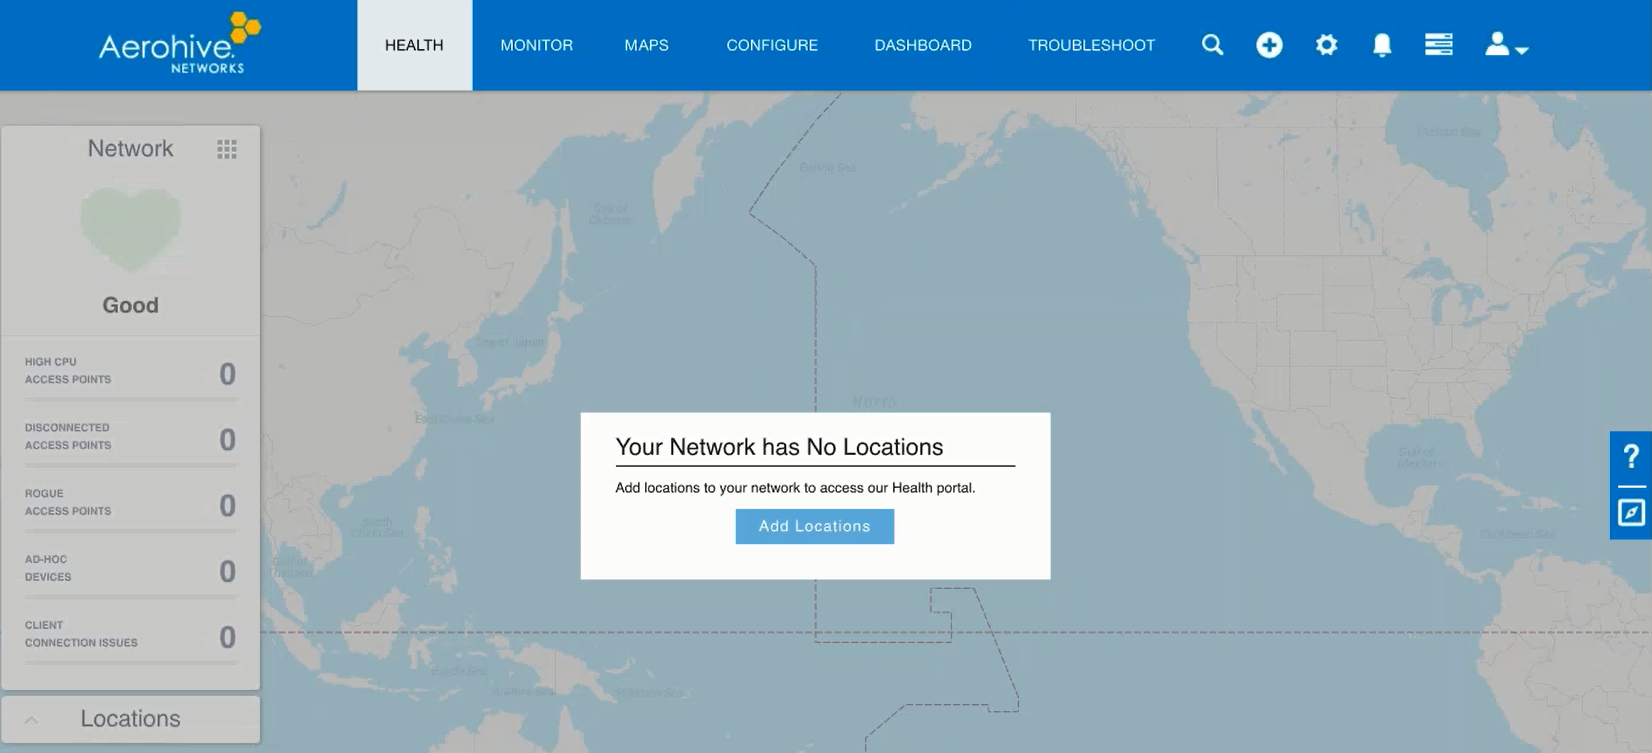
Once the system components are set up and running normally; indicated by the color green on the individual components, and the System status displays: GOOD, you can configure ExtremeCloud IQ. Simply use the IP address of the Load Balancer and enter your login credentials to set up your account.
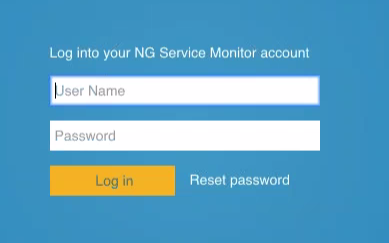
Log in to ExtremeCloud IQ through your Web browser using the following default credentials:
ExtremeCloud IQ: admin
Password: aerohive

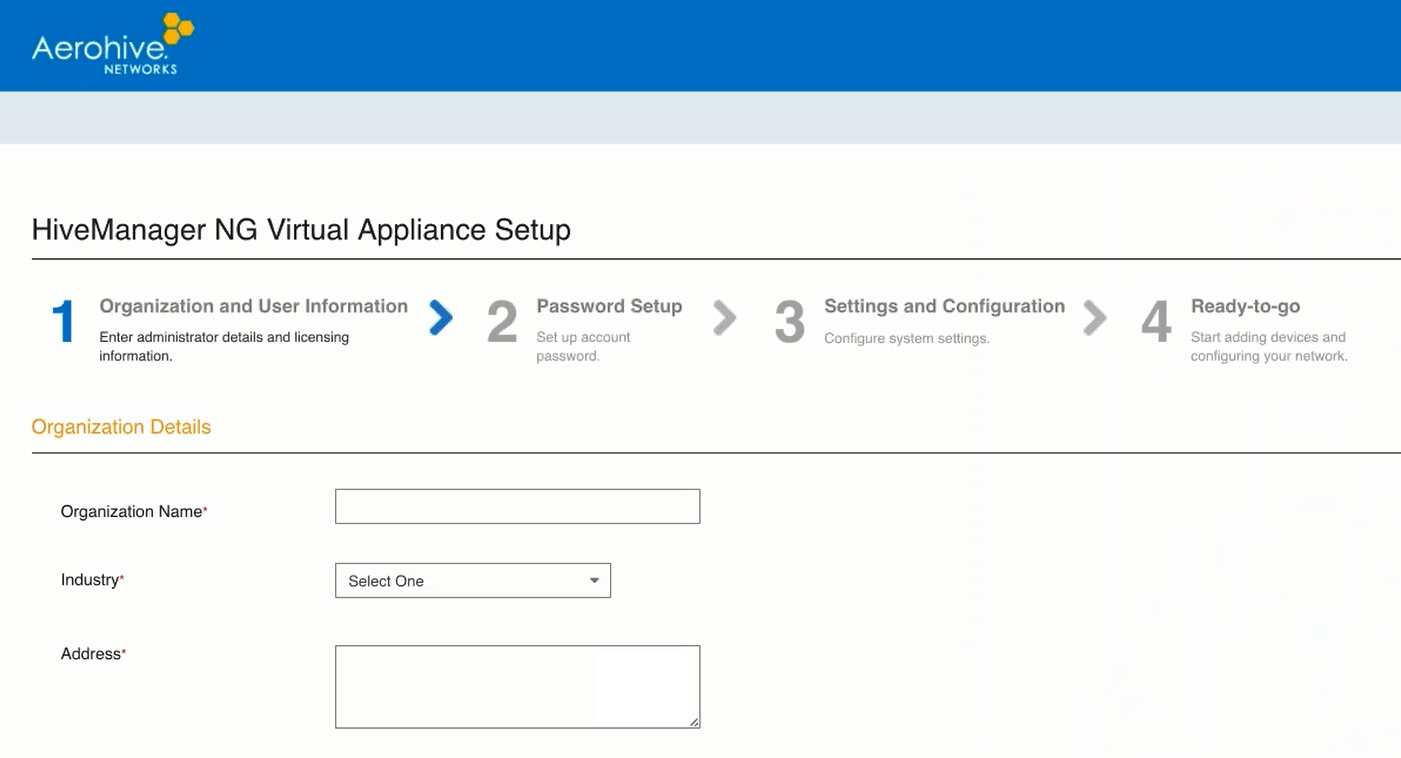
After the Hierarchical ExtremeCloud IQ Virtual Appliance processes have started, you can proceed to the IQ Virtual Appliance four-step workflow that includes the following:
Use the procedure contained in the entitlement key email to install the entitlement key into ExtremeCloud IQ.
Copyright © 2020 Extreme Networks. All rights reserved. Published March 2020.