A profile can contain specific guest access (captive portal), DHCP server and RADIUS server configurations. These access, IP assignment and user authorization resources can be defined uniquely as profile requirements dictate.
To define or override a profile's services configuration:

Note
A blue override icon (to the left of a parameter) defines the parameter as having an override applied. To remove an override go to the Basic Configuration section of the device and click Clear Overrides. This removes all overrides from the device.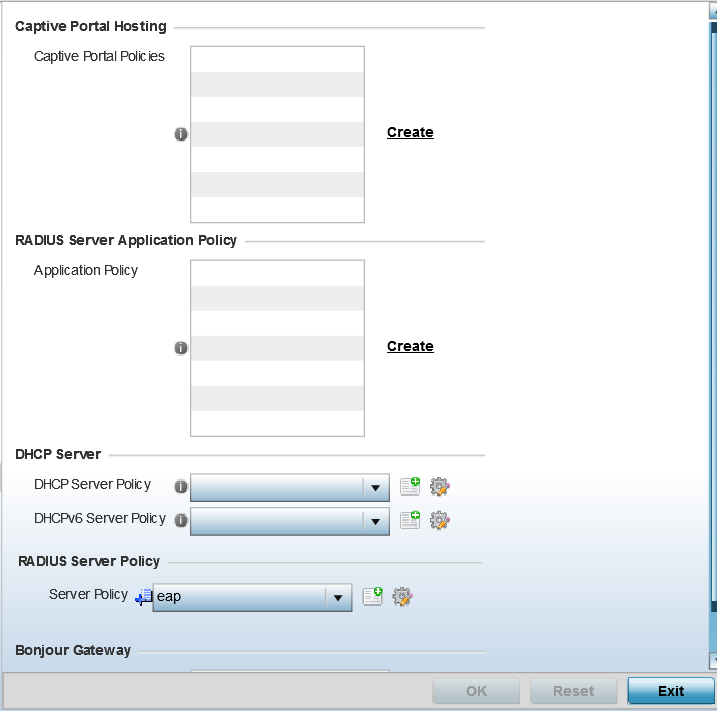
A captive portal is guest access policy for providing temporary and restrictive access to the network. The primary means of securing such guest access is a captive portal.
A captive portal configuration provides secure authenticated access using a standard Web browser. A captive portal provides authenticated access by capturing and re-directing a user's Web browser session to a captive portal login page where the user must enter valid credentials to access to the network. After the administrator has logged into the captive portal, additional Agreement, Welcome, and Fail pages provide the administrator with several options for the captive portal‘s screen flow and user appearance.
Select an existing captive portal policy, use the default captive portal policy, or click the Create link to create a new configuration that can be applied to this profile. For more information, see Configuring Captive Portal Policies.
Bonjour Forwarding Policy enables discovery of services on VLANs which are not visible to the device running the Bonjour Gateway. Bonjour forwarding enables forwarding of Bonjour advertisements across VLANs to enable the Bonjour Gateway device to build a list of services and the VLANs where these services are available.
 Print
this page
Print
this page Email this topic
 Feedback
 View PDF
 Download EPUB