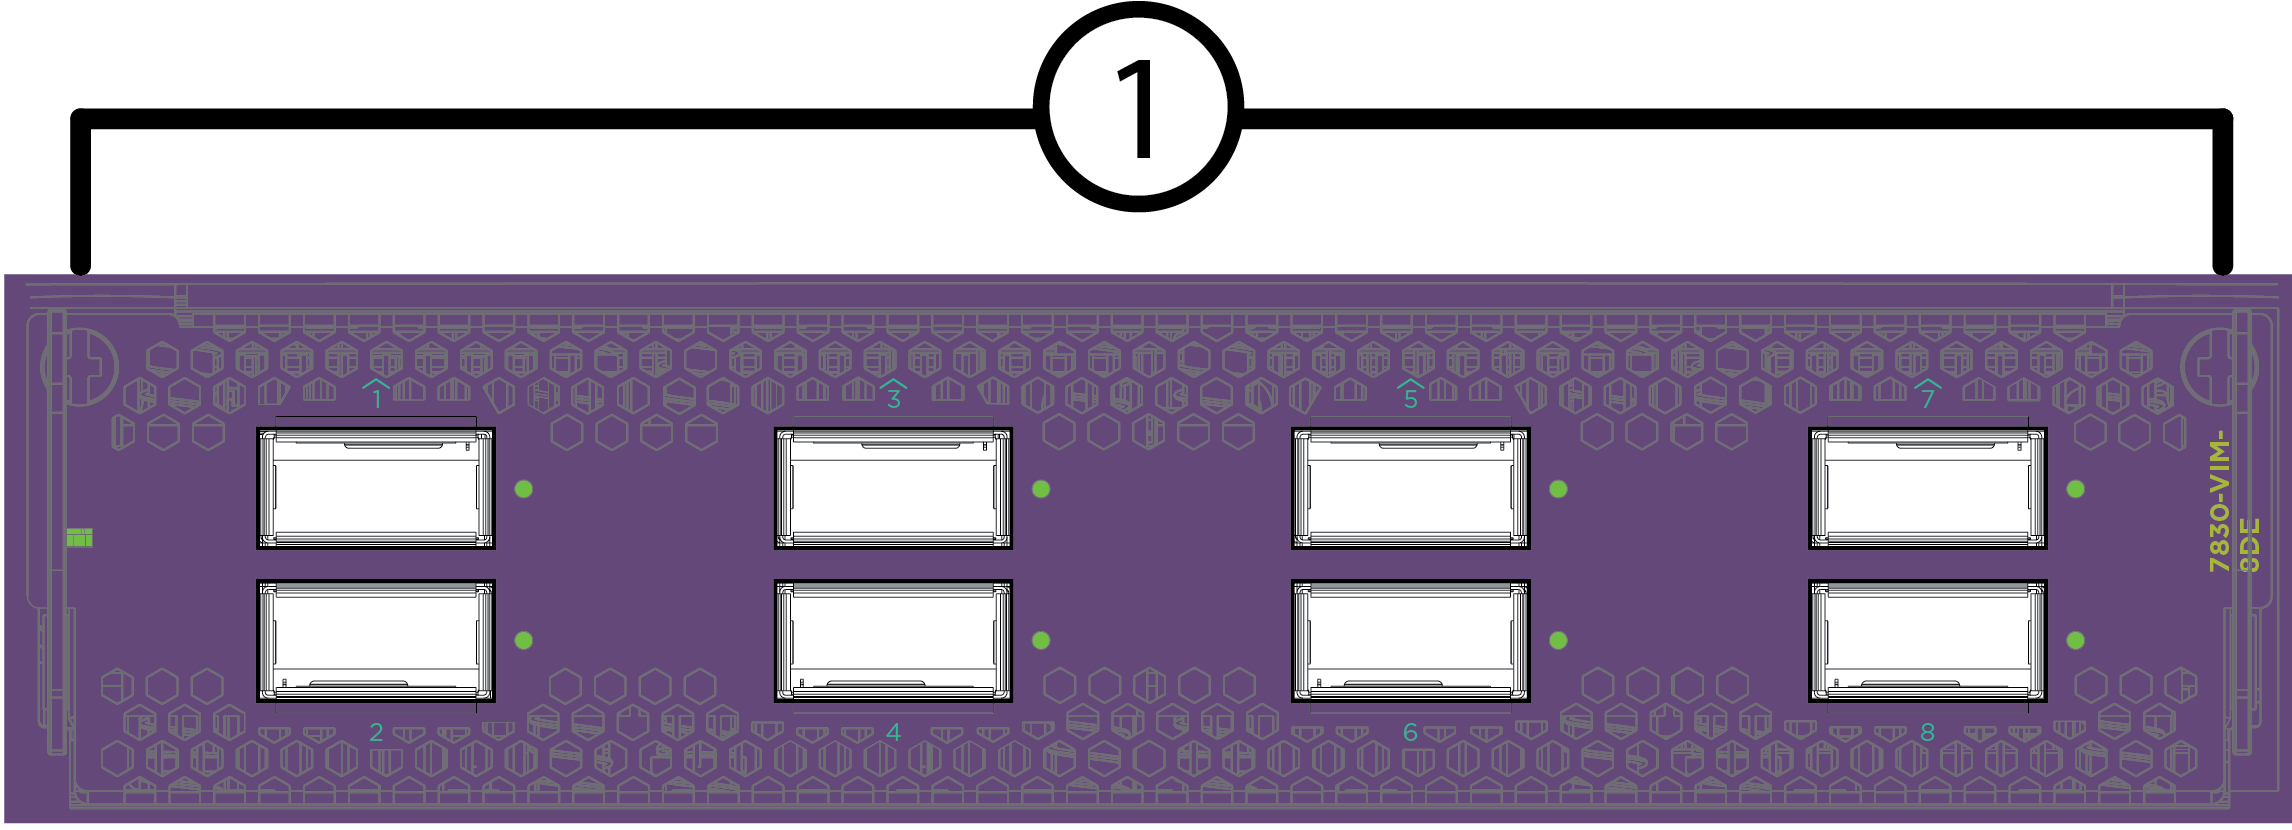
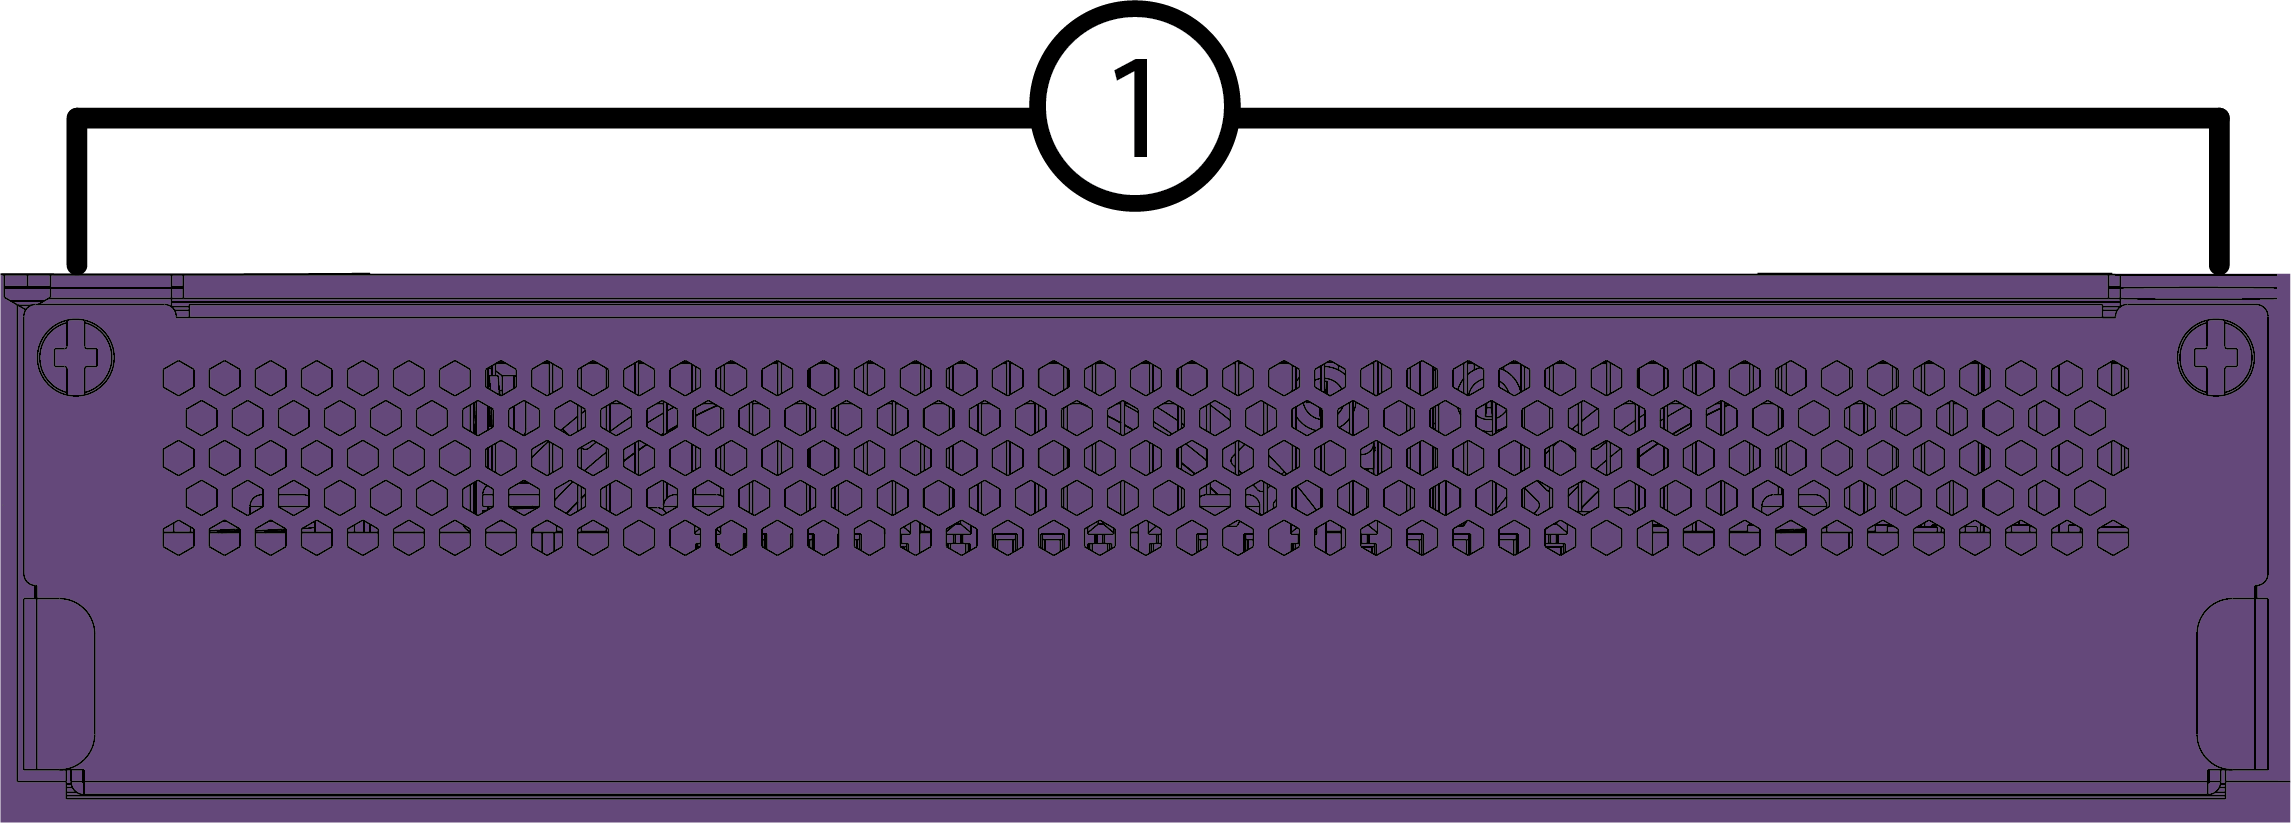
7830 Series switches support the following versatile interface modules (VIMs):
7830-VIM-8DE versatile interface module
Note
Supported in Fabric Engine 9.4 and later.
7830-VIM-16CE versatile interface module
7830-VIM-24CE versatile interface module
Note
Supported in Fabric Engine 9.4 and later.
7830-VIM-24YE versatile interface module
You need the following tools and materials to install a VIM module:
ESD-preventive wrist strap
Phillips head screwdriver
You can hot swap a Versatile Interface Module (VIM) on the switch using one of the following modes:
Controlled mode
Uncontrolled mode
Note
Use controlled mode when you replace a VIM. Use
uncontrolled mode only if CLI and the Enterprise Device Manager (EDM) are not available.
Remove a VIM module
Use the following instructions to remove a VIM module.
Attach the ESD wrist strap to your wrist and connect the metal end to an appropriate ground point on the rack.
Remove the VIM module.
To remove the VIM module in controlled mode, first:
Shut down the port in a VIM before you power off the VIM slot. Enter
slot shutdown <vim_slot>
where <vim_slot> is the VIM slot number.
Power off the VIM slot. Enter
no sys power slot <vim_slot>
where <vim_slot> is the VIM slot number.
Enter show sys-info to check the VIM slot status.
To remove the VIM module in uncontrolled mode, first remove any transceivers or optics.
Remove the screws that secure the VIM module in the VIM slot using the Phillips head screwdriver. Save the retaining screws to secure the new VIM module in the switch.
VIM Module Inserted in Slot
1 = VIM module retaining screw locations
Slide the VIM module out of the VIM slot and set it aside. Wait at least 15 seconds before inserting the replacement VIM.
Replace a VIM module
Use the following instructions to replace a VIM module.
Attach the ESD wrist strap to your wrist and connect the metal end to an appropriate ground point on the rack.
Remove the VIM cover (if necessary) by removing the screws that hold the cover plate over VIM slot, using the Phillips head screwdriver.
Removing a slot Cover Plate (VIM slot cover shown)
1 = VIM module retaining screw locations
Remove the new VIM module from its anti-static packaging.
Install the VIM module in the switch:
Carefully slide the VIM module into the switch.
Insert and tighten the retaining screws you previously removed, using the Phillips head screwdriver.
VIM Module Inserted in Slot
1 = VIM module retaining screw locations
Finish the VIM replacement.
If you are replacing the VIM in Controlled mode:
Power on the VIM slot. Enter
sys power slot <vim_slot>
where <vim_slot> is the VIM slot number.
Enter show sys-info to confirm that the switch detects the new VIM.
If you are replacing the VIM in uncontrolled mode, insert the transceiver only after the VIM initializes. Initialization may take up to 60 seconds.