 Print
this page
Print
this page Email this topic
 Feedback
 View PDF
 Download EPUB
Mounting the WS-AP3825 to a Drop Ceiling
To mount the AP to a drop ceiling, use one of
the mounting brackets provided with the AP. There are brackets for flat drop ceilings
and protruded drop ceilings.
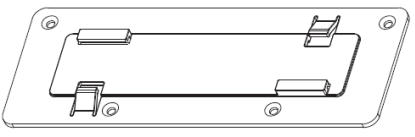
- Flat Drop Ceiling Bracket
Flat drop ceilings are those in which the ceiling tiles rest flat (or nearly so) on their supporting T-bar rails. The flat drop ceiling bracket has a low flat profile, to mount the AP close against the T-bar rail.
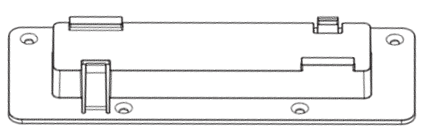
- Protruded Drop Ceiling Bracket
Protruded drop ceilings are those in which the ceiling tiles protrude well beyond the T-bar rails on which they rest. The protruded drop ceiling bracket has an extended mount plate, allowing the AP to hang below the protruded ceiling tiles.
Note
We recommend that the first time you mount an AP3825 to a drop ceiling T-bar rail, you try mounting the bracket to a rail before attaching it to the back of an AP and mounting the AP to the rail. This way you can get the “feel” of the tilt and twist motion described in step 3 in the procedure below, to make the bracket tabs clear the rail and slide over the rail lip on both sides.To attach the WS-AP3825 to a drop ceiling:
-
Attach the T-bar rail mount bracket to the back of the AP by placing the
bracket against the AP back, aligned as shown in Attaching a Mount Bracket to the AP
back, with the
bracket‘s countersink screw holes matched up with the screw holes on the AP.
Screw the provided screws into the mounting bracket and AP as shown in Attaching a Mount Bracket to the AP
back.
 Attaching a Mount Bracket to the AP back
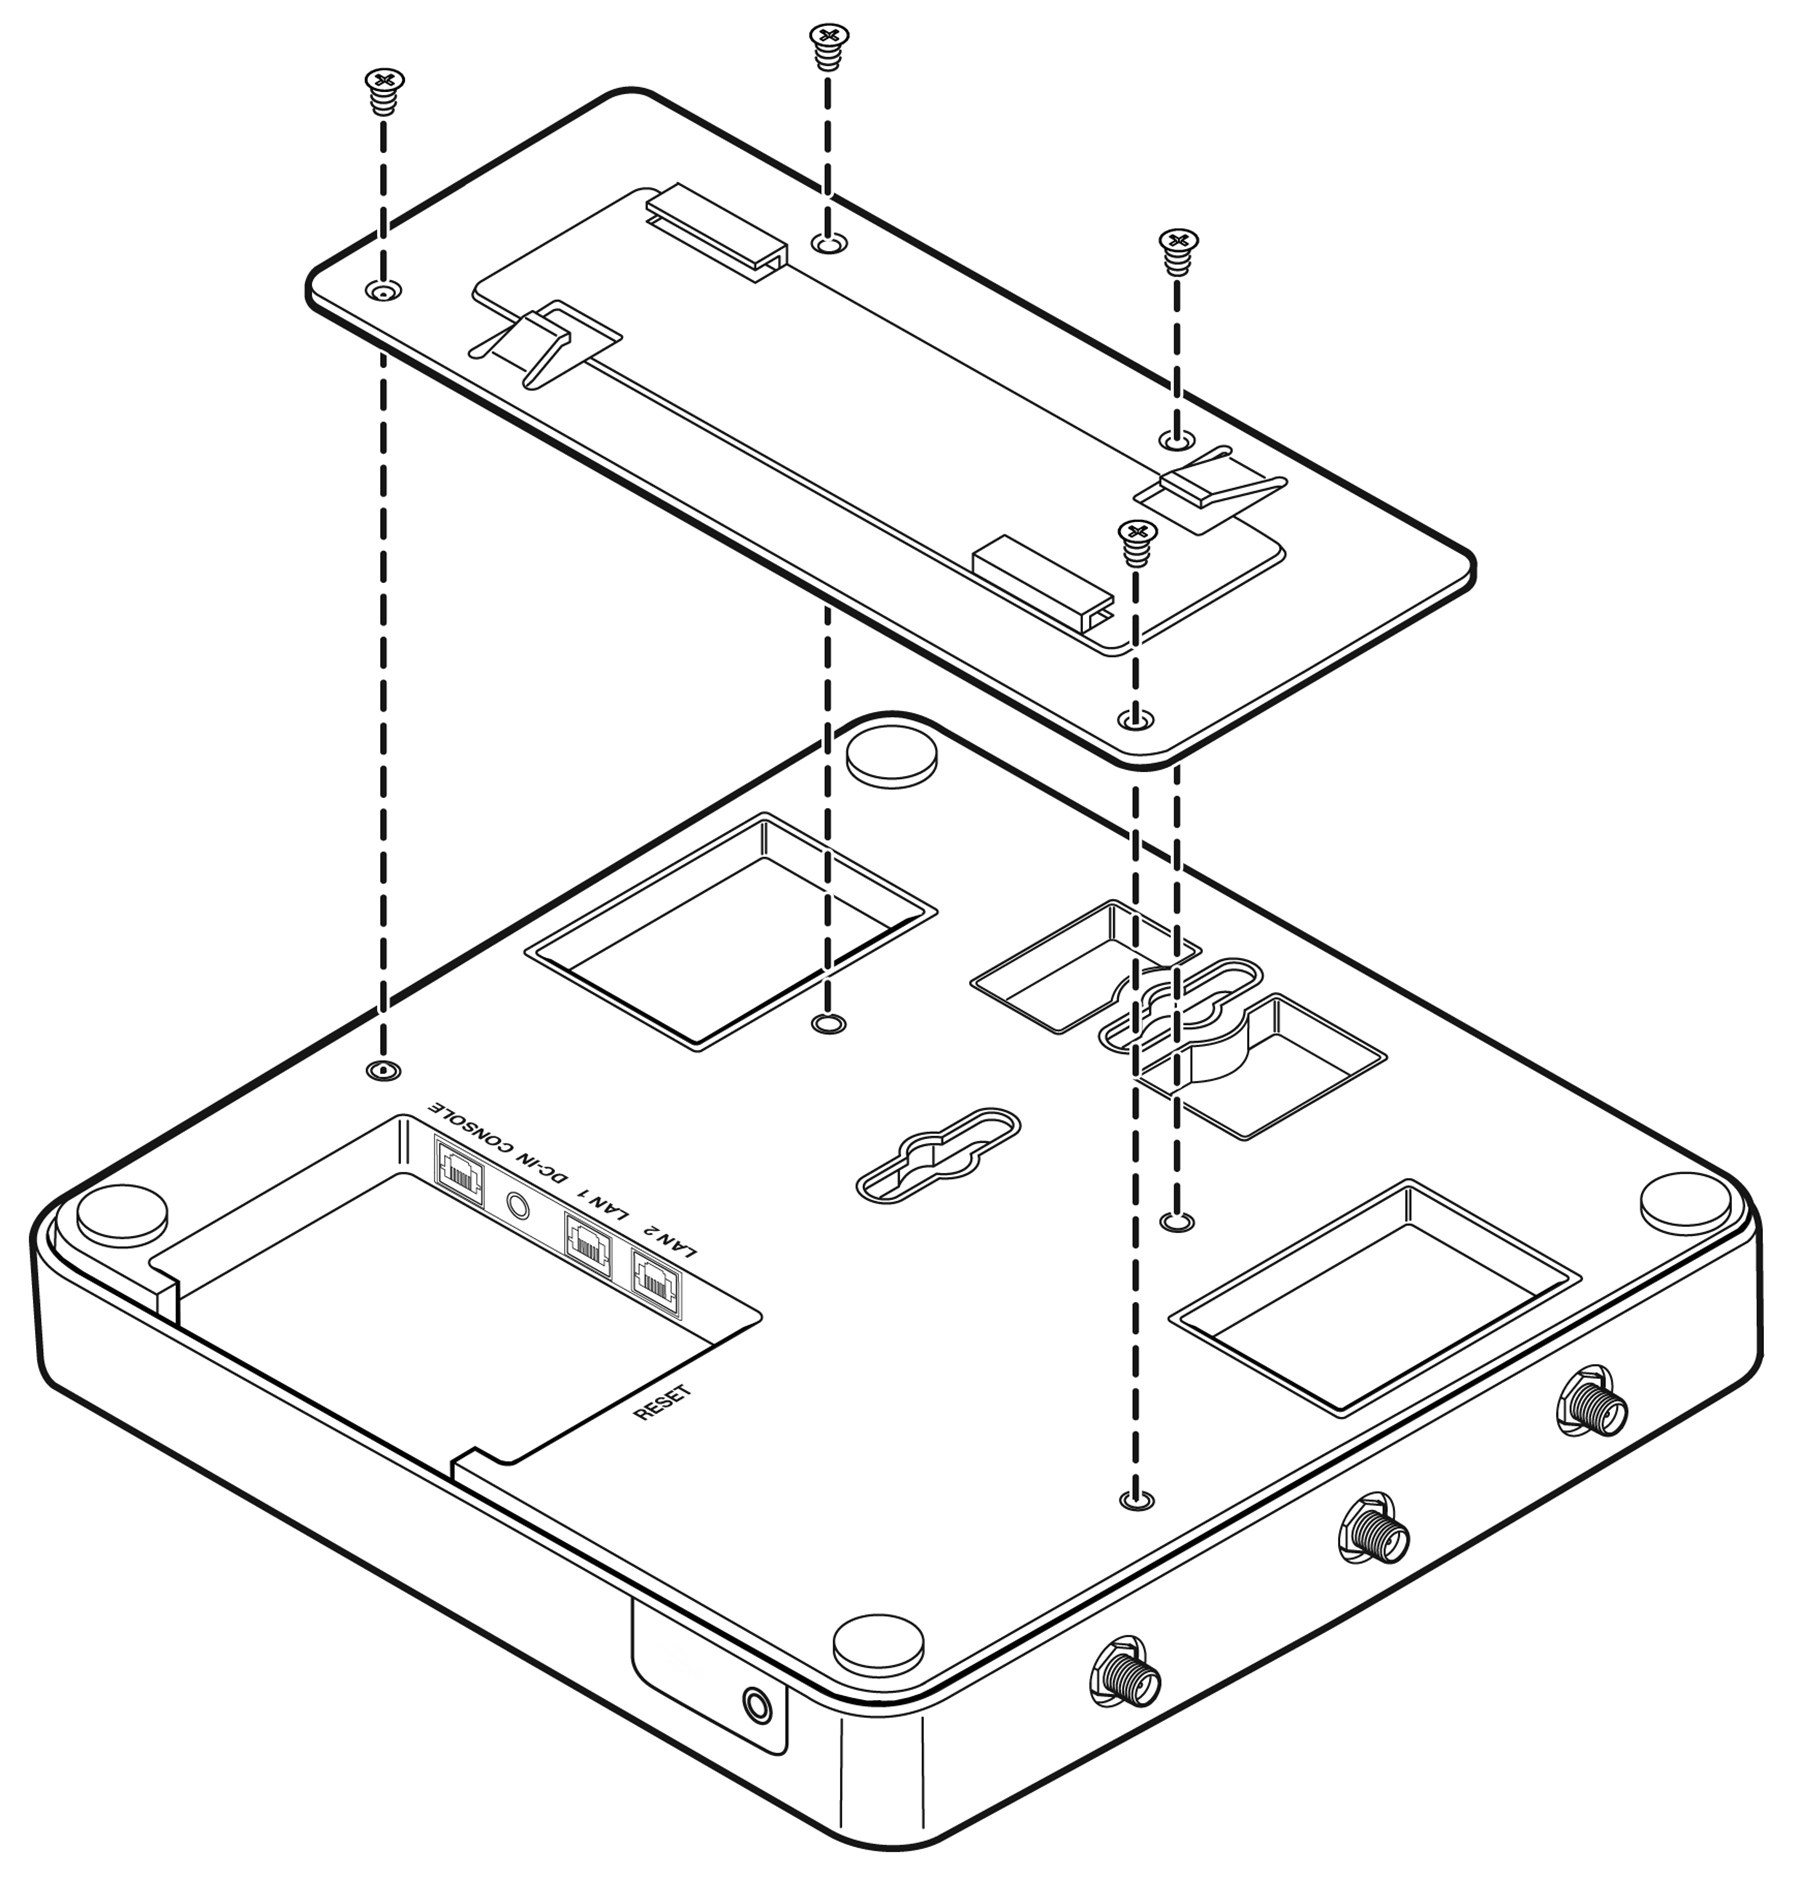
- Remove the ceiling panels around the drop ceiling T-bar rails where you intend to mount the AP. Verify that the Ethernet cable that will connect to the AP can reach the AP at the point where you plan to mount it.
-
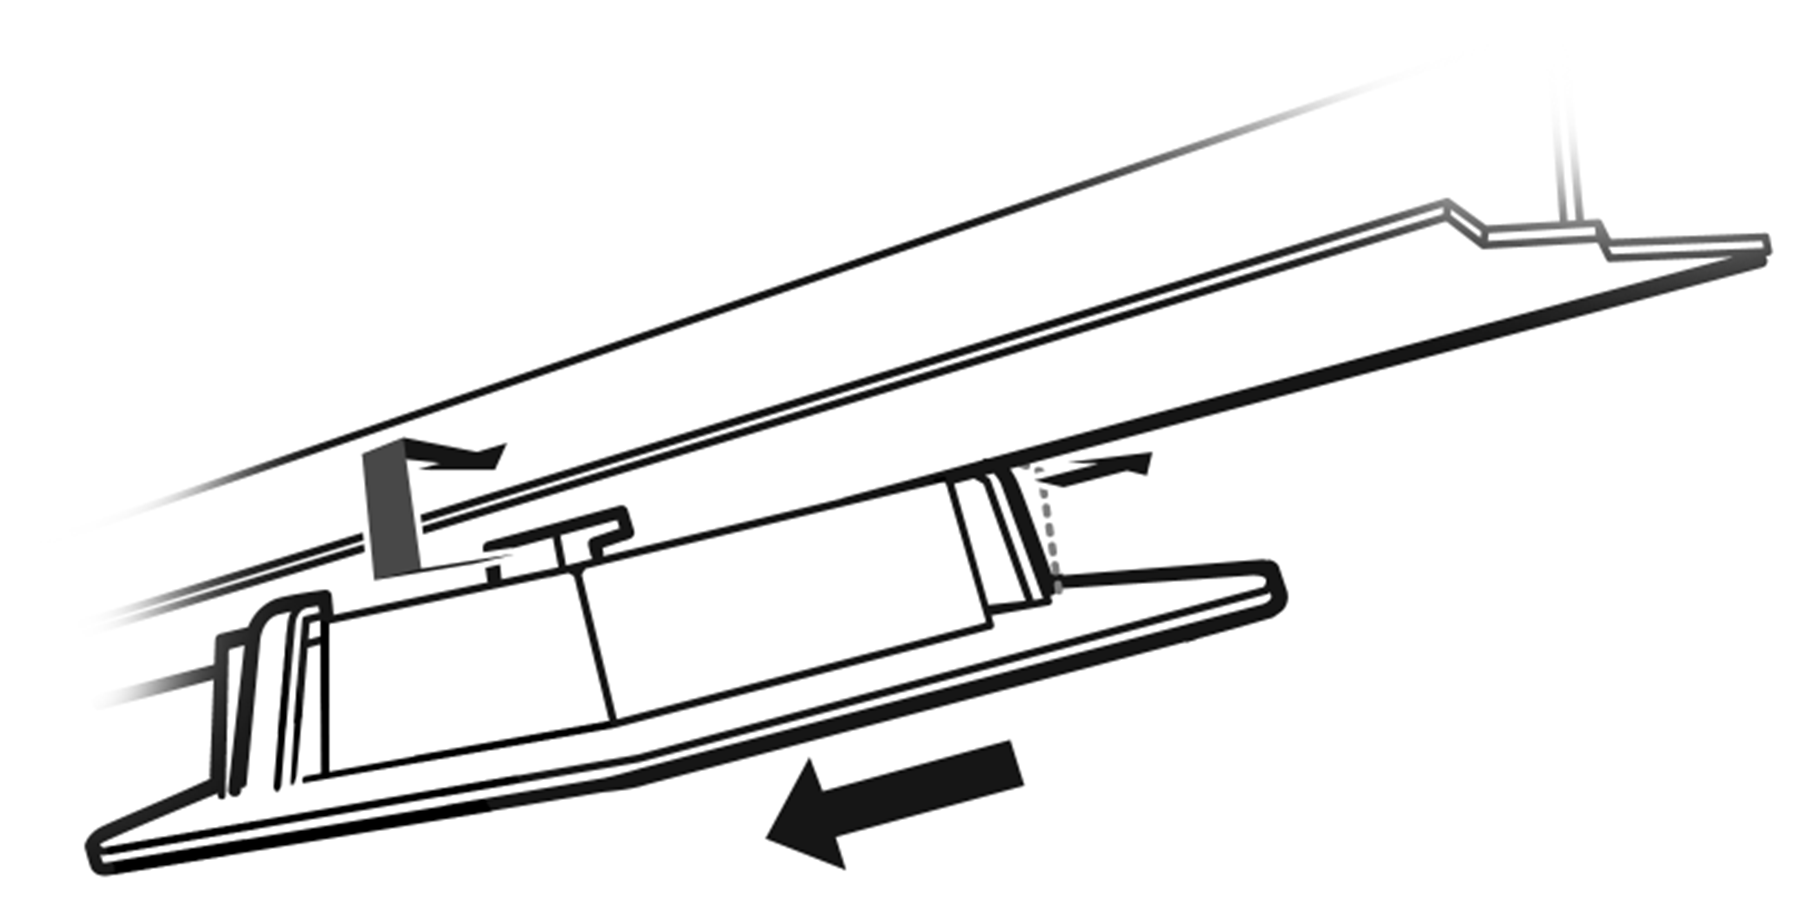
Hold the AP with the bracket against the flat side
of the T-bar rail and (nearly) parallel to it. The clamping tabs fit over the
rail easily if you slide one bracket tab over the lip of the rail, at a very
slight angle to the rail, and then press the AP up against the rail (so that the
opposite clamping tab clears the rail) and twist it so that the opposite
clamping tab slides over the opposite rail lip as shown in Mounting the Bracket to the Ceiling
Rail. There are flex tabs immediately opposite each
bracket tab, that flex out (away from the rail) to stabilize the bracket against
the rail while you pivot the AP and bracket to clear the rail.
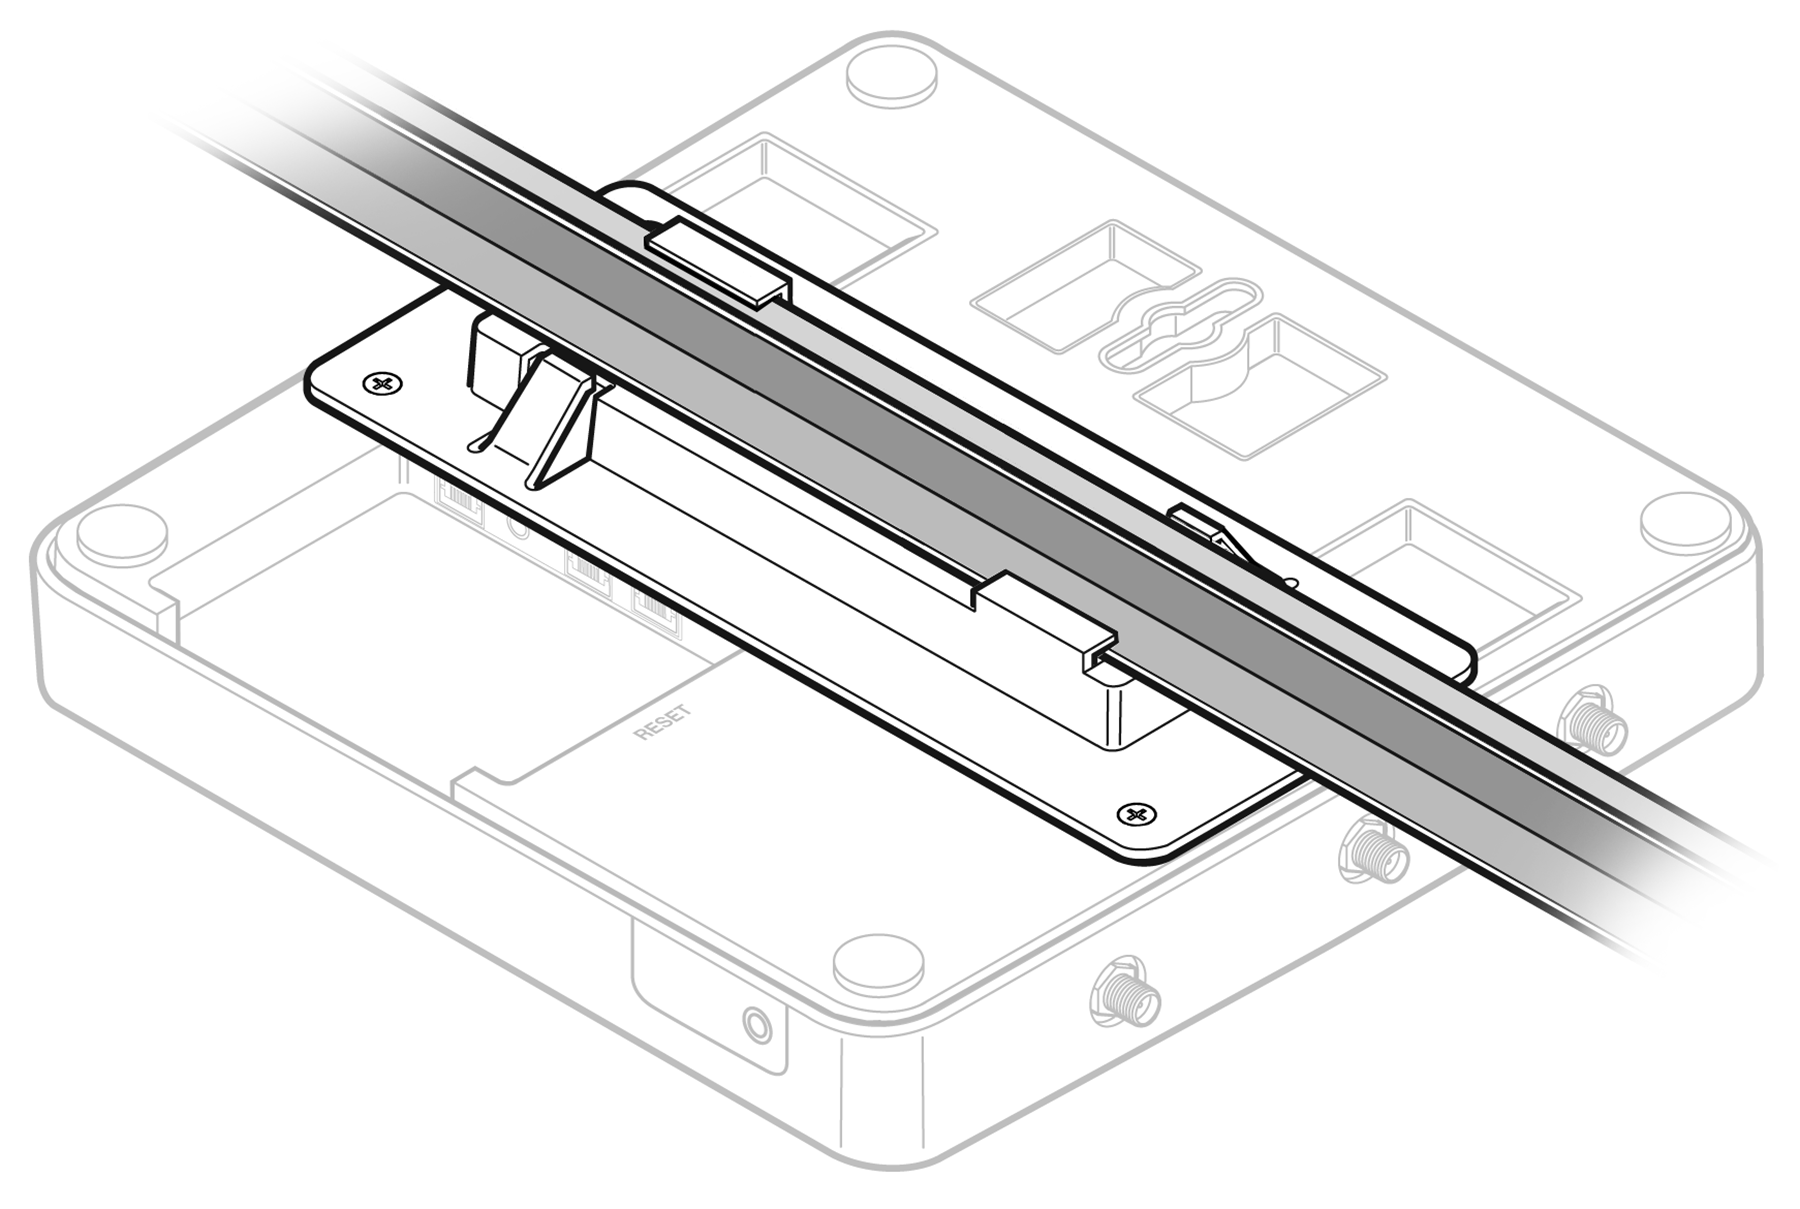
Mounting the Bracket to the Ceiling Rail
-
When the bracket is aligned with the rail again,
both clamping tabs are positioned on the T-bar rail lips. AP and Mounting Bracket Seated on T-bar
Rail shows a
mounting bracket, with an AP attached, firmly mounted on a drop-ceiling T-bar
rail. Tap the AP to verify it is stable and won't fall off.
AP and Mounting Bracket Seated on T-bar Rail
- Make a hole through the ceiling panel closest to the connector bay on the AP. Then run the Ethernet cable through the hole and into a LAN port (RJ45 Ethernet port) in the connector bay.
- Replace the displaced ceiling panels.