 Print
this page
Print
this page Email this topic
 Feedback
 View PDF
 Download EPUB
WS-MBI-DCU01 Mounting Bracket for Drop Ceiling
The optional WS-MBI-DCU01
mounting bracket fits 9/16", 14MM, 15/16", 24MM, 1.5", and 38MM wide drop ceiling rails.
This bracket uses four M3 flat head screws to attach it to the AP3825.
Mounting Bracket: WS-MBI-DCU01
To install the mounting bracket:
-
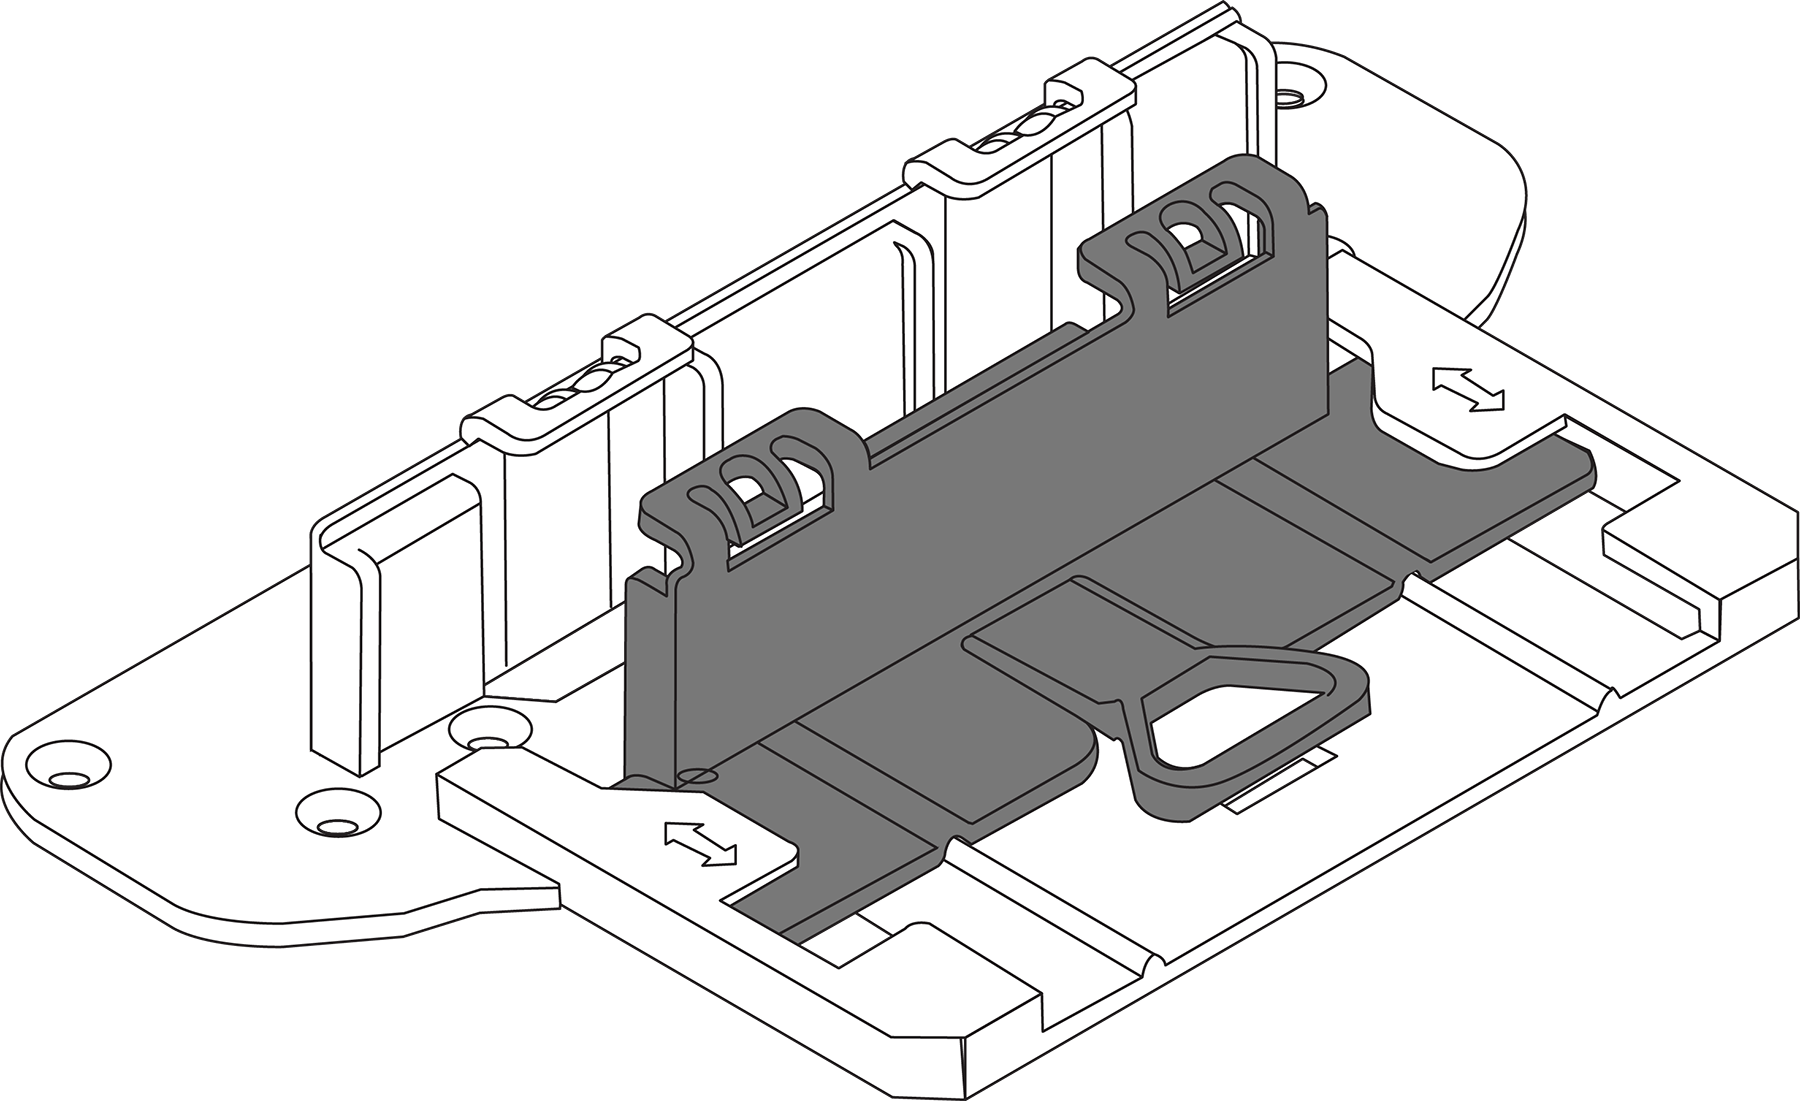
Attach the WS-MBI-DCU01 to the AP using the screws
provided. If needed, pull the handle and slide the top piece to access the
additional screw holes that are underneath the handle. The four screw holes are
indicated by the green arrows in the following figure:
Sliding Handle and Screw Holes
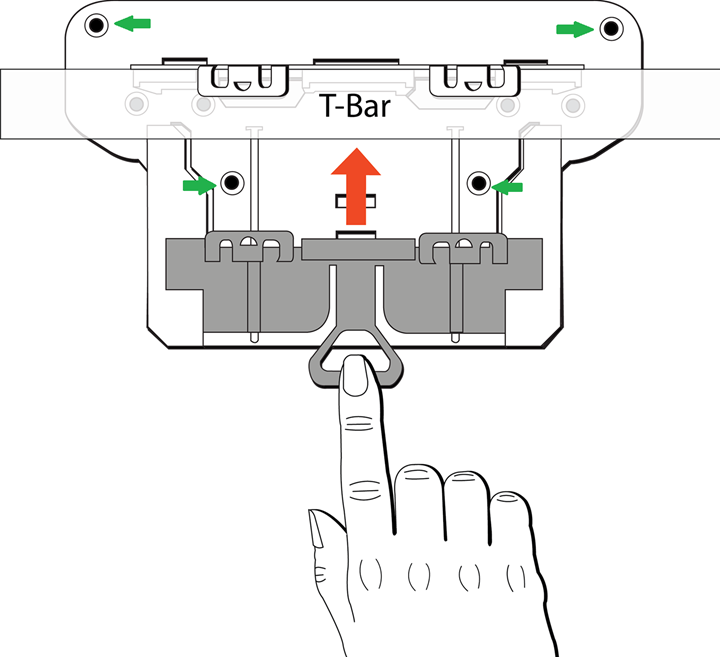
- Move the ceiling tile away from the T-bar.
- Raise the locking bracket handle slightly and open the space between clips so that the space is wider than the T-bar.
- Put the stationary side of the bracket hooks on the T-bar.
- Putting your hand over the T-bar, grab the two vertical parts of the WS-MBI-DCU01 and squeeze them together until all four clips are holding onto the T-bar securely and the locking tab engages.
- Gently rock the AP to verify that it is stable and will not fall off of the T-bar.
- Cut holes in the ceiling tile as needed, and then thread the cables through the ceiling tile if necessary. Attach the cables and start the AP.
- Put the ceiling tiles back in place.