Print
this page
Print
this page Email this topic
 Feedback
 View PDF
 Download EPUB
Installing the Hyperglance Client from the Hyperglance Server
To install the Hyperglance client from the Hyperglance server:
- In a browser enter the Hyperglance server VM IP address, and select Proceed Anyway for certificate authentication. Logon = admin/admin.
- On the upper-right of the Hyperglance Server dashboard, select the appropriate operating system for your client install within the (Download the Hyperglance Client) box.
-
Note the IP address and port to connect your client to the server when the
download finishes on the Hyperglance Server Dashboard (https://10.52.4.254:443).
(http://10.52.4.254 also works from the client.)
 Hyperglance Server Dashboard
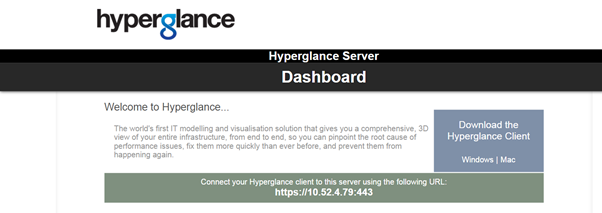
- Run the .exe.
- When installation finishes, start the Hyperglance client from the shortcut or the Start menu. This may take some time. A dialog box may appear asking to enter the Hyperglance server address. Either address example given above will work. There is a console pane on the right side of the client dashboard that shows the status.
-
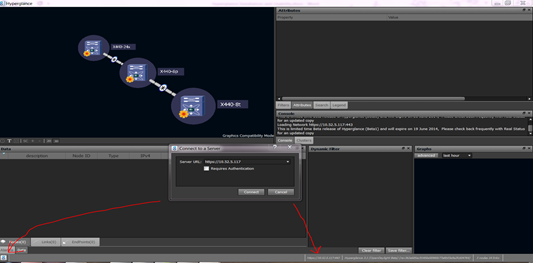
To connect to a different server, double-click the server URL at the bottom of
dashboard border, or click the Hyperglance icon in the lower left, and then
click .
Hyperglance—Connecting to a Different Server