Installing the Power Supplies
If you are
installing only one power supply, you must put the power supply in the left power
supply bay (labeled PS1). The SSA ships without a coverplate for
the PS1 bay.

Note
For proper operation, the
SSA must have a power supply in PS1
whenever the
SSA is powered up.
To install the
power supplies in the SSA, follow these steps:
-
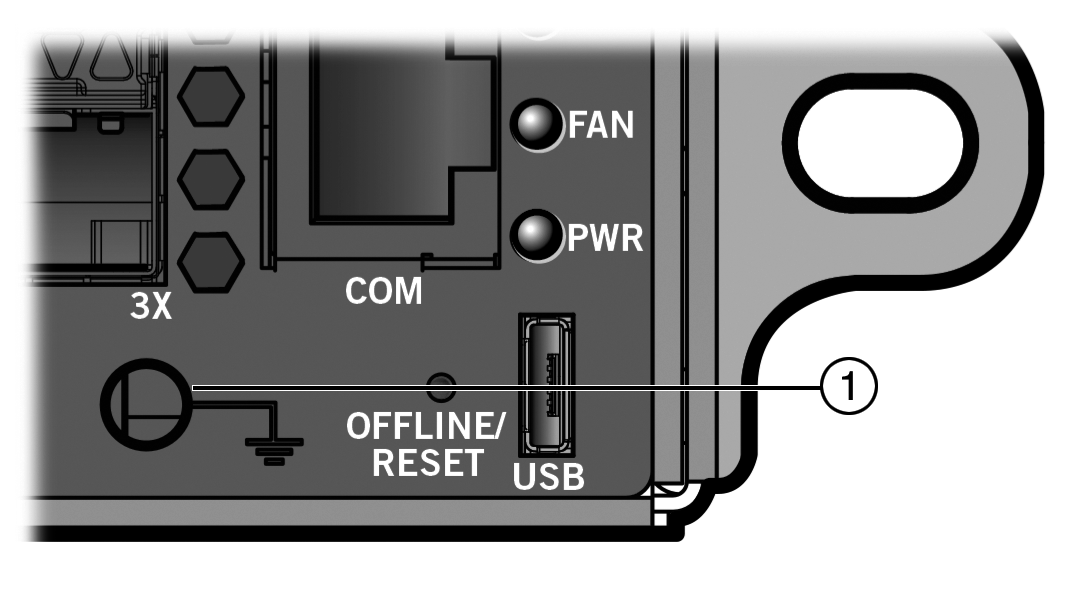
Before
handling a power supply, put on the antistatic wrist strap and attach it to the ground
receptacle on the front of the SSA.
Refer to the instructions in the anti-static wrist strap
package. See
SSA Ground Receptacle for the location of the ground
receptacle.
-
Visually
verify that the power supply airflow direction agrees with the airflow direction of the
installed fan module.
-
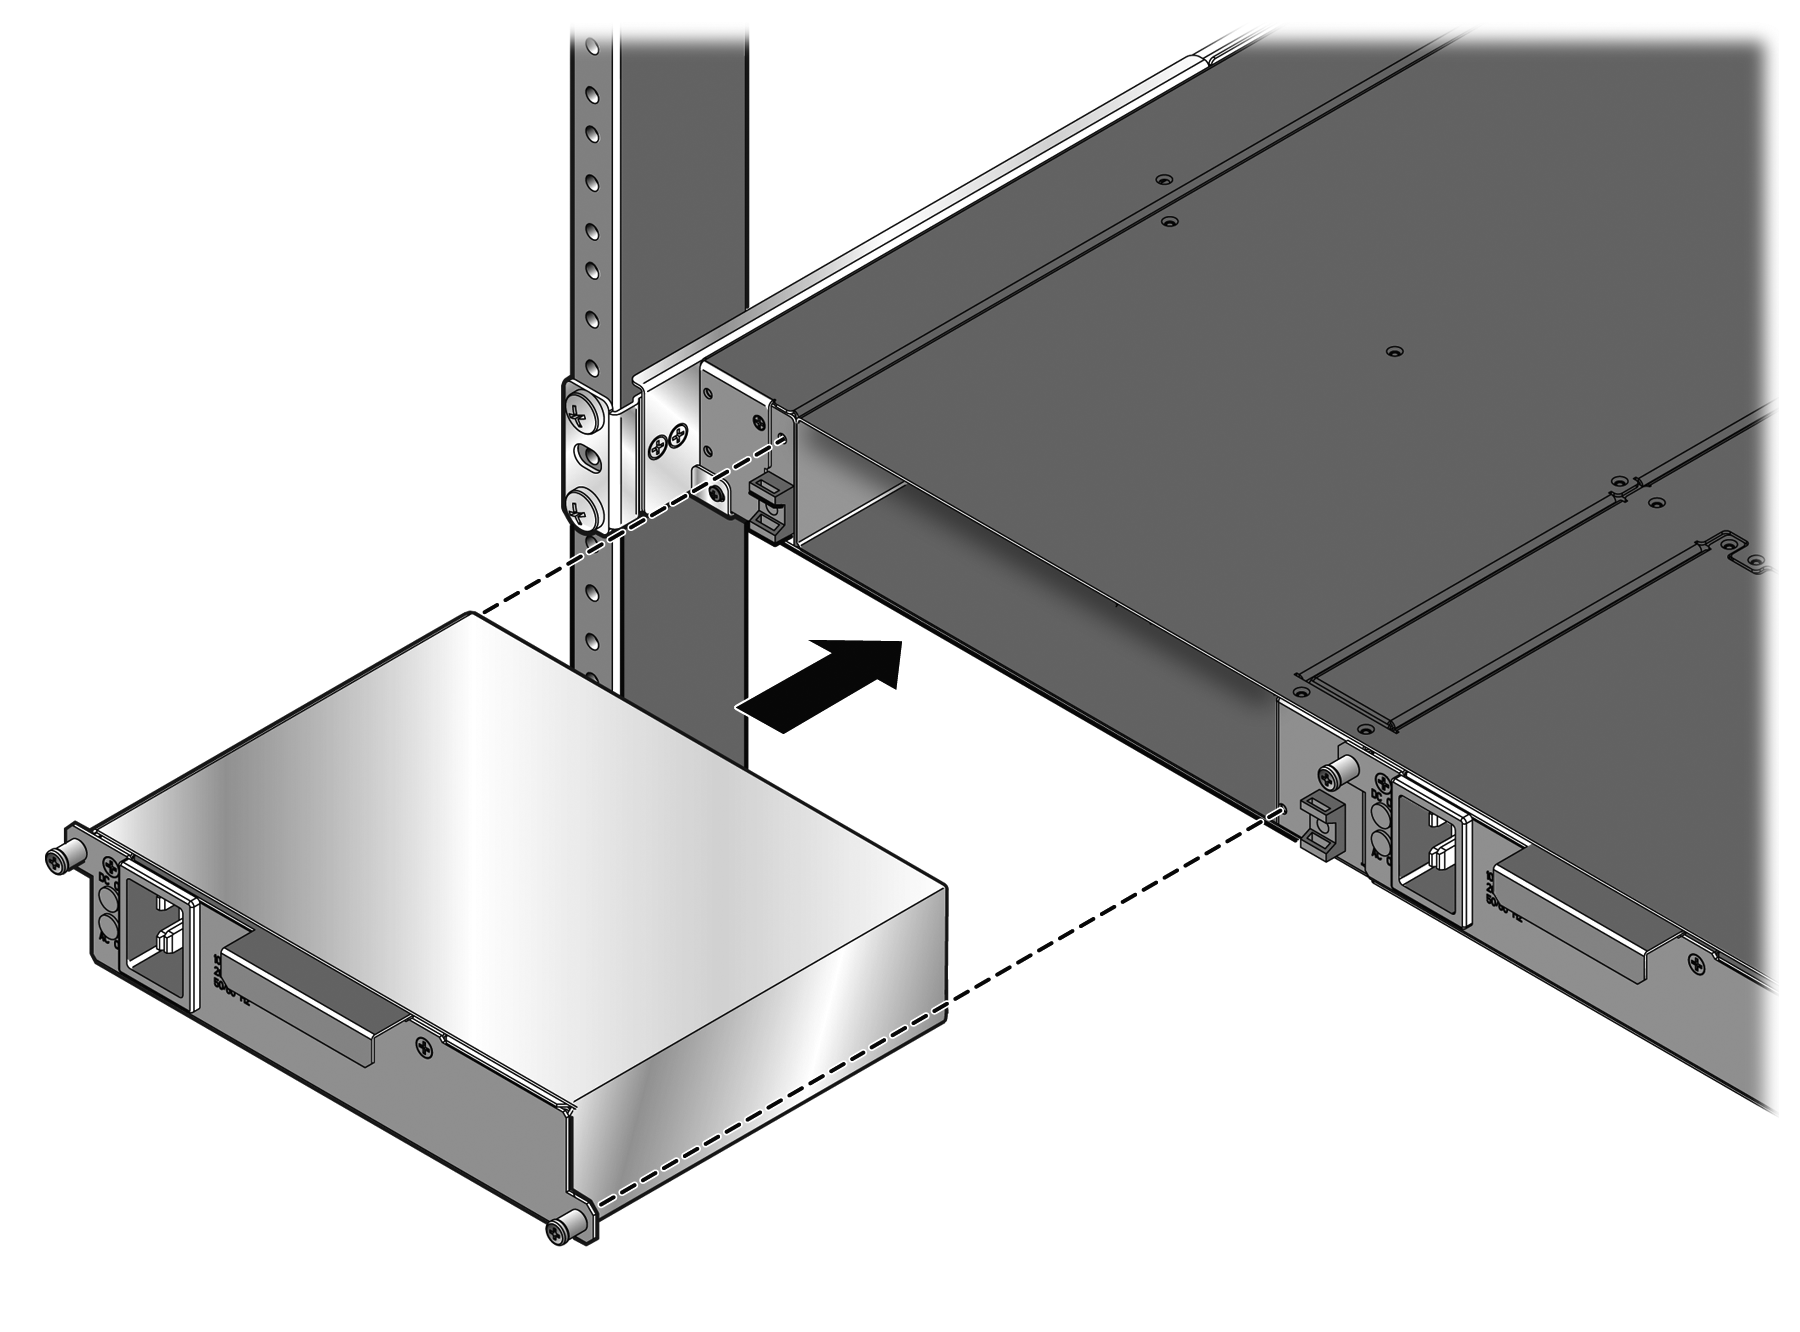
Holding the
power supply by the handle and bottom, align the power supply with the left power supply
bay (labeled PS1).
-
Slide the power supply forward until it is plugged into the chassis connector
and is completely inside the bay.
Pull on the power supply handle to ensure
that the power supply is firmly in place. See
Installing a Power Supply.
Installing a Power Supply
-
If you are installing a second power supply,
remove the coverplate from the right power supply bay by unscrewing the screws
that attach the coverplate to the SSA.
Keep the
coverplate in case you need to remove the power supply.
-
Repeat step 2 through
step 4 to install the power
supply in the right power supply bay.
-
Tighten the captive screws of the power supplies.
 Print
this page
Print
this page Email this topic
 Feedback
 View PDF
 Download EPUB