Configuring the Access Control Engine

Use this procedure to configure the Access Control Engine (NAC server):

  1. Log in to ExtremeCloud IQ - Site Engine.
  2. Add the Access Control Engine (NAC server) and the ExtremeCloud IQ Controller esa0 interface as devices to be managed by ExtremeCloud IQ - Site Engine.
    • Go to Control > Access Control > All Engines.
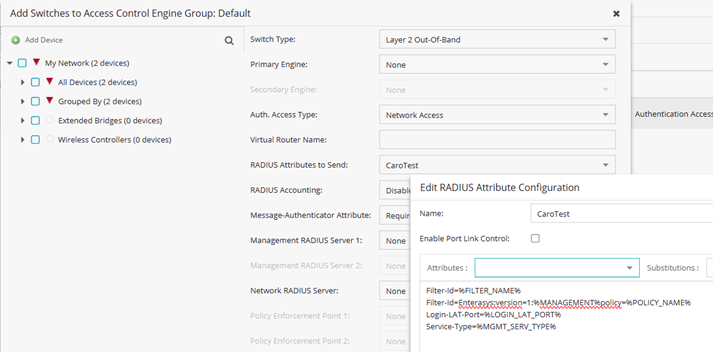
    • Add the Access Control Engine to be managed and configure the server settings.

    • Go to Control > Access Control > Engines and select the Engine Group to which you assigned the Access Control Engine.
    • Go to Switches > Add Switch, then select the ExtremeCloud IQ Controller esa0 interface and configure the following parameters:
      • Primary Engine: Select the Access Control Engine (NAC server).

      • RADIUS Attributes to Send

        Choose a RADIUS Attribute Configuration from the menu. You can add a new RADIUS Attribute Configuration or edit an existing one. In either case, enter the following in the Attribute field:
        • Filter-Id=%FILTER_NAME%
        • Filter-Id=Enterasys:version=1:%MANAGEMENT%policy=%POLICY_NAME%
        • Login-LAT-Port=%LOGIN_LAT_PORT%
        • Service-Type=%MGMT_SERV_TYPE%
          Note

          Note

          The Attribute Configuration ensures that ExtremeWireless APs function with the Access Control Engine.
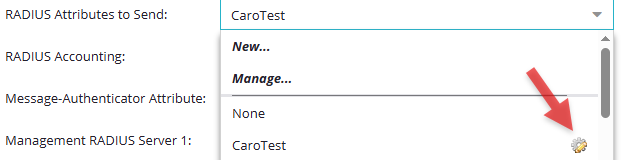
        Click to expand in new window
        Edit RADIUS Attribute Configuration
        Click to expand in new window
        RADIUS Attributes Configuration
  3. Save the RADIUS Attribute Configuration, then select from the RADIUS Attributes to Send drop-down list.
  4. Select Save.
  5. Go to Control > Configuration > AAA > Local Password Repository > Default.
  6. Add a new user.
    Select Add and configure the following parameters:
    • Display Name
    • Username
    • Password
  7. Select Save.
  8. Go to Control > Access Control > Group Editor > End-System Groups.
  9. Add a new End-System Group.
    Add a new MAC entry for each MAC address of each client that should be successfully authenticated.
  10. Select Save.
  11. Go to Control > Access Control > Configuration > Configurations > Default > Rules.
  12. Add a new rule.
    From the End-System Group drop-down list, select an End-System Group that you previously created.
  13. In the Profile drop-down list, select Default NAC Profile.
    Note

    Note

    Assuming no prior configuration changes have been made to the Default NAC Profile, it will send an Enterprise User Filter-ID.
  14. Save the rule and move it up the list, just after the Assessment Warning rule.
  15. Enforce the NAC engine.
  16. Once the Enforce is successful, close the window.