Chalet allows you to create and configure VLANs, tag them, and assign ports and QoS profiles. After clicking the VLANs table from the Dashboard, or after selecting , you are directed to the VLAN List page.

Note
Assigning VLANs into VRs is not currently supported in Chalet. Any VLANs that are created are assigned to VR-Default automatically. To create a VLAN in a different VR, create them through the CLI (see the create vlan command in the ExtremeXOS Command Reference Guide).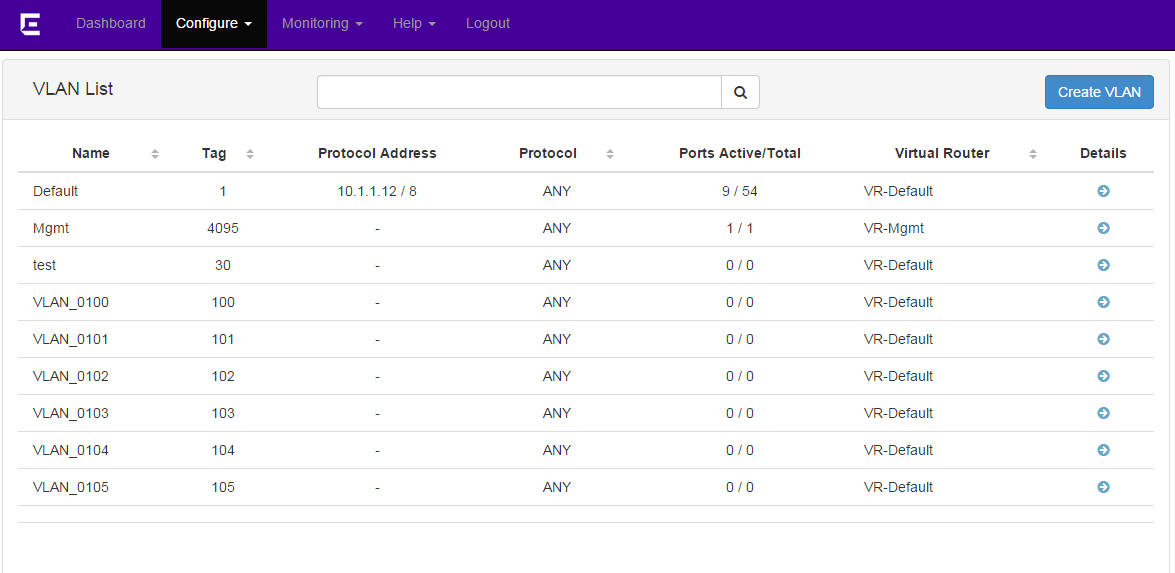
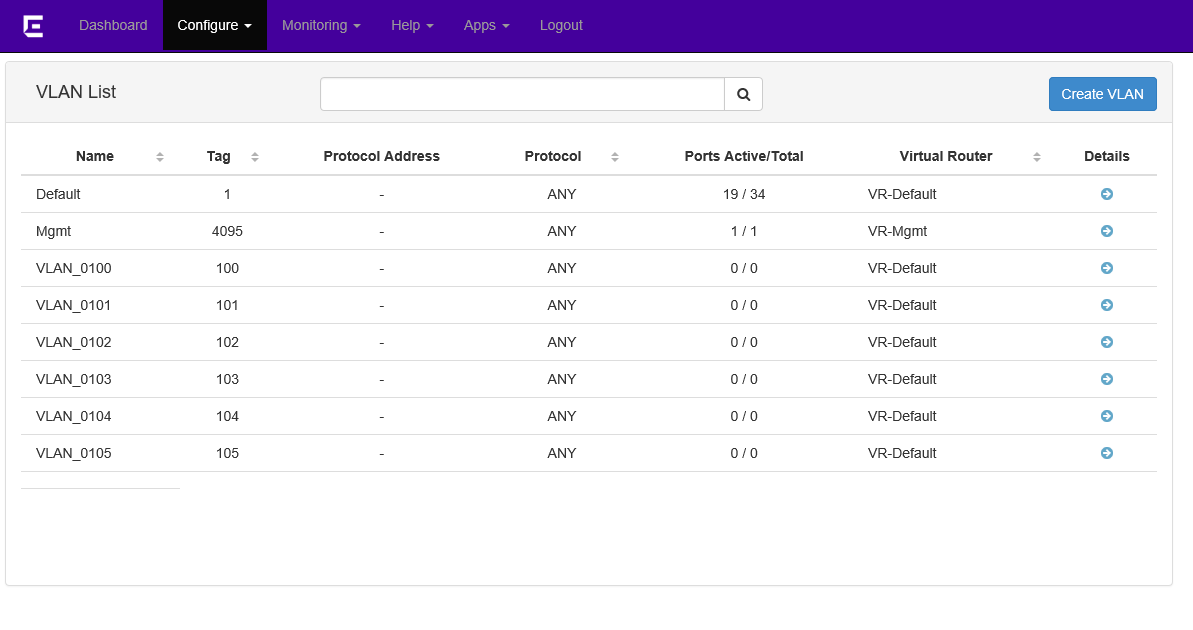
This page displays a list of all VLANs in alphabetical order, but the list can be sorted by any column or filtered using the search bar.
Clicking the  to the right of a VLAN
displays the Assign
Ports page.
to the right of a VLAN
displays the Assign
Ports page.
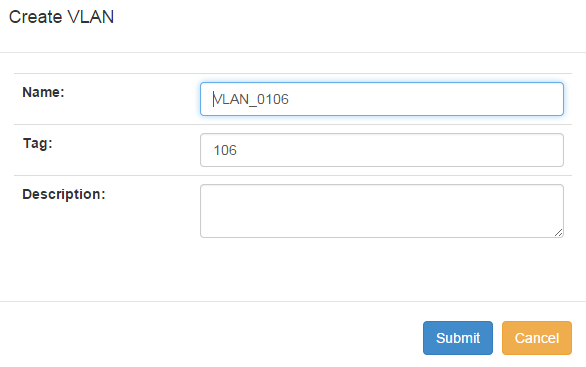
To create a new VLAN:
 to
the right.
to
the right.
The VLAN Details page displays, showing the General tab by default.
On this page, you can edit every field with a drop-down menu or a text field.