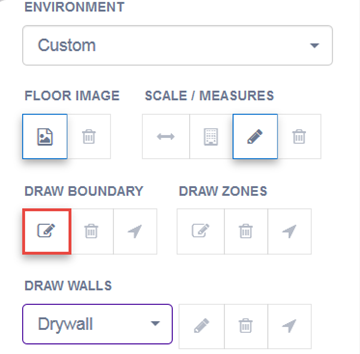
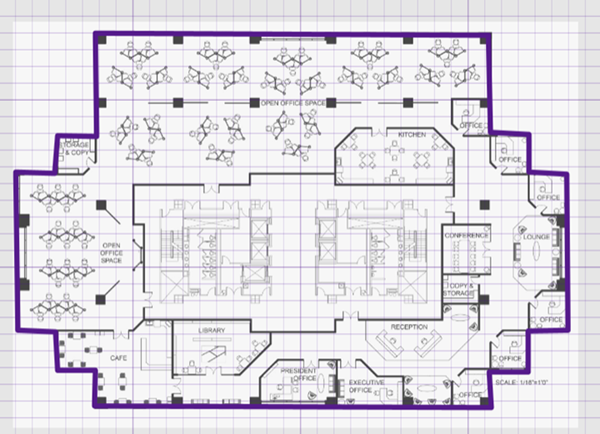
Draw the boundary to define the floor plan area that will be considered for modeling. A boundary must be defined before APs can be placed within it.
 .
.

Note
If you make a mistake, you can select and modify the boundary by clicking and dragging sections of it.
Alternatively, select
and modify the boundary by clicking and dragging sections of it.
Alternatively, select  from the menu to remove the entire boundary and
start over.
from the menu to remove the entire boundary and
start over.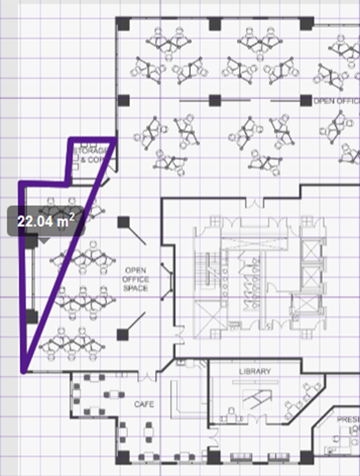
 Print
this page
Print
this page Email this topic
 Feedback
 View PDF
 Download EPUB