Create a Plan and Upload a Floor Image
A plan contains all of the information required to
calculate coverage, including a floor image. You can create a new plan, or edit or
clone an existing plan. We recommend uploading a background image of a floor for
best results. The floor image helps you visualize the relative positioning of
devices, validating whether a device can be installed in a selected location, and
provides easy definition of scale.

Note
Alternatively, you can
clone an existing floor map, and then edit the clone.
The following file formats are supported:
To create a plan and upload a floor image:
-
Log in.
The
Plan Settings page opens.
Note
If you are
already on the
Floor Editor page, select
New Plan from the main
menu instead.
-
From the Plan Settings tab, enter a
country name. The country name helps to determine the applicable regulatory
domain for the design (affecting channel selection) and device availability.
-
Next to New Plan, select Start.
The
New Plan dialog opens.
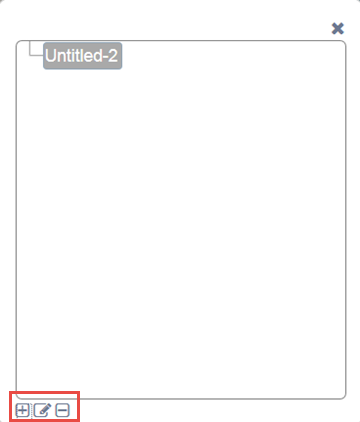
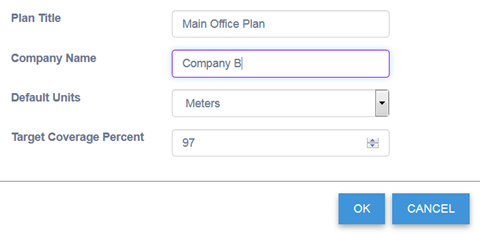
-
From the Plan Tree
controls, select
 . In the dialog that opens, enter the name of the
plan, company name,default measurement units, and your target coverage
percentage. Then select OK to save the information.
. In the dialog that opens, enter the name of the
plan, company name,default measurement units, and your target coverage
percentage. Then select OK to save the information.
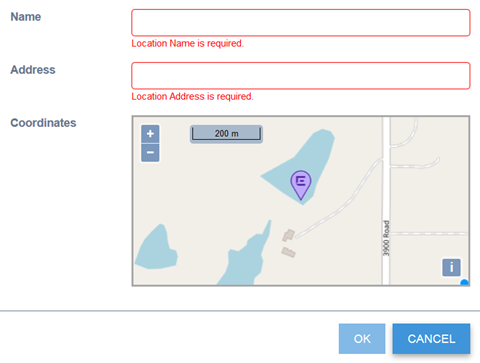
-
Highlight the country name in the plan tree. Select
 . In the Location dialog that
opens, enter the location information.
. In the Location dialog that
opens, enter the location information.
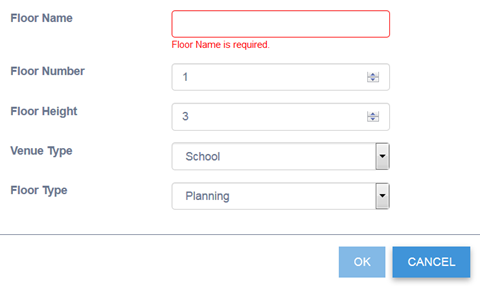
-
Highlight the location name in the plan tree.
Select . Edit the fields in the Floor
Details dialog that opens.
| Floor Name |
Enter a unique name for the floor plan. |
| Floor Number |
Select the floor number from the drop-down list. |
| Floor Height |
Enter the approximate height between
the floor and the ceiling in meters. Ceiling mount is the default installation type for this
tool. |
| Venue Type |
Set the venue type to determine
application density. For each venue type there is a pre-defined device mix, which can be
customized. |
| Floor Type |
Specify Planning if the floor is in the planning
phase. Installed provides
visualization of an existing ExtremeWireless deployment and lets you import a list of
managed APs from an inventory CSV file. These APs can be manually placed on the floor plan
at their installed locations. |
When you select OK, your floor information is
saved and the floor editor page opens.
-
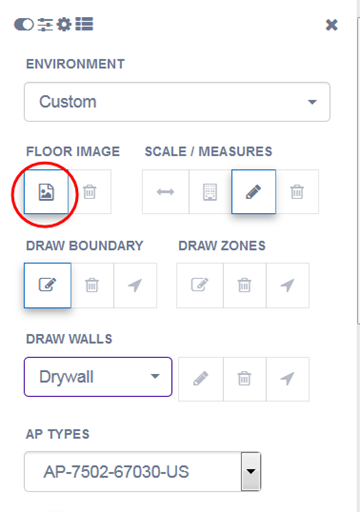
From the right menu, select Draw Tools.
The Draw Tools dialog opens.
-
Under Floor Image, select
 .
.
Draw Tools Dialog - Upload Image
Options
Your local file browser opens.
-
Select a file. If you are importing inventory,
select the XML file that contains your inventory. Select Open.
The floor plan image opens in
the user interface. If you are importing inventory, your inventory is
uploaded.
-
From the left menu, select Save Plan. We recommend that
you save your plan intermittently when you make changes that you want to
keep.
 Print
this page
Print
this page Email this topic
 Feedback
 View PDF
 Download EPUB