Configuring the Access Point

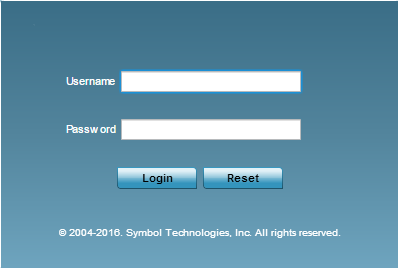
You can access the AP-8533 management functions once it is installed and powered on.

About this task

Procedure

  1. Derive the IP address for the access point.
  2. Point the Web browser to the Access Point‘s IP address.
    The following login screen displays:
    Click to expand in new window
  3. Enter the default username admin in the Username field.
  4. Enter the default password admin123 in the Password field.
  5. Click Login to load the management interface.
    Note

    Note

    When logging in for the first time, you‘re prompted to change the password to enhance device security in subsequent logins.
    Note

    Note

    If you get disconnected when running the wizard, you can connect again with the Access Point‘s actual IP address (once obtained) and resume the wizard.
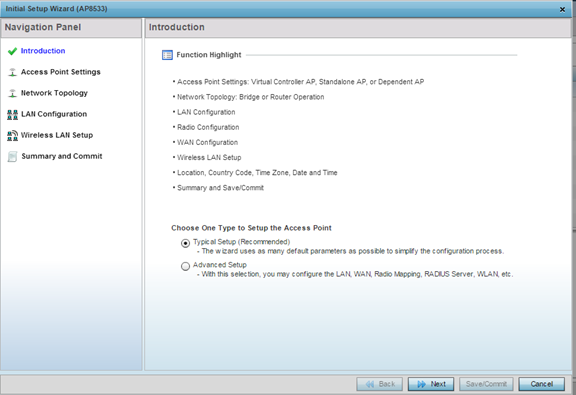
    If this is the first time the management interface has been accessed, the Initial Setup Wizard automatically displays.
    Click to expand in new window
    Note

    Note

    The Initial Setup Wizard displays the same pages and content for each Access Point type supported. The only difference being the number of radios configurable by Access Point, as models vary.

    The Introduction screen displays the various actions that can be performed using the wizard under the Function Highlight field.

  6. Use the Choose One type to Setup the Access Point field options to select the type of wizard to run.
    The Typical Setup is the recommended wizard. This wizard uses the default parameters for most of the configuration and sets a working network with the least amount of manual configuration.
    The Advanced Setup is for administrators who prefer more control over the different configuration parameters. A few more configuration screens are available for customization when the Advanced Setup wizard is used.

    The Navigation Panel for the Typical Setup Wizard displays the basic configuration options.

    Click to expand in new window

    A green checkmark to the left of an item in the Navigation Panel defines the task as having its minimum required configuration set correctly. A red X defines a task as still requiring at least one parameter to be defined correctly.

  7. Click Save/Commit within each page to save the updates made to that page's configuration or click Next to proceed to the next page listed in the Navigation Panel without saving your updates.
    Note

    Note

    While you can navigate to any page in the Navigation Panel, you cannot complete the Initial AP Setup Wizard until each task in the Navigation Panel has a green checkmark.