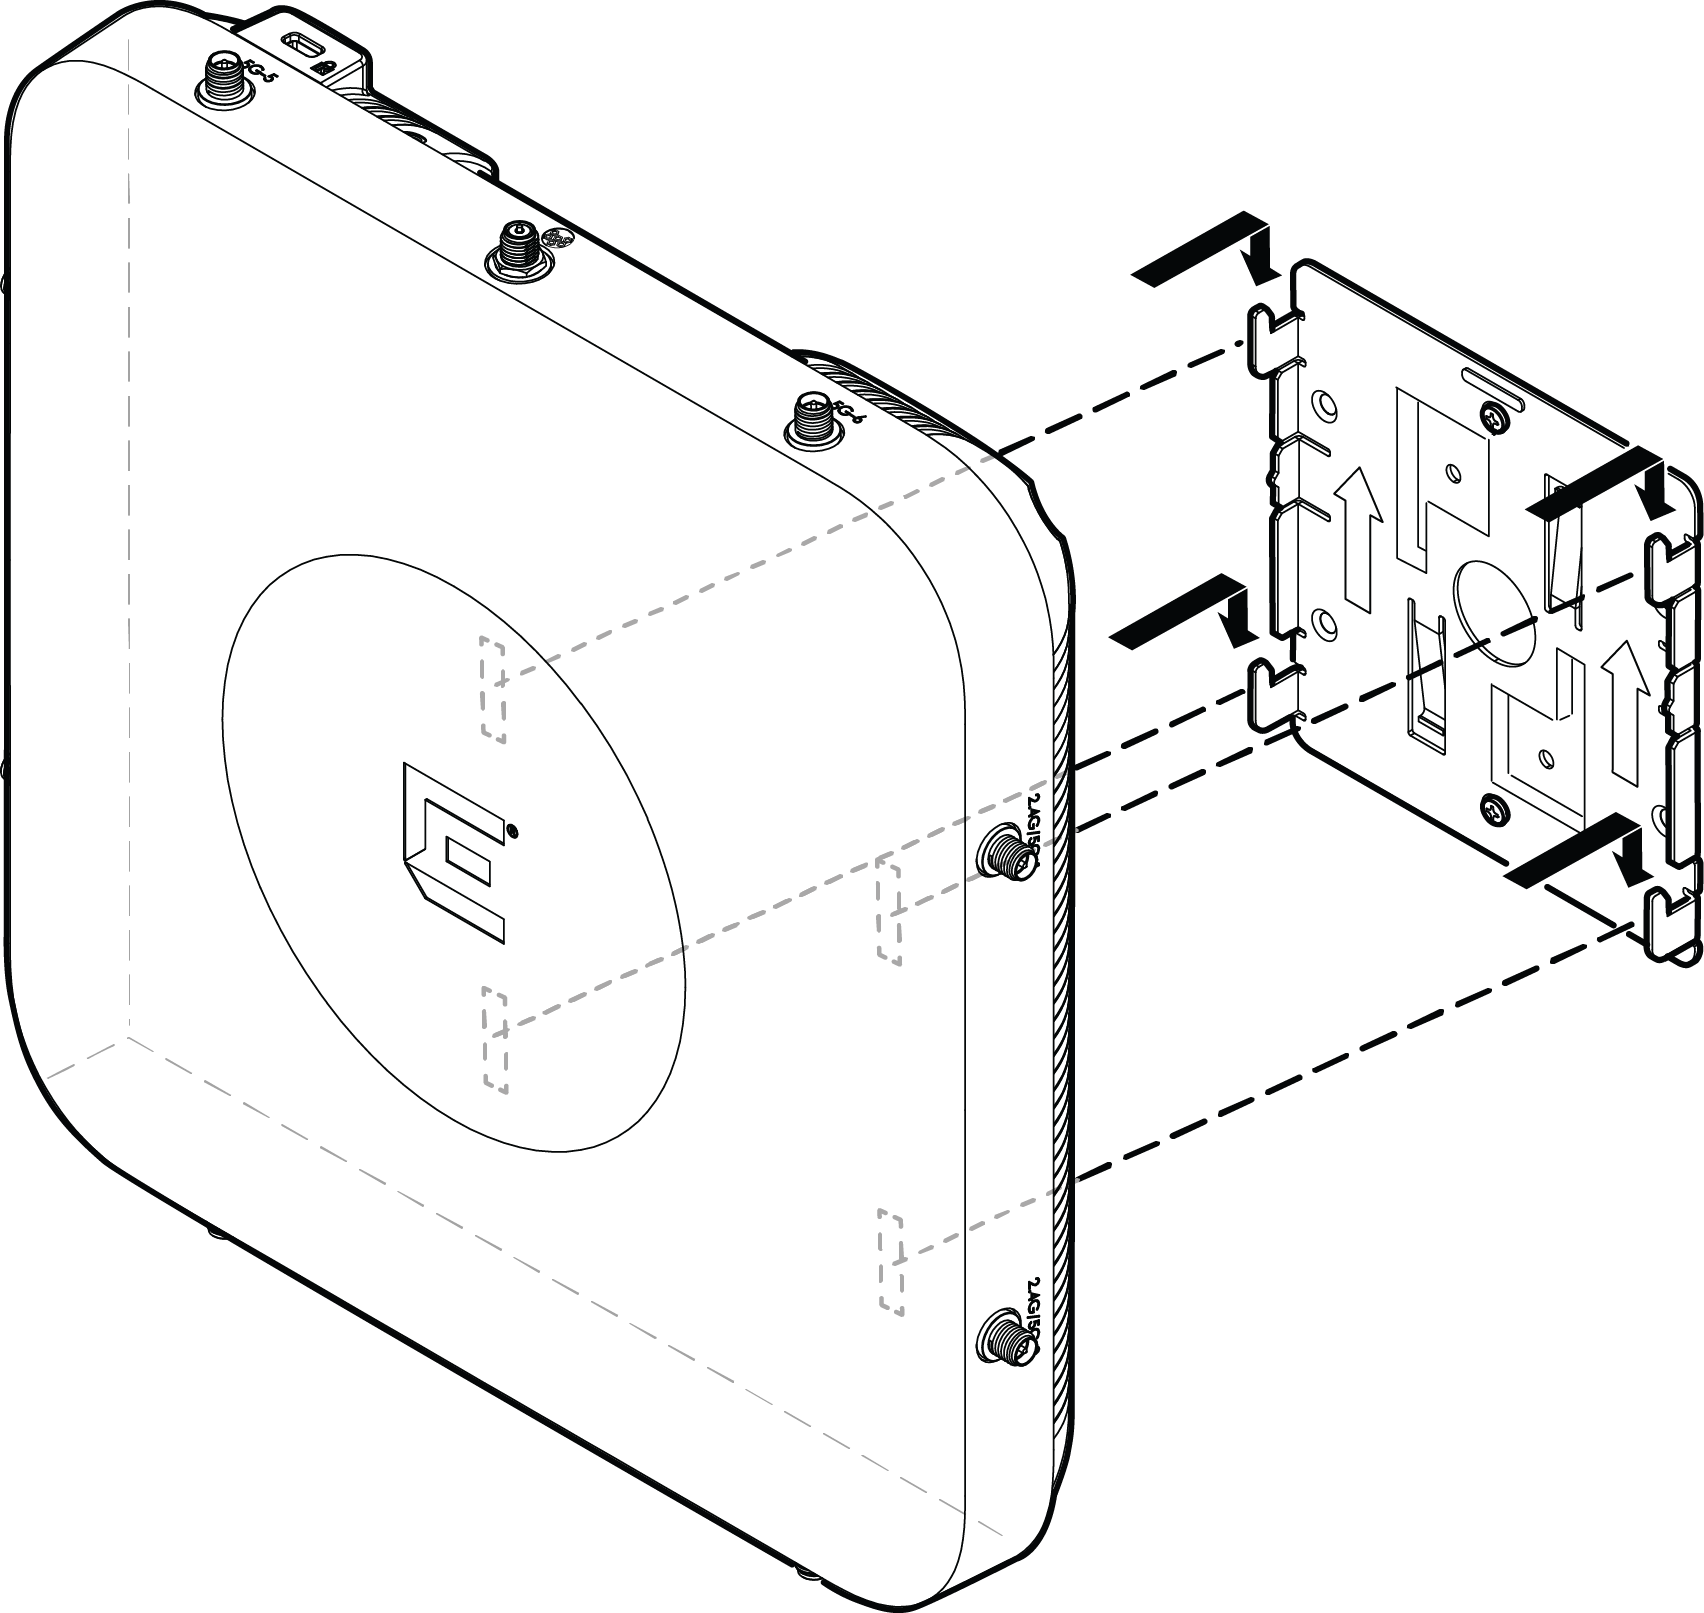
Mount the access point to a wall using the Main Mounting Bracket

About this task

The stainless-steel main mounting bracket (#37201) ships with the access point and can be used to mount the access point onto a wall. This is the recommended method of installation for a wall mounting procedure.

Procedure

  1. Using the main mounting bracket as a template, mark the hole centers on the wall.
    Note

    Note

    The four feet of the bracket and the direction of the arrow mark on the bracket must be pointing up. The flat part of the bracket must be touching the surface it is being attached to.
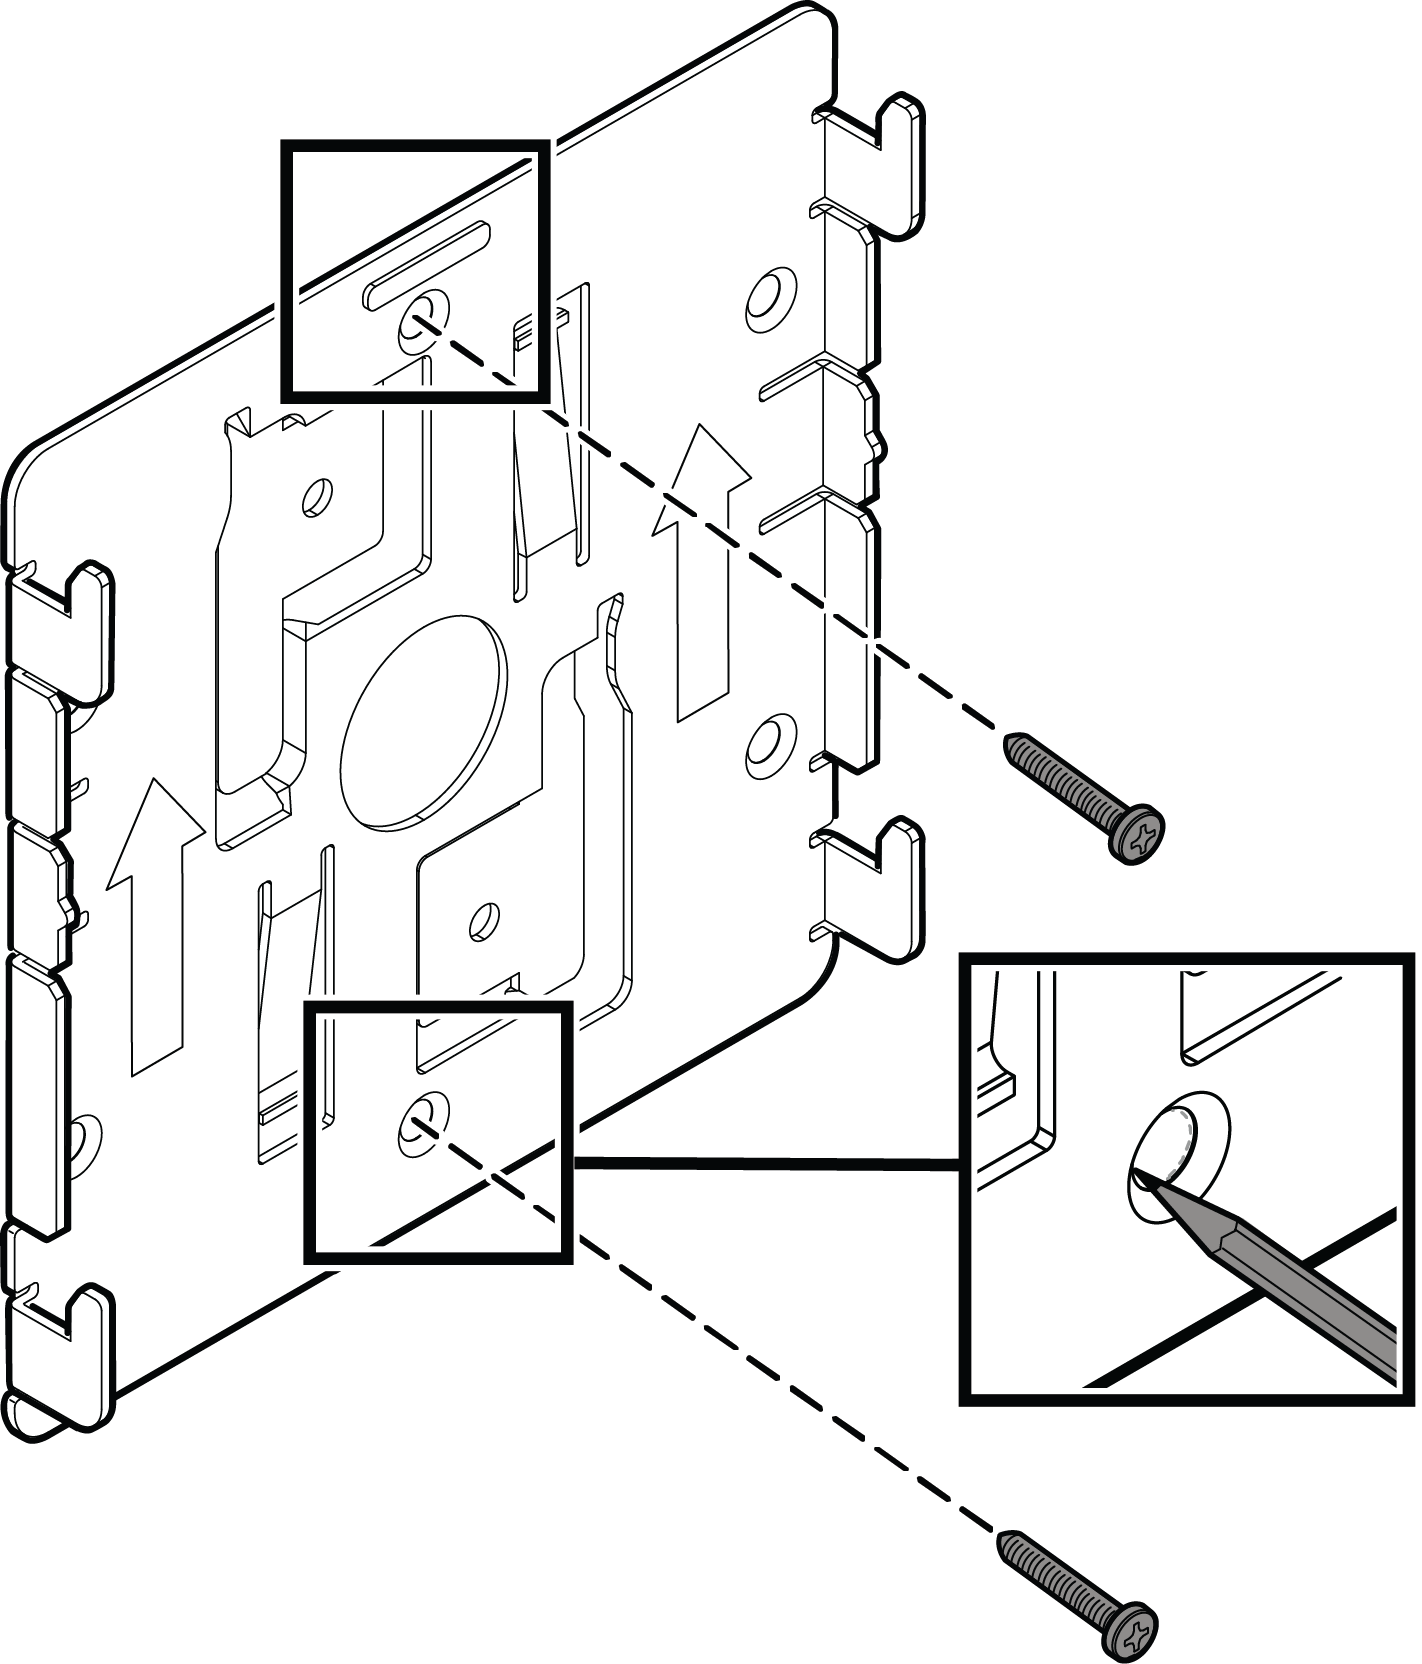
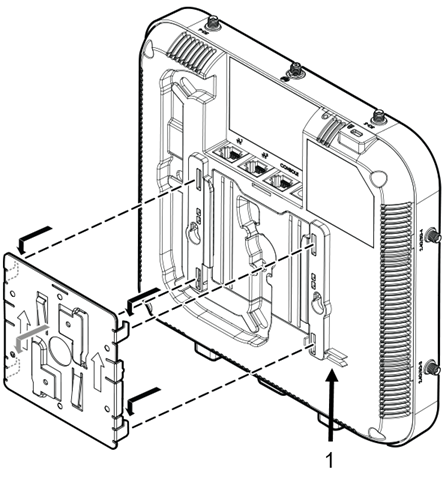
    Click to expand in new window
    Main mounting bracket direction with hole centers
  2. Drill two holes 83 mm (3.270") apart from each other on the wall where you want to mount the access point.
  3. Insert the screws into the holes of the mounting bracket and use the screw-in anchors if needed.
  4. Insert the Ethernet cable's RJ45 connector into the LAN1 port.
  5. Insert the access point onto the bracket's four feet and slide it down to lock it in place.
    Click to expand in new window
    Main mounting bracket attachment holes on the access point
    Label Description
    1 Guide posts to attach the security torx locking screw
    Click to expand in new window
    Mounting the access point onto the main mounting bracket
  6. Attach the security torx locking screw to keep the main mounting bracket in place.
    For more information, see Install a Security Torx Locking Screw.