Scheduling a Backup
When you schedule a backup, you can choose to upload the backup to a server, have the scheduled backup saved on your system or flash drive.
To schedule a backup:
-
From the top menu, click
Controller.
-
From the left pane, click
.
-
Click the Backup tab.
-
Click Schedule Backups.
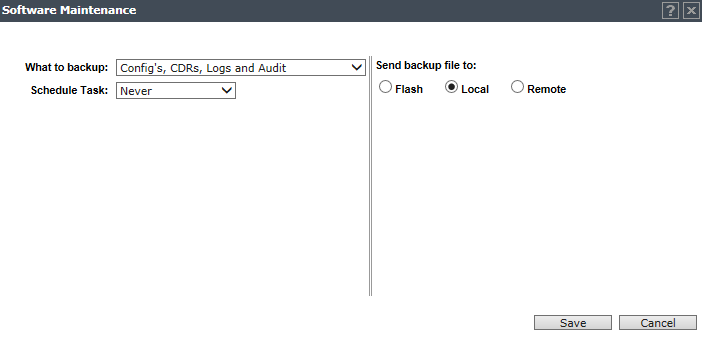
The
Software Maintenance screen is displayed.
-
In the What to
backup drop-down list, click what you want to backup:
- Configs, CDRs, Logs and Audit
- Configurations only
- CDRs only
- Logs only
- Audit only
-
In the Schedule task drop-down list, click the frequency of the backup:
- Daily – Click the
Start Time and Recurrence for
the backup.
- Weekly – Click the
Start Time and Recurrence for
the backup.
- Monthly – Click the
Start Time and Recurrence for
the backup.
- Never – Click to disable
schedule backup.
-
Under Send backup file to, select Flash, Local, or Remote.
-
If you select
Remote (scheduling a backup to a remote server), specify a
server to where the scheduled backup will be copied to. Do the following:
- Protocol – Click the file
transfer protocol you want to use to upload the backup file, SCP or FTP.
- Server – Type the IP
address of the server to where the scheduled backup will be copied to.

Note
The Server parameter supports both IPv4 and IPv6
addresses.
- User ID – Type the user ID
used to log into the server.
- Password – Type the
corresponding password for the user ID.
- Confirm – Type the
corresponding password for the user ID to confirm it was typed correctly.
- Directory – Type the
directory on the server where the image file will be stored.
-
To save your changes, click Save.
 Print
this page
Print
this page Email this topic
 Feedback
 View PDF
 Download EPUB