Installing Other Summit Switches in a Rack
This section describes how to install the following Summit switch
models:
- Summit X150
- Summit X250e
- Summit X350
- Summit X430 (except X430-8p)
- Summit X440 (except X440-8t)
- Summit X450
- Summit X450a
- Summit X450e
The following items are provided with your Summit switch:
- Mounting brackets
- Screws to secure the mounting brackets to the
switch
- Eight M3 screws for Summit X350, X440, X450, X450a, and
X450e series switches
- Twelve M4 screws for Summit X150 and X250e series
switches
- Four rubber mounting feet for table top stacking
Your Summit switch fits into a standard 19-inch equipment rack. it
can be installed in either of two ways:
-
Place the switch upright on a stable work
surface.
-
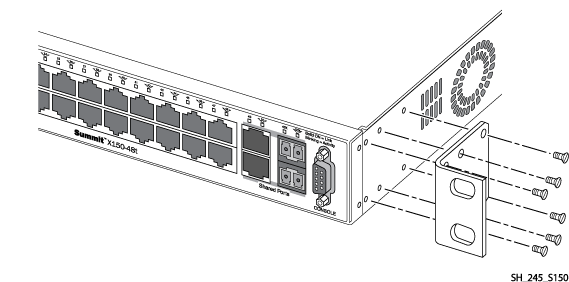
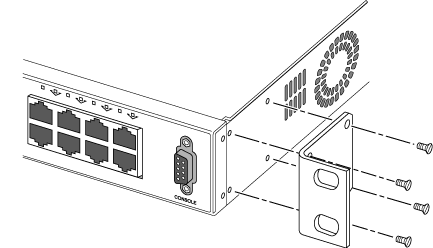
Place a mounting bracket over the mounting holes
on one side of the unit.
-
Insert the screws and fully tighten with a
suitable screwdriver, as shown in the following figures.
Attaching the Mounting Bracket: Summit X150
and X250e
Attaching the Mounting Bracket: Summit X350,
X440, X450, X450a, and X450e
- Repeat the previous two steps to
attach the other bracket to the other side of the switch.
- Slide the switch into the
equipment rack.
-
Secure the switch with suitable screws (not
provided).
-
Connect the power cables.
-
Connect the switch to the redundant power supply
(if applicable). For instructions to install and connect redundant power
supplies, see Installing Summit External Power Supplies.
 Print
this page
Print
this page Email this topic
 Feedback
 View PDF
 Download EPUB