Events are date ranges that you create to easily filter data of interest
during a particular duration. For example, you could create an event for
filtering data during the Christmas sale period or you could create an
event for a convention being held at your venue.
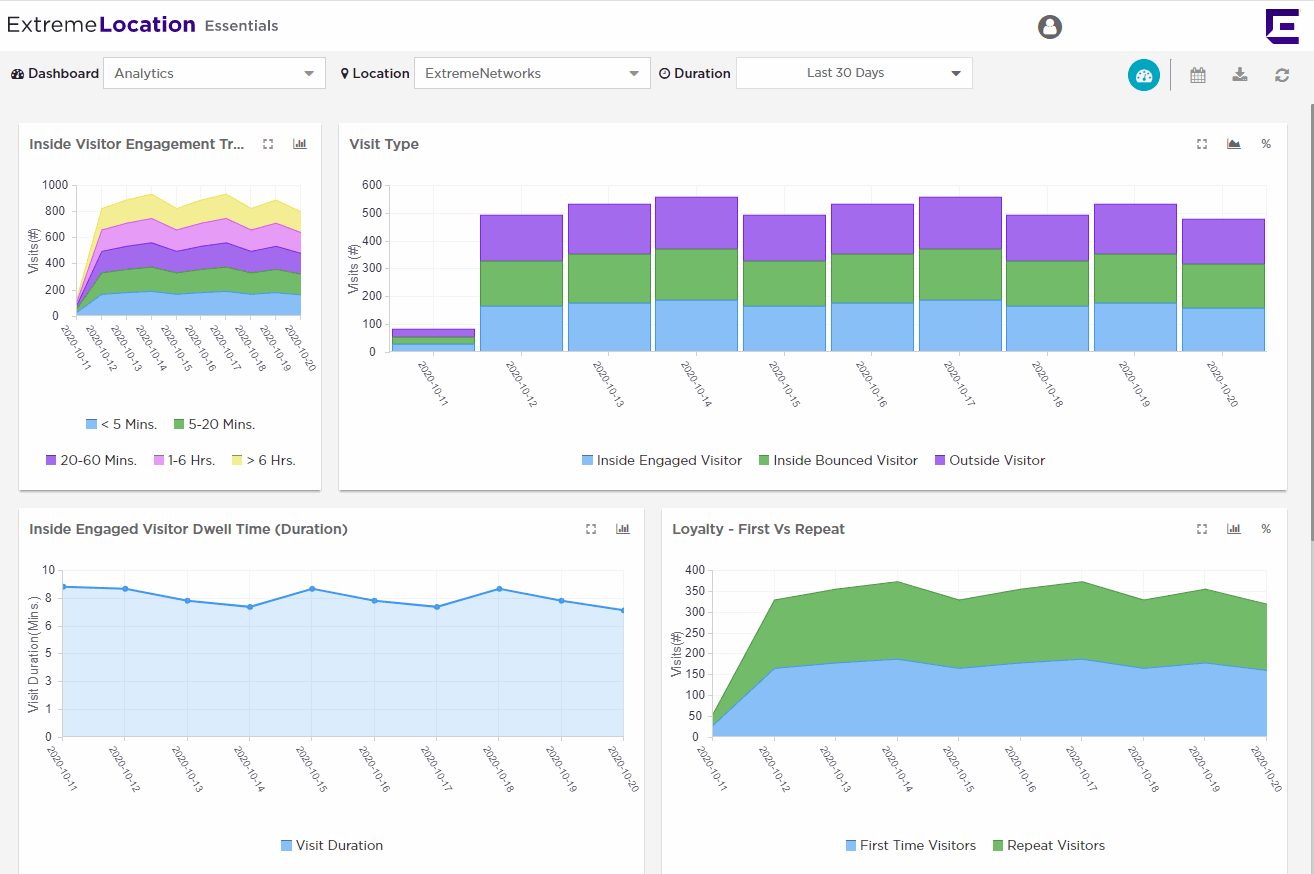
Select the icon from
the main menu to view the Dashboards screen.
The dashboard marked as
default automatically loads.
The Dashboard
Screen
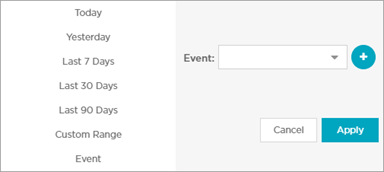
Use the Duration drop-down list to select a time duration to
filter the data. From the drop-down list, select Event.
The Event dialog
appears.
Event Dialog
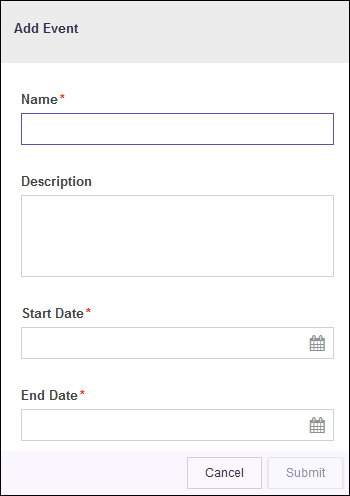
Select the button to the right of the
Event drop-down list.
The following dialog
appears.
Name
Provide a
name for the Event. This value is used when selecting this
event for filtering data. This is a mandatory field.
Description
Provide a
brief description about the event.
Start Date
Use the
calendar control next to this field to select a start date
for this event. This is a mandatory field.
End Date
Use the
calendar control next to this field to select the end date
for this event. This is a mandatory field.
Select Submit
to save this new event.
At any time, select
Cancel to exit without creating a new event.