To display the ExtremeLocation Essentials
dashboard:
Select the icon from
the main menu to view the Dashboards screen.
The dashboard marked as
default automatically loads.
The Dashboard
Screen
To select a
different dashboard, use the Dashboard drop-down list.
The
selected dashboard opens and displays the configured
data.
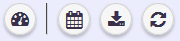
To manually
refresh the data on the screen, select the button from tool bar.
Note
The dashboard is refreshed automatically every 30
seconds.
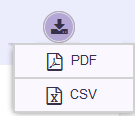
Select the
button from tool bar.
The
button expands to display a drop-down list.
Dashboard Download Options
Select the
PDF button to save the current state of the
dashboard as a Portable
Document Format (PDF) file. Select the CSV button to save the current state of the
dashboard as a Comma
Separated Value (CSV) file.
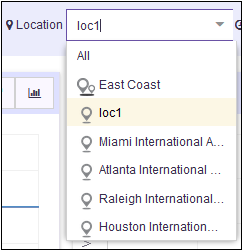
Use the
Location drop-down list to select a site
and to display the data for the selected site when multiple
sites are available under this ExtremeLocation
account.
Location Drop-Down List
The
dashboard refreshes to display data for the selected site or
group of sites.
Use the
Duration drop-down list to select a time
duration to display the data for.
The
drop-down provides a set of pre-configured durations for
filtering data. The available pre-configured durations are:
Today
- Displays the data for the current date. Excludes
data for all other dates.
Yesterday - Displays the data for the day before
the current date. Excludes data for all other dates
including data for the current date.
Last
7 Days - Displays the data for the last 7 days prior
to the current date. Includes data for the current
date. Excludes data for all other dates.
Last
30 Days - Displays the data for the last 30 days
prior to the current date. Includes data for the
current date. Excludes data for all other
dates.
Last 90 Days - Displays the data for the last 90 days prior to the
current date. Includes data for the current date. Excludes data for all
other dates.
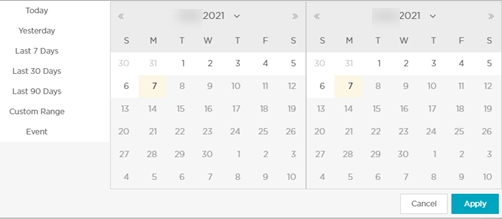
Custom Range - Displays
the data for a user selected date range. On selecting this option, the
following dialog displays.
Select the start date and end date for the custom range from the
displayed calendar and select Apply.
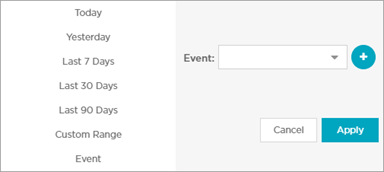
Event - Displays the data for user-created "Event" such as a sale or a conference. An Event is a
date range that is identified with a unique name.
Use the drop-down to select the event of interest
and select Apply.
 tool bar.

 tool bar to manually refresh
the data displayed on the current dashboard.
tool bar to manually refresh
the data displayed on the current dashboard.