Create Vendor Class
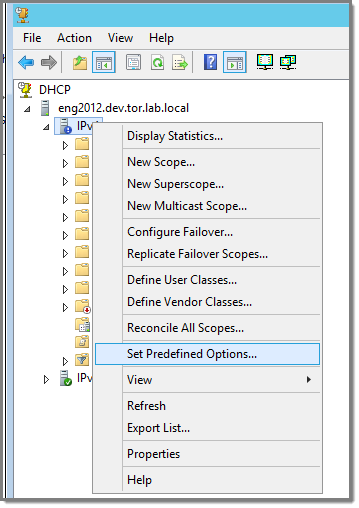
To create a vendor class using the Windows Server 2012 R2 DHCP, IPv4 server utility:
-
In the DHCP Server Utility,
right-click the DHCP server icon and select Define Vendor
Classes.
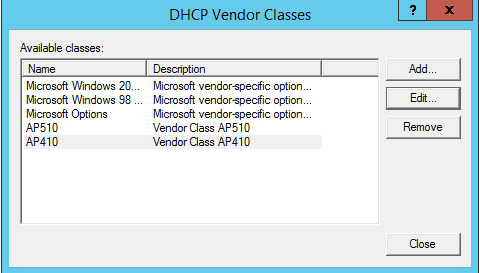
You will create a new vendor class to program the DHCP server to recognize the VCI ExtremeWireless <AP model name>.
 Define Vendor Classes
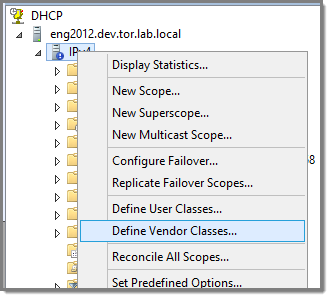 The DHCP Vendor Classes window displays.DHCP Vendor Classes
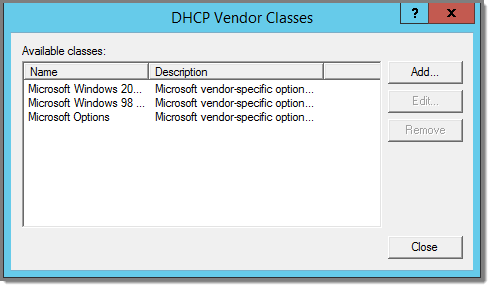
-
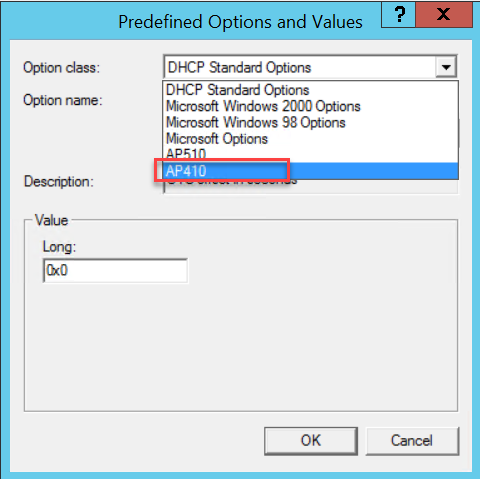
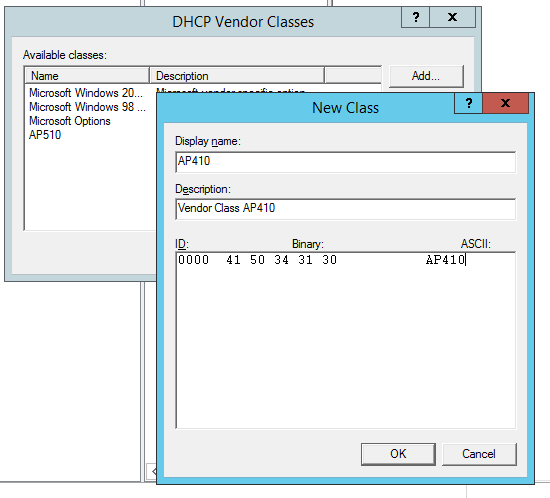
Select the ASCII field and
type the VCI for the specific AP. For example, type AP410 for an
AP410i.
The ID and Binary values are populated.VCI AP410
-
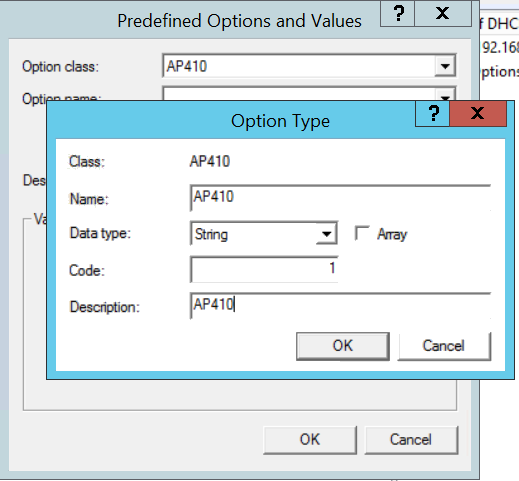
Select OK.
The new class is created.Vendor Classes