Do not use the rack-mount brackets to suspend
the EPS-C from under a table or desk, or to attach the EPS-C unit to a wall.
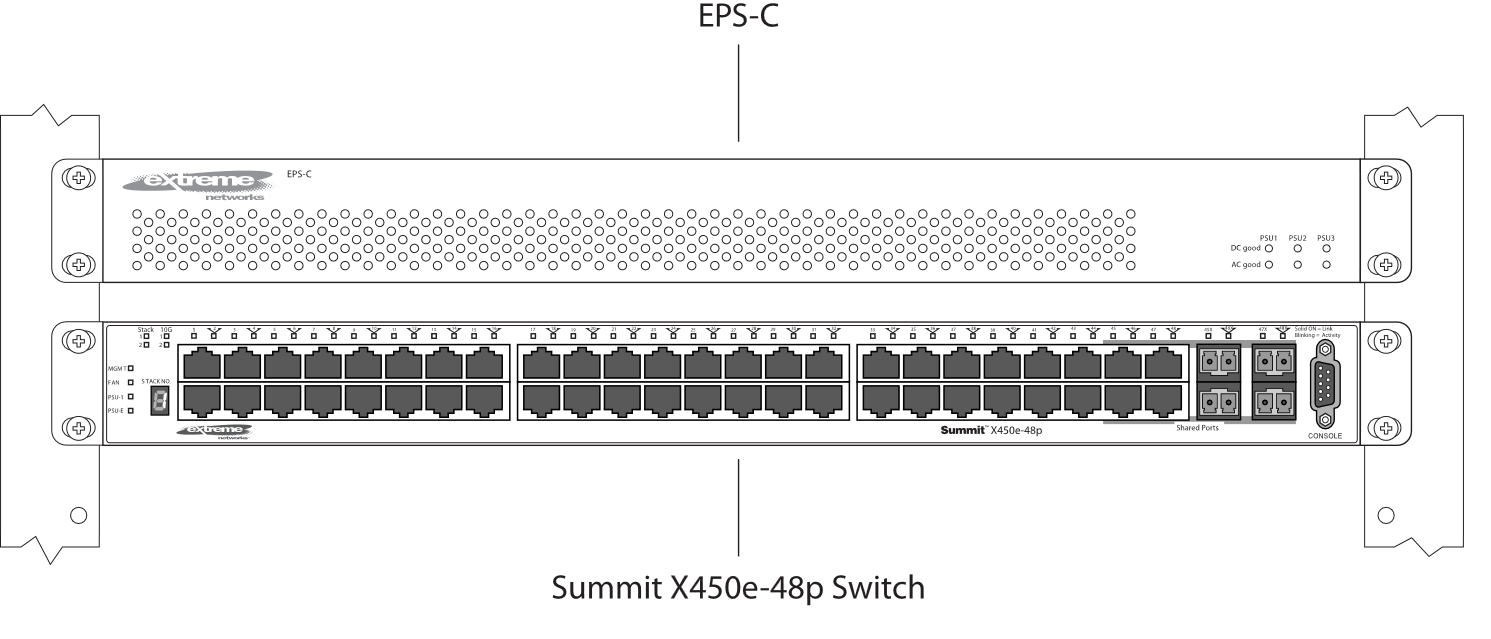
The EPS-C is intended for use only with a Summit X450e-48p or
X250e-48p switch. You can install the EPS-C above or below the switch.
EPS-C and Summit Switch
To rack-mount the EPS-C in a 19-inch rack, follow these steps:
Place the EPS-C upright on a secure work
surface.
Remove the mounting bracket kit from the
packaging.
Attach the mounting brackets as follows:
Place a rack-mount bracket over the
mounting holes on one side of the unit.
Insert the provided screws and tighten
them securely.
Attaching the Mounting Bracket
Attach the mounting bracket for the other
side of the EPS-C.
Slide the EPS-C into the rack and secure it using
appropriate rack-mount screws.
Connect the keyed end of the redundant power cord
to the EPS-C (see Installing the Redundant Power Cord). Verify that the side of the connector marked
TOP is facing up.
The key is a plastic tab on the cable connector housing
that fits into the EPS-C to ensure correct alignment of the connector.
Connect the other end of the redundant power cord
to the Summit X450e-48p or X250e-48p switch. Be sure that the side of the
connector marked TOP is facing up (see Installing the Redundant Power Cord).