The following tools and materials are required to install a V300 Virtual Port
Extender to a wall:
- ESD-preventive wrist strap
- M3.5 #2 Phillips screwdriver
(magnetic screwdriver recommended)
- M4 #2 Phillips screwdriver (magnetic srewdriver recommended) for
non-PoE models

Note
The mounting surface, item, and
hardware must be able to support the extender in all environmental conditions. The
mounting surface must also be flat.
Typical installation for the V300-8P-2T-W model include wall or table installations,
in addition to VESA mounting.
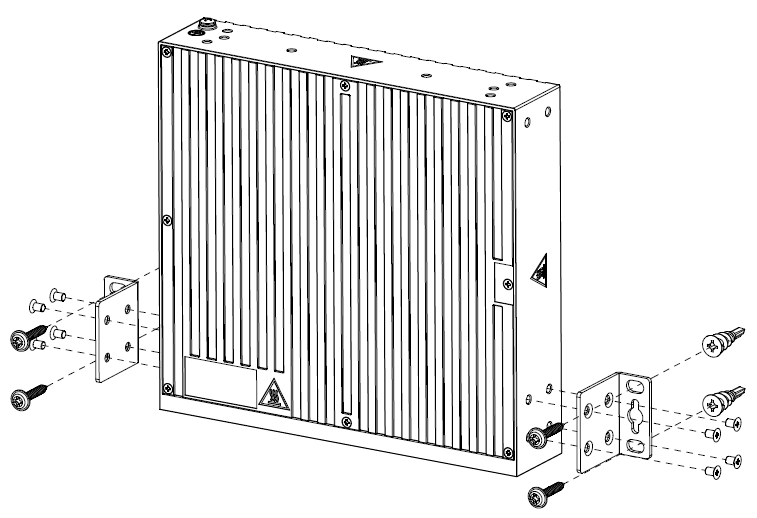
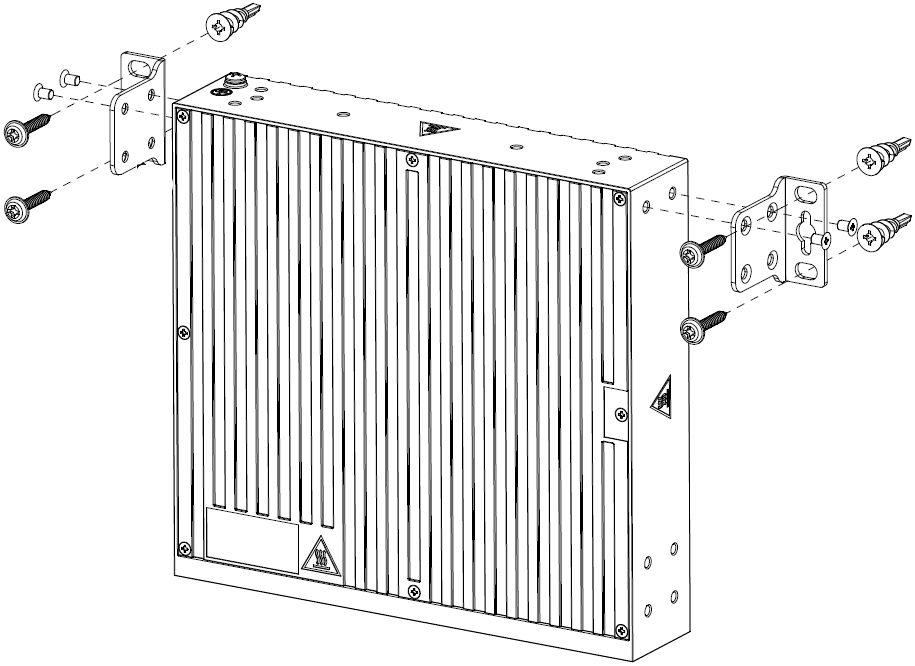
There are several orientations for installation on a wall. To install the
V300-8P-2T-W model on a wall:
-
Attach the short brackets to
both sides of the extender
The orientation for wall
mounting should be front panel facing down.
Two short brackets attached to
the extender by 4 wood screws and 4 anchors, provided in the accessory
kit.
V300-8P-2T-W Wall
Mounting
-
Use the optional short bracket
as a template and mark the holes to be used. Extreme recommends using 2 holes
per short rack ear.
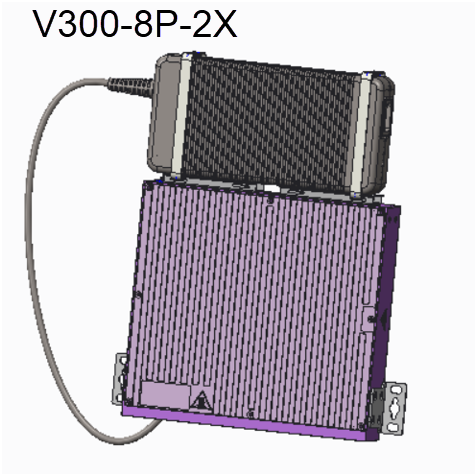
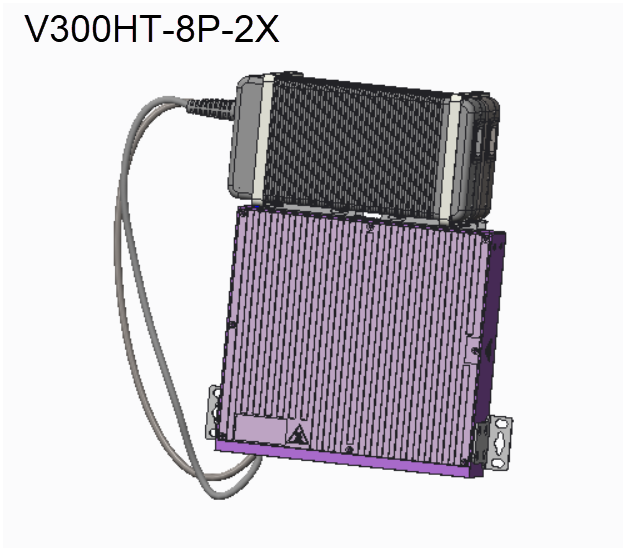
-
For non-PoE models, after
attaching the short brackets, attach the PSUs to the PSU mounting brackets using
two cable ties.
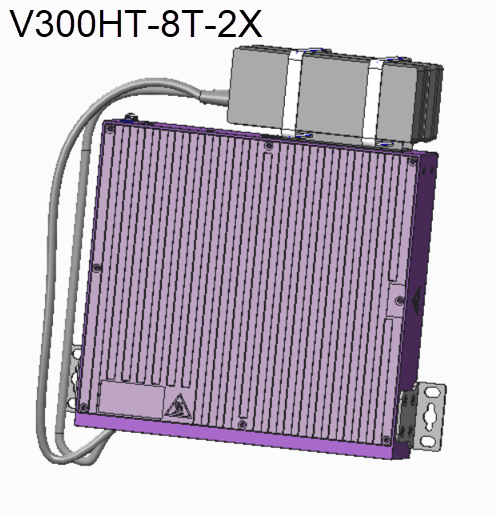
V300-8P/8T-2X Wall
Mount with PSU
V300HT-8P/8T-2X Wall
Mount with PSU
-
Drill the holes and attach the
bracket using the provdied woodscrews and anchors.
-
Connect the LAN/Ethernet cables
to the extender.
-
When power is connected, verify
that the SYS LED on the port extender turns green.