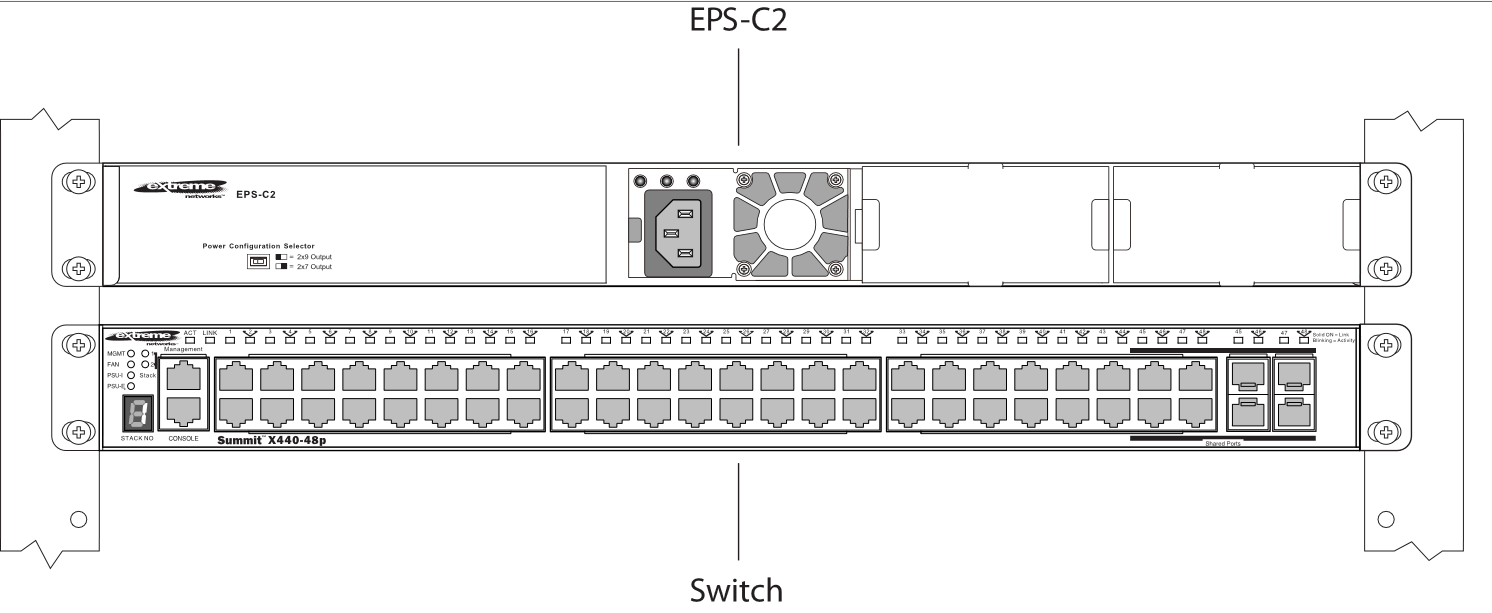
Installing an EPS-C2 Chassis
To mount the EPS-C2 chassis in a 19-inch rack, follow these
steps:
-
Place the EPS-C2 chassis upright on a secure work
surface.
-
Remove the mounting bracket kit from the
packaging.
-
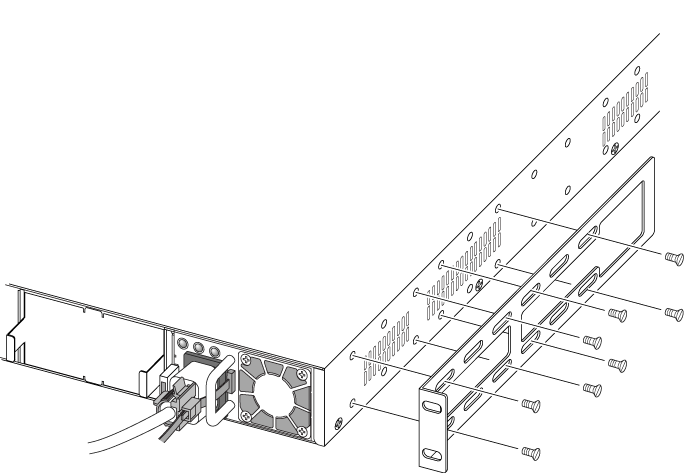
Attach the mounting brackets as follows:
-
Place a mounting bracket over the mounting
holes on one side of the EPS-C2 (see Attaching the Mounting Bracket to the EPS-C2 Chassis).
-
Insert the screws and fully tighten them
using a screwdriver.
Attaching the Mounting Bracket to the
EPS-C2 Chassis
-
Attach the mounting bracket for the other
side of the EPS-C2.
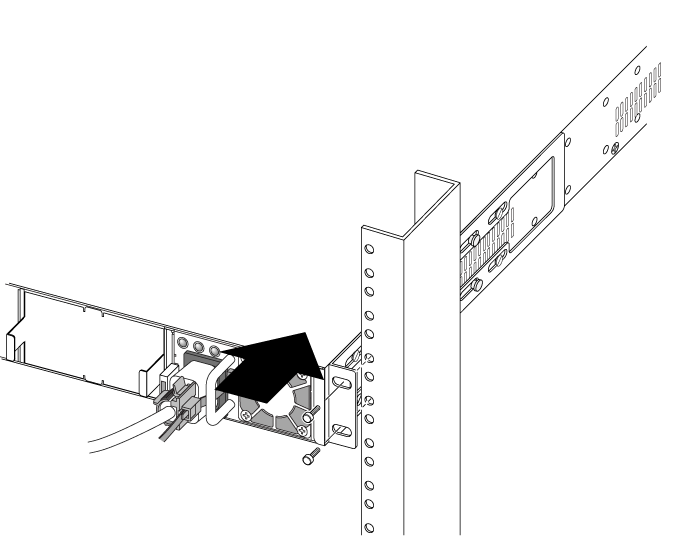
-
Slide the EPS-C2 into the rack and secure it using
appropriate rack-mount screws.
 Print
this page
Print
this page Email this topic
 Feedback
 View PDF
 Download EPUB