Place Devices on the Floor Plan
Manually place and configure your access points
(APs) and switches.
To place the devices:
-
To access the floor plan
feature, select . Alternatively, you can select a site from the list to edit and
select .
-
From the Drawing Tools
menu, in the Place
Devices section, select a device from the drop-down list, or
enter the serial number in the text box to filter the list. Select the serial
number in the list and then select anywhere on the floor plan to drop the
device. Devices must be placed one at a time. Repeat this step as needed until
all of your devices are placed.

Note
To change the placement of
a device, select

and then place your cursor on the device and move it on the floor plan. To
delete a device from the floor plan, right-click on the device icon and
select
Delete.
-
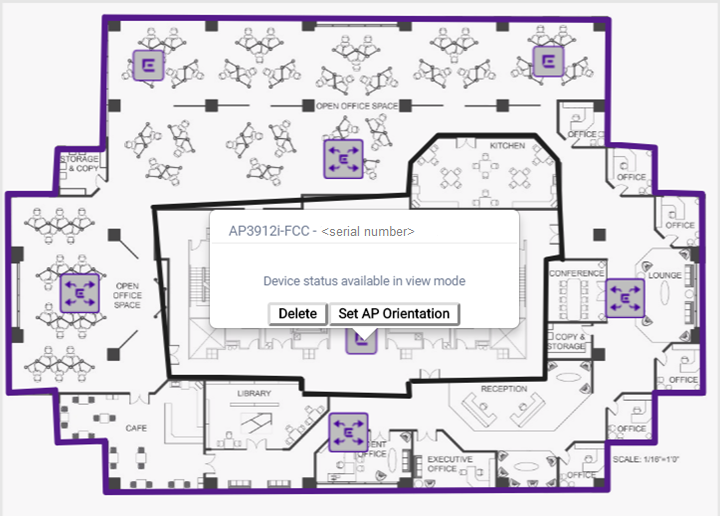
(Optional) To configure the
orientation of an AP, right-click on the AP in the floor plan and select
Set AP
Orientation.
-
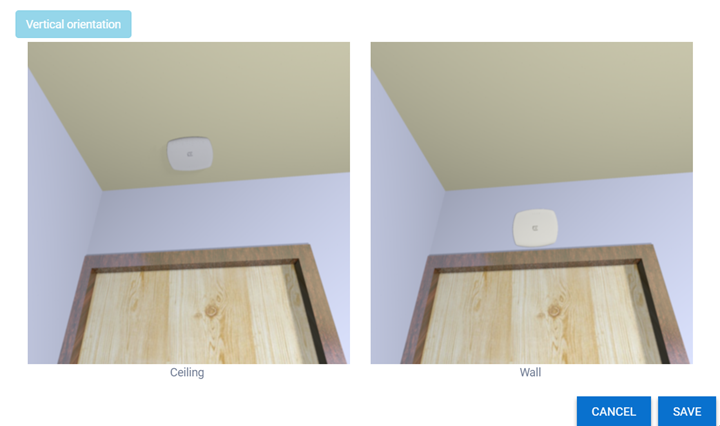
In the dialog that opens, select the mounting
position, which can be either Ceiling or
Wall. Select Save.
Configuring the AP
Orientation
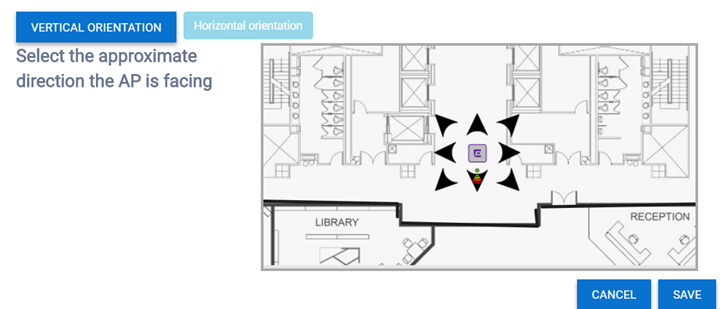
If you select Wall, a dialog
opens that lets you specify the direction that the AP is facing.
-
To specify the direction of an
AP, select the directional arrow that the AP is facing. The selected arrow is
marked with a Wi-Fi icon. Select Save.
AP Direction
Configured to the South
-
To save the entire floor plan, select Save in the upper
right corner of the Manage Floor Plans page.
 Print
this page
Print
this page Email this topic
 Feedback
 View PDF
 Download EPUB