Configure Class of Service
The set of rules included in a role, along with any
access or Class of Service (CoS) defaults, determine how all network traffic of any
client assigned to the role will be handled. For example, a Doctor role can be
assigned a higher priority CoS and default access control due to the sensitivity and
urgency of services that a doctor provides to patients.
To configure CoS:
-
Select from the menu.
-
Select Add, or select an existing
Class of Service from the list.
The Class of Service
Configuration page opens.
-
Edit the fields.
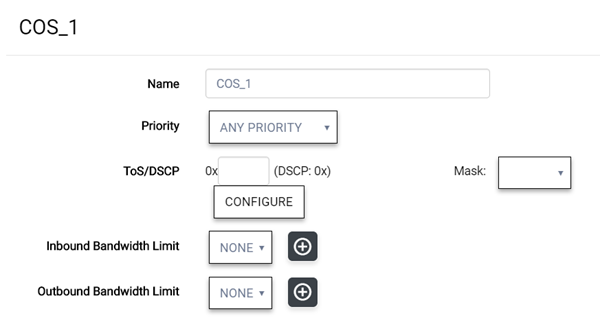
Class of Service Configuration
| Name |
Naming should reflect the priority for your
organization and be easily recognized by your IT team, such as Bulk
Data or Critical Data. |
| Priority |
Define how the Layer 2 priority of the packet
will be marked. Priority 0 is the highest priority. |
-
For ToS/DSCP, define how the Layer 3 ToS/DSCP will be marked. Enter
a hexadecimal value in the 0x
(DSCP:) field, or select Configure to open the
ToS/DSCP
dialog.
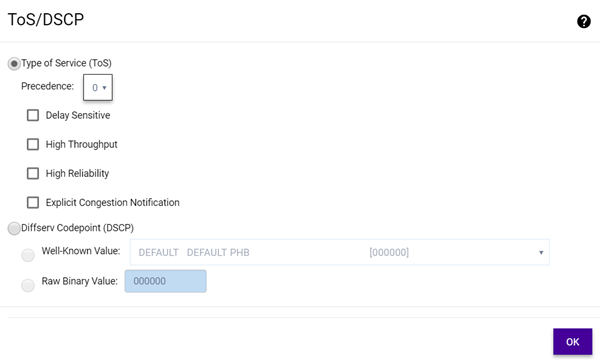
-
(Optional) In the ToS/DSCP dialog, select
either Type of Service
(ToS) or Diffserv
Codepoint (DSCP). Set the related options, and select OK.
| Precedence |
Assign a priority to the packet. Packets with
lower priority numbers are more likely to be discarded by congested
routers than packets with higher priority numbers. |
| Delay Sensitive |
Specifies that the high priority packets will be
routed with minimal delay. It can be useful to enable this option
for voice protocols. |
| High Throughput |
Specifies that high priority packets will be
routed with high throughput. |
| High Reliability |
Specifies that high priority packets will be
routed with low drop probability. |
| Explicit Congestion Notification (ECN) |
Permits end-to-end notification of network
congestion while preventing dropped packets. ECN can be used only
with two ECN-enabled endpoints. |
| Well-Known Value |
These values are explicitly defined in the DSCP
related RFCs and implemented on many vendors' switches and
routers. |
| Raw Binary Value |
Specify a binary value if you want finer
definition of priority. |
-
In the CoS dialog, set the
Mask value.
| Mask |
Select a hexadecimal value to use for the
ToS/DSCP value. For example, if the mask is 0xF0, then only the four
most significant bits of the ToS of the received packets are marked.
So, if the received ToS is 0x33 and the ToS marking is set to 0x2A,
then the resulting ToS is 0x23. |
-
Select the inbound and outbound
bandwidth limits from the drop-down lists. If needed, select
 to
configure new bandwidth limits.
to
configure new bandwidth limits.
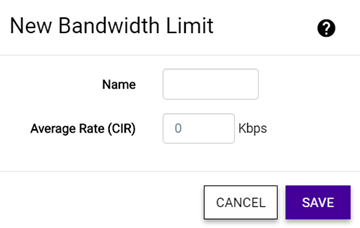
New Bandwidth Limits Dialog
| Inbound Bandwidth Limit |
Inbound traffic is sent from the client to the
network. Rate limits are enforced on a per-client basis whether the
rate limit is assigned to a rule, role, or WLAN. Each client has its
own set of counters that are used to monitor its wireless network
utilization. Traffic from other clients never count against a
client's rate limits. Maximum Number
of Limiters per Group: 8 inbound |
| Outbound Bandwidth Limit |
Outbound traffic is sent from the network
towards the client. Maximum Number of
Limiters per Group: 8 outbound |
-
Select Save.
 Print
this page
Print
this page Email this topic
 Feedback
 View PDF
 Download EPUB