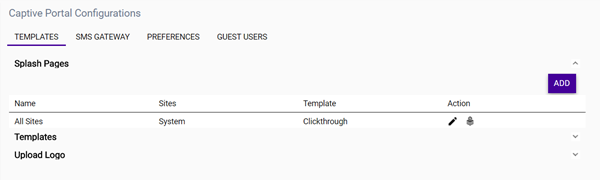
Use a captive portal to provide Internet access to guest users.
To configure a new splash screen:

Note
Alternatively, you can duplicate and edit one of the default templates from . Default, non-editable templates are provided to serve as an example when you customize your splash screens. To duplicate a default template, select .
.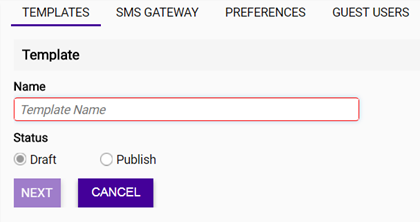
Note
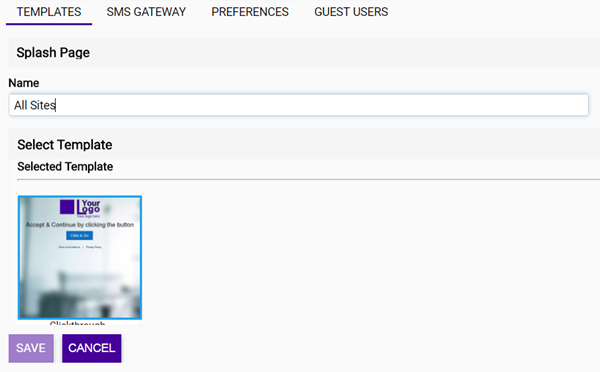
Only published templates can be assigned to a site. Templates that are in Draft mode are not made available on the list and cannot be associated with a site.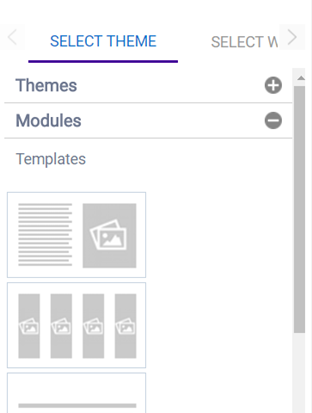
 . Use
the built-in color palette to select the background color of the theme or widget
that you selected.
. Use
the built-in color palette to select the background color of the theme or widget
that you selected.
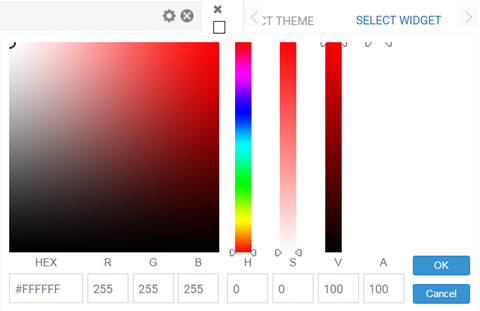
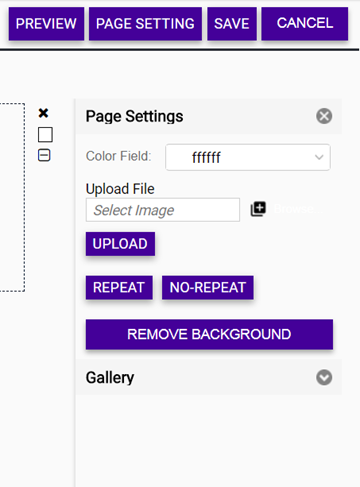
| Color Field | Use the built-in color palette to select the background color of the splash template. This background color can be viewed in the Preview mode. |
| Upload File | Uploads and inserts a new background
image. Select  , and select the file on your local system.
Select Upload File. A thumbnail of
the uploaded image is also added to the Gallery section. Multiple images can be uploaded, however, only one image can
be used as a background image at a time. , and select the file on your local system.
Select Upload File. A thumbnail of
the uploaded image is also added to the Gallery section. Multiple images can be uploaded, however, only one image can
be used as a background image at a time. |
Note
If the image is small and does not cover the entire page, select Repeat to repeat the image as multiple tiles in the background. Select No-Repeat to prevent the image from displaying as tiles.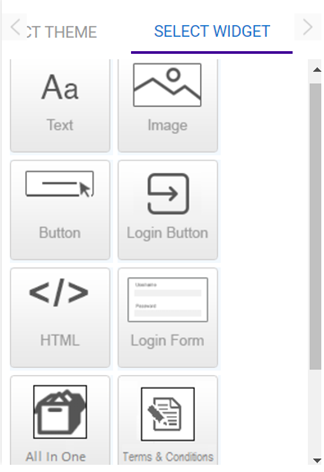
 to the right of a widget bar. (Edit each widget individually.) The widget editor
opens. Text fonts, styles, colors, and hyperlinks can be managed using the
widget toolbar. You can add an image from your local drive using Upload File or drag and drop
an image from the Gallery pane. After inserting the image, customize the image
placement and size using the Alignment, Width, and Height controls.
to the
right of a widget bar. The HTML widget lets you design your web page from scratch, without
using any of the system-provided templates or widgets.
to the right of a widget
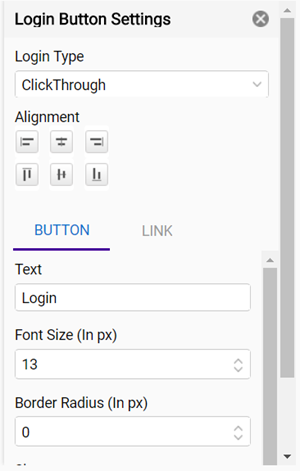
bar. The Login
Button widget creates a button that directs the user to a
predefined URL. You can edit the URL, button label, font, color, size,
alignment, and background color.
to the right of a widget bar. (Edit each widget individually.) The widget editor
opens. Text fonts, styles, colors, and hyperlinks can be managed using the
widget toolbar. You can add an image from your local drive using Upload File or drag and drop
an image from the Gallery pane. After inserting the image, customize the image
placement and size using the Alignment, Width, and Height controls.
to the
right of a widget bar. The HTML widget lets you design your web page from scratch, without
using any of the system-provided templates or widgets.
to the right of a widget
bar. The Login
Button widget creates a button that directs the user to a
predefined URL. You can edit the URL, button label, font, color, size,
alignment, and background color.

 Print
this page
Print
this page Email this topic
 Feedback
 View PDF
 Download EPUB