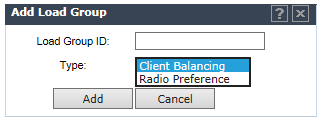
To create a load balance group:
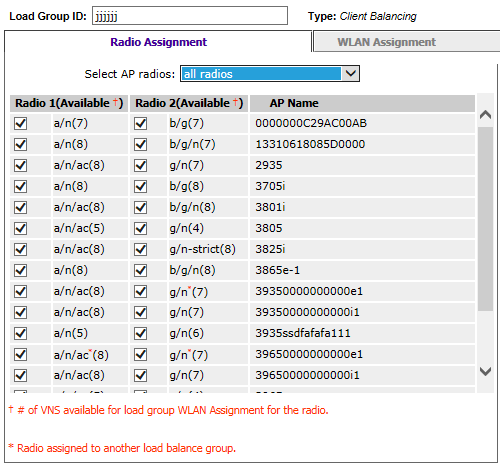
If you are adding a Client Balancing load balancing group, the Radio Assignment tab becomes available.
If you are adding a Radio Preference load balancing group, the Radio Preference tab becomes available.
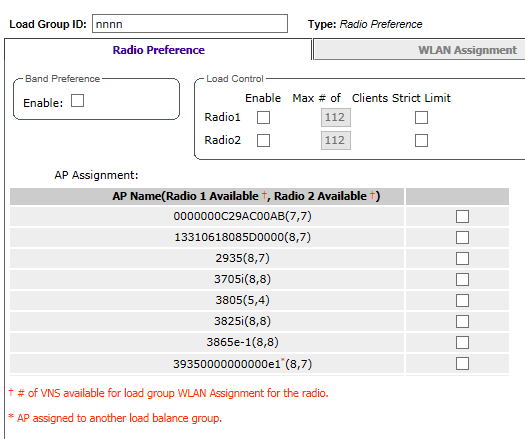
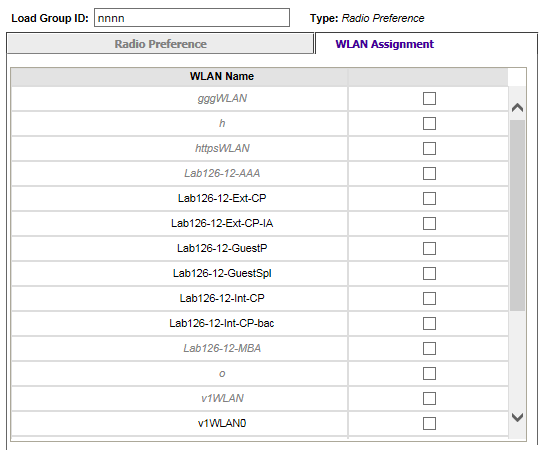
The radios for both types of load groups can be assigned to a WLAN (Wireless Local Area Network), on the WLAN Assignment tab.
You can filter the display of AP Groups. In the left pane, Expand Client Balancing to see only Client Balancing groups. Expand Radio Preferenceto see only Radio Preference groups.

Note
For more information about the fields on these screens, see Configuration Parameters for AP Load Groups. Print
this page
Print
this page Email this topic
 Feedback
 View PDF
 Download EPUB