The Captive Portal Editor enables you to configure the look and feel of a captive portal page.
To configure the editor:

Note
The Captive Portal Editor page supports only one administrator editing a captive portal page at one time.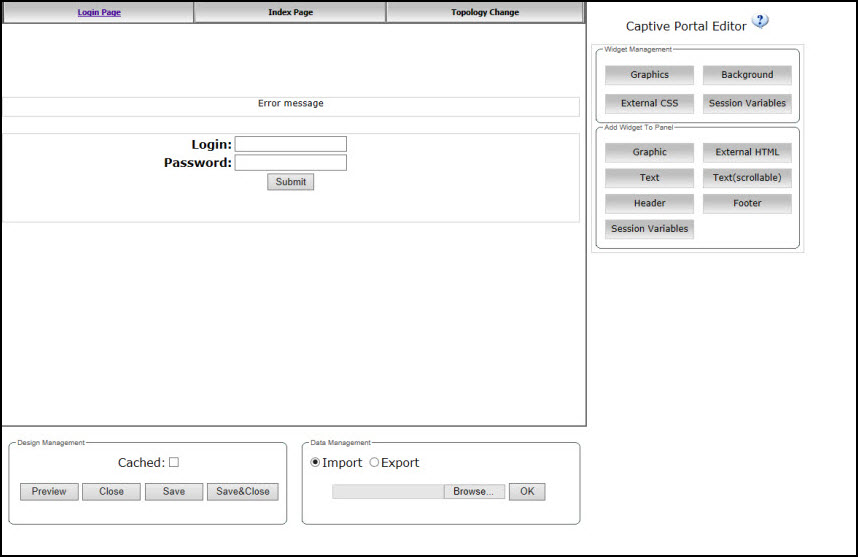

Caution
In order for Captive Portal authentication to be successful, all the URLs referenced in the Captive Portal setup must also be specifically identified and allowed in the non-authenticated filter. For more information, see Policy Rules.Caution
If you use logos or graphics, ensure that the graphics or logos are appropriately sized. Large graphics or logos may force the login section out of view. Print
this page
Print
this page Email this topic
 Feedback
 View PDF
 Download EPUB