Setting Up 802.1x Authentication for
Wireless APs Using Managing Certificates
In addition to configuring APs individually, you can also configure 802.1x authentication for multiple APs simultaneously by using the AP 802.1x Multi-edit feature.
When you use the AP 802.1x Multi-edit feature, you can choose to:
-
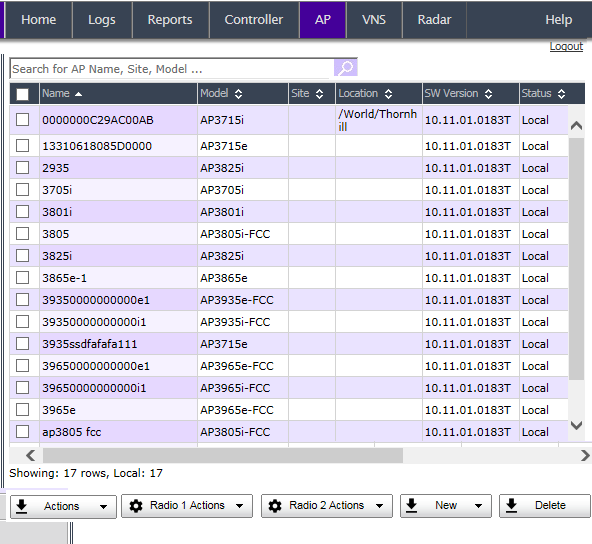
From the top menu, click
AP.
The AP screen
displays.
-
In the APs list, select one or
more APs to configure. To search for a specific AP, enter the AP in the search bar
and click
 .
.
-
Click
-
In the Certificate Signing Request section, type the following:
- Country name — The
two-letter ISO abbreviation of the name of the country
- State or Province name —
The name of the State/Province
- Locality name (city) — The
name of the city
- Organization name — The
name of the organization
- Organizational Unit name —
The name of the unit within the organization
- Common name — Click the value you want to assign as the common
name of the wireless AP (see Credential Parameters for
credential parameters and values).
- Email address — The email
address of the organization
- Key Size — If the email address key size is
different from the default value shown, you can change it by selecting a new
value from the drop down menu.
-
Click Generate Certificates. The AP 802.1x Multi-edit progress dialog is
displayed, which provides the status of the configuration process. Once complete, the
File Download dialog is
displayed.
-
Click Save. The Save as window is displayed.
-
Navigate to the location on your computer that you want to save the generated certificate_requests.tar file, and then click Save.
The certificate_requests.tar file contains a certificate request (.csr) file for each AP.
-
Do one of the following:
- For each certificate request, generate a
certificate using the third-party Certificate Authentication application. This
method produces a certificate for each wireless AP. Once complete, zip all the
certificates files (.cer) into one .zip file.
- Use one of the certificate requests and generate one certificate using the Certificate Authentication application. This method produces one certificate that can be applied to all APs.
-
In the Bulk Certificate Upload section, click Browse. The Choose file window is displayed.
-
Navigate to the location of the file (.zip or .cer), and then click Open. The name of the file is displayed in the PFX, CER or ZIP Archive box.
-
Click Upload and Set certificates. Once complete, the Settings updated message is displayed in the footer of the Wireless
Assistant.
The 802.1x EAP-TLS authentication configuration is assigned to the APs. The APs can now be deployed to 802.1x enabled switch ports.
 Print
this page
Print
this page Email this topic
 Feedback
 View PDF
 Download EPUB