Creating a Data VNS Using the VNS Wizard
- Summary Screen
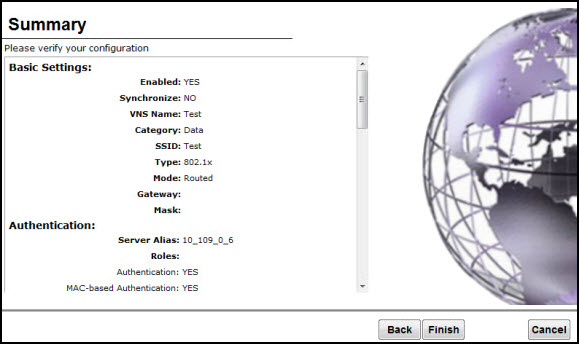
The Summary screen
displays:
-
Confirm your data VNS
configuration. To revise your configuration, click Back.
-
To create your VNS,
click Finish, and then click
Close.
The data VNS is created and saved.
-
If applicable, you can
continue to configure or edit the new VNS by clicking the individual VNS
configuration tabs.
If the controller is configured to be
part of an availability pair, you can chose to synchronize the VNS on the
secondary controller. See
Availability and Session Availability
for more information.
 Print
this page
Print
this page Email this topic
 Feedback
 View PDF
 Download EPUB