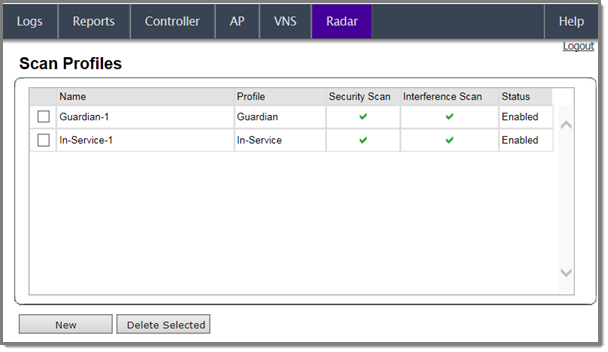
Scan Profiles - Fields and Buttons
| Field/Button | Description |
|---|---|
| Name | The name of the scan profile. |
| Profile | In-Service or Guardian. |
| Security Scan | Indicates whether the profile enables security scanning on APs
assigned to the profile. Indicates that the scan profile enables security scanning. Indicates that the scan profile does not enable security scanning. |
| Interference Scan | Interference classification compares patterns in RF interference to
known interference patterns to help identify the source of the
interference. Indicates that the interference scan classification is enabled on specific APs assigned to the profile. Indicates that the interference scan classification is not enabled on specific APs assigned to the profile. |
| Status | Enabled: Indicates that the scan profile is enabled (for example, whether the APs assigned to the profile are scanning in accordance with the profile). Scan profiles are Enabled if either security scanning or interference scanning is enabled. |
| Disabled: Indicates that the scan profile is disabled. A disabled profile means the profile is defined but any APs assigned to the profile are not performing scans. | |
| New | Click to create a new scan profile (see Adding a New Scan Profile). |
| Delete Selected | Click to delete the selected scan profile. |
 Print
this page
Print
this page Email this topic
 Feedback
 View PDF
 Download EPUB