
Warning
To prevent an electrical hazard, make sure that the AC power cord is not connected to the power supply before you install the power supply in the power supply bay.
Caution
Make sure the AC power supply circuit is not overloaded. Use proper overcurrent protection, such as a circuit breaker, to prevent overcurrent conditions.An AC power cord is not included with the AC power supply. You can purchase AC power cords for use in the US and Canada from Extreme Networks or from your local supplier. The cord must meet the requirements listed in Power Cord Requirements for AC-Powered Switches and AC Power Supplies.
To install a 350 W, 715 W, 770 W, 1100 W, or 2000 W AC power supply in a switch, follow these steps:
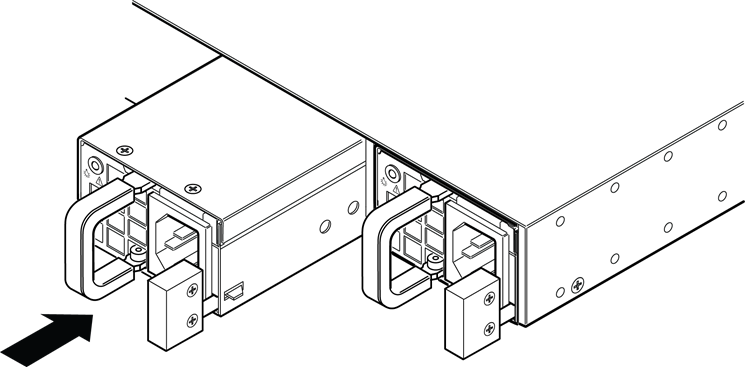
Caution
Do not slam the power supply into the switch.
Note
If power supplies are not installed in both power supply bays, be sure to install a cover over the unoccupied bay. Unoccupied bays must always be covered to maintain proper system ventilation and EMI levels.Warning
Always make sure that the source outlet is properly grounded before plugging the AC power cord into the AC power supply.