Device Fingerprinting

With an increase in Bring Your Own Device (BYOD) corporate networks, there's a parallel increase in the number of possible attack scenarios within the network. BYOD devices are inherently unsafe, as the organization's security mechanisms do not extend to these personal devices deployed in the corporate wireless network. Organizations can protect their networks by limiting how and what these BYODs can access on and through the corporate network.

Device fingerprinting enables administrators to control how BYOD devices access the network and to control their access permissions.

Note

Note

Ensure that DHCP is enabled on the WLAN on which device fingerprinting is to be enabled.
Note

Note

The WiNG 7.1 release does not support device fingerprinting on AP505 and AP510 model access points. This feature will be supported in future releases.

To configure device fingerprinting:

  1. Go to Configuration → Security → Device Fingerprinting .
    The Client Identity screen displays.
    Click to expand in new window
    Security - Device Fingerprinting - Client Identity Screen
    GUID-A4D75230-F886-48F4-94D4-73B62B216044-low.png
  2. Select Add to create a new client identity policy.
    Client identity policies configure the signatures used to identify clients and then use these signatures to classify and assign permissions to them. A set of pre-defined client identities are included.

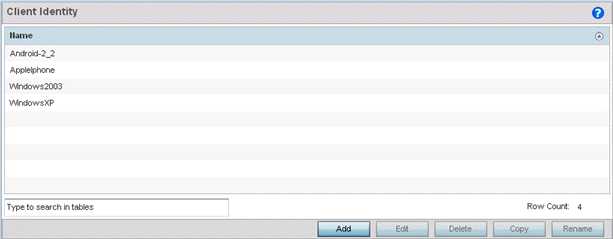
    Click Edit to modify a selected policy, or Delete to remove obsolete policies from the list of those available.

    Click to expand in new window
    Security - Device Fingerprinting - New Client Identity Screen
    GUID-00FDCFA8-66AF-4184-B00E-A9B4255790D2-low.png
  3. Select Pre-defined and use the drop-down menu to select from a list of pre-defined client identities.
    Once a client identity is selected from the drop-down menu, the DHCP Match Criteria field is populated with the fingerprints for the selected client identity
    Click to expand in new window
    Security - Device Fingerprinting - New Client Identity - Pr-Defined Identity Screen
    GUID-894825F4-0F26-4E7A-BFD8-094095AEE1B6-low.png
  4. To create a custom client identity, select Custom and provide a name in the adjacent field.
    Click the OK button at the bottom of the screen.
  5. From the DHCP Match Message Type drop-down menu, select the message type to match.
    The available options are request, discover, any, and all. Use this option to select the message type on which the fingerprint is matched.
    request Indicates the fingerprint is only checked with any DHCP request message received from any device.
    discover Indicates the fingerprint is only checked with any DHCP discover message received from any device.
    any Indicates the fingerprint is checked with either the DHCP request or the DHCP discover message.
    all Indicates the fingerprint is checked with both the DHCP request and DHCP discover message.
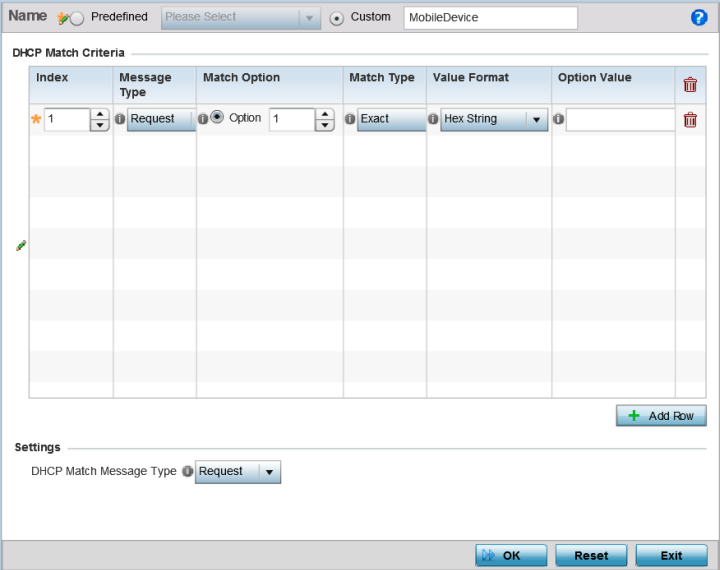
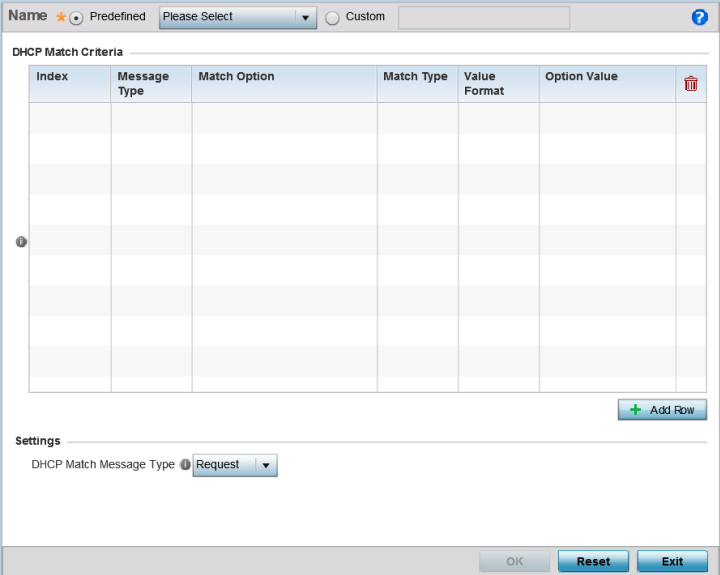
  6. Click Add Row to add a new signature to include in the client identity.
    Click to expand in new window
    Security - Device Fingerprinting - Client Signature Screen
    GUID-277B8902-4813-43C8-A7B5-224D7A01A794-low.png
  7. Provide the following information for each device signature:
    Index Use the spinner control to assign an index for this signature. A maximum of 16 signatures can be created in each client identity.
    Message Type Use the drop-down menu to designate the DHCP message in which to look for the signatures.
    • Request – Looks for a signature in DHCP request messages.
    • Discover – Looks for a signature in DHCP discover messages.
    Match Option The Match Option field contains the following options:
    • Option Codes – Indicates that the Option Codes passed in the DHCP request/discover message are used for matching.

      Options are passed in the DHCP discover/request messages as Option Code, Option Type, Option Value sets. When Option Codes is selected, all the Option Code passed in the DHCP discover/request are extracted and a fingerprint is derived. This derived fingerprint is used to identify the device.

    • Option – Indicates that a specific DHCP Option is used to identify the device. When this option is selected, a text box is enabled to input the DHCP Option that is used for fingerprinting.
    Match Type Use the drop-down menu to select how the signatures are matched. Available options include:
    • Exact – The complete signature string matches the string specified in the Option Value field.
    • Starts With – The signature is checked if it starts with the string specified in the Option Value field.
    • Contains – The signature is checked if it contains the string specified in the Option Value field.
    Value Format Use the drop-down menu to select the character format of the value that is being checked. The value can be either ASCII or Hexa String.
    Option Value Use this text box to set the 64-character maximum DHCP option value to match.
  8. Click OK to save the changes.
    Select Reset to revert all changes made to this screen.

    Click Exit to close the Client Identity screen.

  9. From the main menu on the left, select Client Identity Group.
    Click to expand in new window
    Security - Device Fingerprinting - Client Identity Group
    GUID-F9945186-F657-4F5F-8119-69D8F67A85B3-low.png

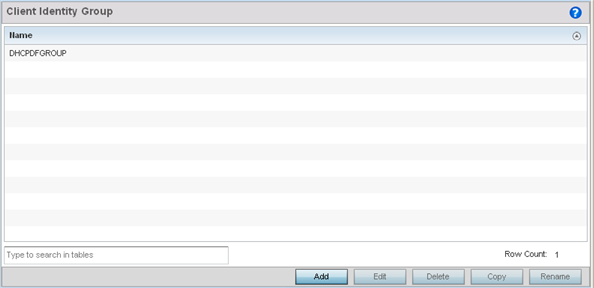
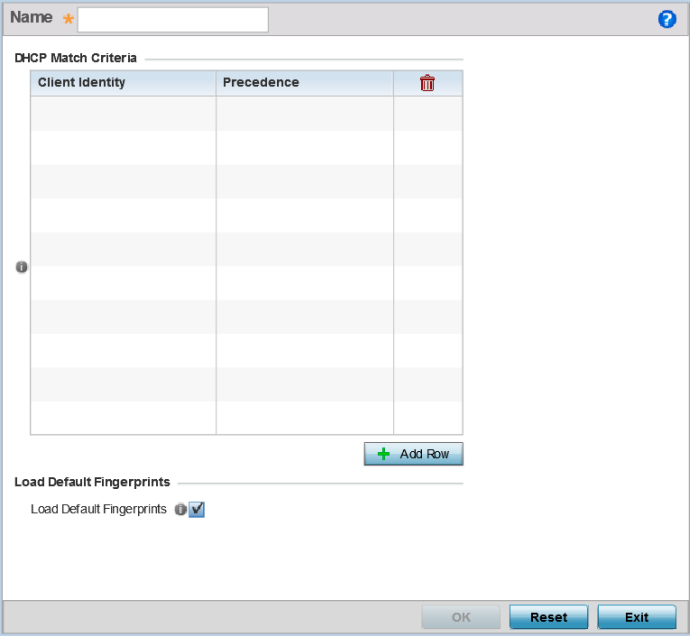
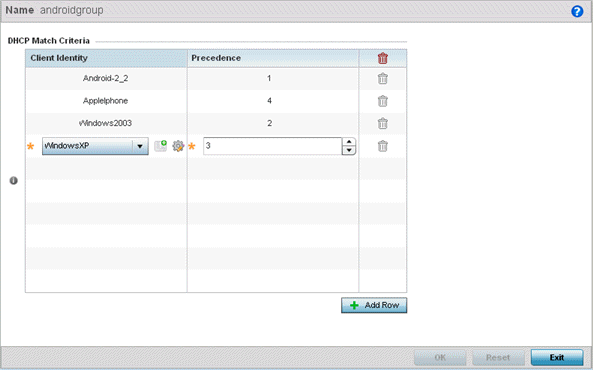
    A Client identity group is a collection of client identities. Each client identity included in a client identity group is set a priority value that indicates the priority for that identity when device fingerprinting.

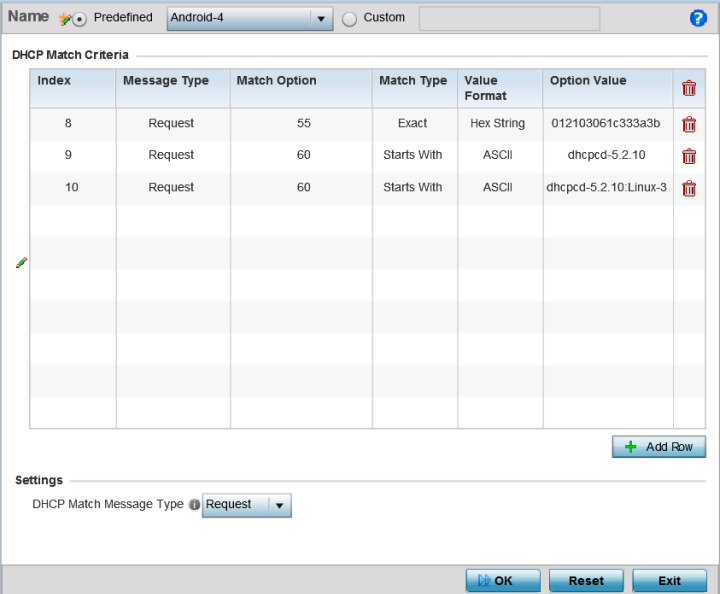
    Device fingerprinting relies on specific information sent by a client when acquiring an IP address and configuration information from a DHCP server. Device fingerprinting uses the DHCP options sent by the wireless client in DHCP request or discover packets to derive a unique signature specific to a device class. For example, Apple devices have a different signature from Android devices. This unique signature is used to classify the devices and assign permissions and restrictions on each class.

  10. Select Add to create a new Client Identity Group policy.
    Client Identity Group policies configure the signatures used to identify clients and then use these signatures to classify and assign permissions to them.

    Click Edit to modify the attributes of a selected policy or Delete to remove obsolete policies from the list of those available.

    Click to expand in new window
    Security - Device Fingerprinting - Client Identity Group - New Client Identity Group
    GUID-7BD5FA62-148A-4CA5-90BE-587FF013446E-low.png
  11. Provide a name in the Name field for the new client identity and click OK at the bottom of the screen.
  12. Click Add Row to add a new signature included in the client identity.
    Click to expand in new window
    Security - Device Fingerprinting - Client Identity Group - New Client Identity Group
    GUID-B5F17AB9-1CCB-4A7A-9DC2-E651722EB84A-low.png
  13. From the drop-down, select the Client Identity Policy to include in this group.
    Use the buttons next to the drop-down to manage and create new Client Identity policies.
  14. Use the Precedence control to set the precedence for the Client Identity.
    This index sets the sequence the client identity in this Client Identity Group is checked or matched.
  15. Click OK to save changes.
    Click Reset to revert all changes made to this screen.

    Click Exit to close the Client Identity Group screen.