Setting the DNS Whitelist Configuration
A DNS whitelist is used in conjunction
with a captive portal to provide captive portal services to wireless clients. Use the
DNS whitelist parameter to create a set of allowed destination IP addresses within the
captive portal. These allowed IP addresses are called the Whitelist. To effectively host
captive portal pages on an external Web server, the IP address of the destination Web
server(s) should be in the whitelist. Each supported access point model can support up
to 32 whitelists.
To define a DNS whitelist:
-
Select .
The DNS Whitelist screen displays those existing
whitelists available to a captive portal.
-
Select Add to create a whitelist,
Edit to modify a selected whitelist, or
Delete to remove a whitelist.
-
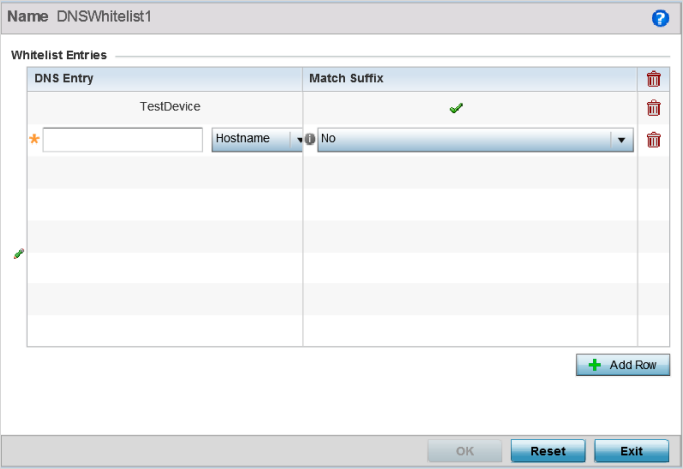
To create a whitelist, assign it a name up to 32 characters.
Use the
+ Add Row button to populate the whitelist table with Host and
IP Index parameters that must be defined for each whitelist entry.
-
Provide a numerical IP address or Hostname within the DNS Entry parameter for
each destination IP address or host in the whitelist.
-
Use the Match Suffix parameter to match any hostname or domain name as a
suffix.
The default setting is disabled.
-
If necessary, select the radio button of an existing whitelist entry and select
the - Delete icon to remove the entry from the
whitelist.
-
Click OK when completed to update the whitelist screen.
Click Reset to revert the screen to its last saved
configuration.
 Print
this page
Print
this page Email this topic
 Feedback
 View PDF
 Download EPUB