The screen displays.
|
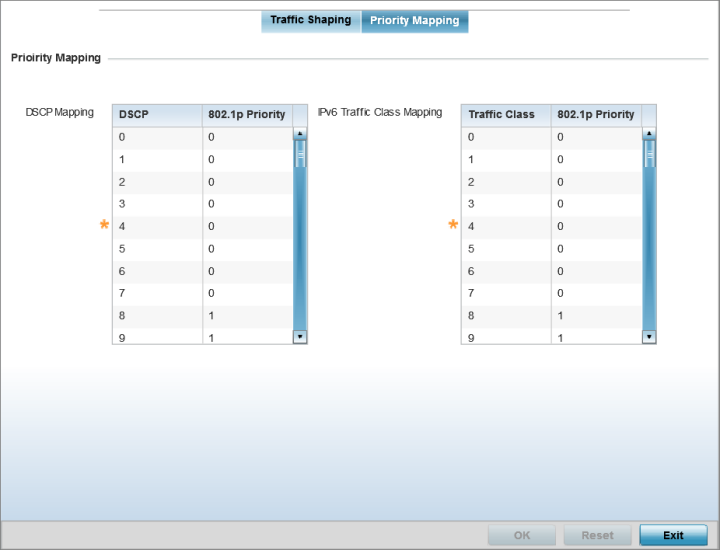
DSCP |
Lists the DSCP value as a 6-bit parameter in the header of every IP packet used for packet classification. |
|
802.1p Priority |
Assign a 802.1p priority as a 3-bit IP precedence value
in the Type of Service field of the IP header used to
set the priority. The valid values for this field are
0-7. Up to 64 entries are permitted. The priority values
are:
Note:
Use the spinner controls within the 802.1p Priority field for each DSCP row to change its priority value. |
|
Traffic Class |
Devices that originate a packet must identify different classes or priorities for IPv6 packets. Devices use the traffic class field in the IPv6 header to set this priority. |
|
802.1p Priority |
Assign a 802.1p priority as a 3-bit IPv6 precedence value
in the Type of Service field of the IPv6 header used to
set the priority. The valid values for this field are
0-7. Up to 64 entries are permitted. The priority values
are:
|
Select Reset to revert to the last saved configuration.
 Print
this page
Print
this page Email this topic
 Feedback
 View PDF
 Download EPUB