An OSPF Area contains a set of routers exchanging LSAs (Link State Advertisements) with others in the same area. Areas limit LSAs and encourage aggregate routes.
To override the access point profile's OSPF area settings:
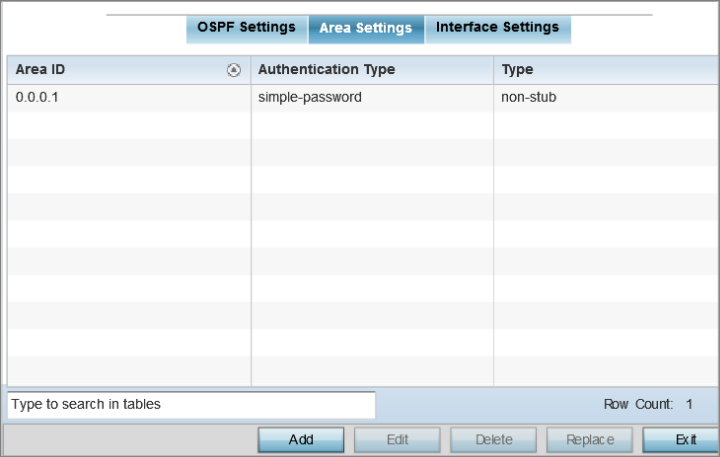
The OSPF Area main screen displays. This screen lists existing OSPF Area configurations.
|
Area ID |
Displays either the IP address or integer representing the OSPF area. |
|
Authentication Type |
Lists the authentication schemes used to validate the credentials of dynamic route connections. |
|
Type |
Lists the OSPF area type in each listed configuration. |
You can also add new area configurations or delete existing configurations.
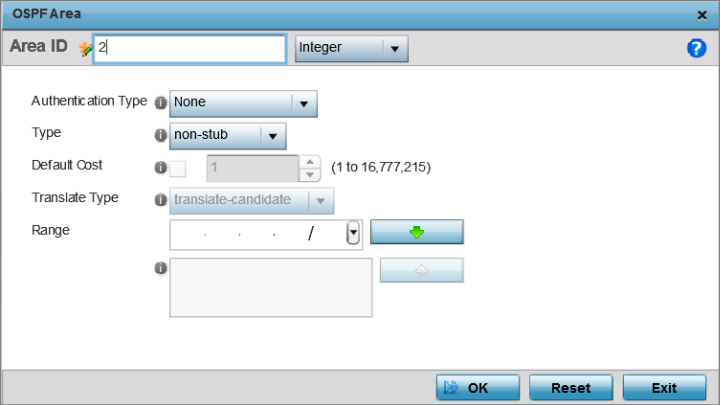
The add/edit OSPF Area screen displays.
|
Area ID |
Use the drop-down menu and specify either an IP address or Integer for the OSPF area. |
|
Authentication Type |
Select either None, simple-password or message-digest as credential validation scheme used with the OSPF dynamic route. The default setting is None. |
|
Type |
Set the OSPF area type as either stub, totally-stub, nssa, totally-nssa or non-stub. |
|
Default Cost |
Select this option to set the default summary cost advertised if creating a stub. Set a value from 1 - 16, 777,215. |
|
Translate Type |
Define how messages are translated. Options include translate-candidate, translate-always and translate-never. The default setting is translate-candidate. |
|
Range |
Specify a range of addresses for routes matching address/mask for OSPF summarization. |
Click Reset to revert to the last saved configuration.
 Print
this page
Print
this page Email this topic
 Feedback
 View PDF
 Download EPUB