To create a new Extreme AirDefense dashboard:
 tool bar.

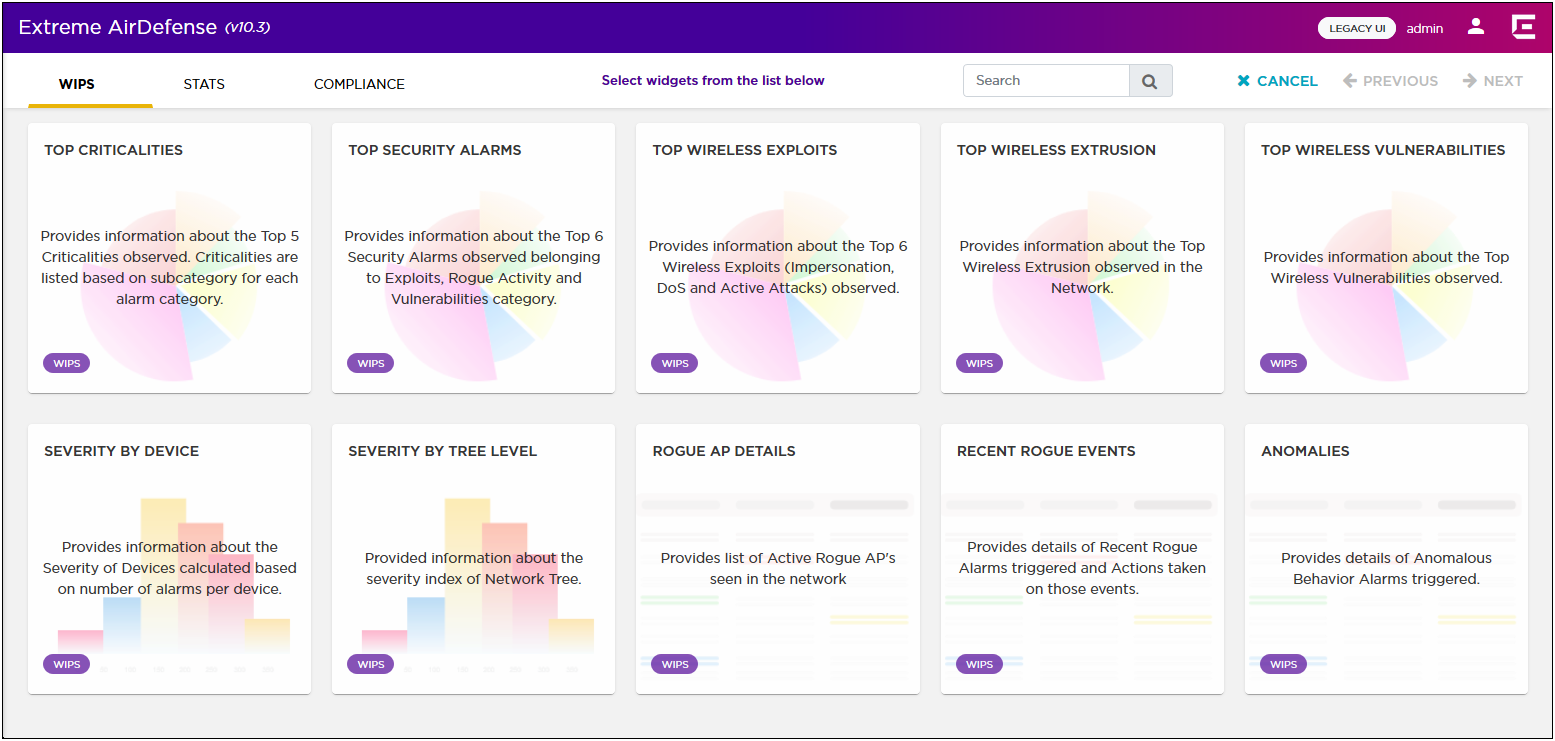
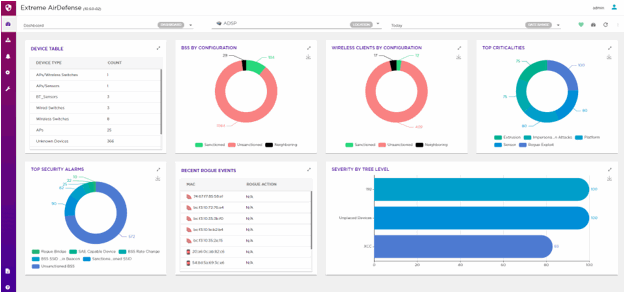
Dashboard widgets are classified into:

Use the Search text box to drill down to the widgets of interest.

Note
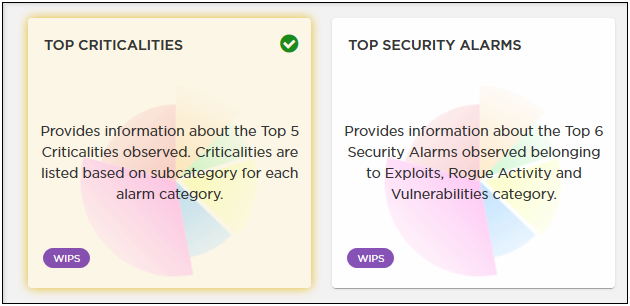
You cannot have more than 14 widgets on a single dashboard. Create a new dashboard to add additional widgets.A green check mark appears on the top right of the selected widget.
The screen also indicates the number of widgets added to this new dashboard.
Note
To add a widget from a different widget category, select that category from the available options and continue adding widgets. You can combine widgets from all the categories to create your dashboard. You cannot, however, add more than fourteen (14) widgets to a dashboard.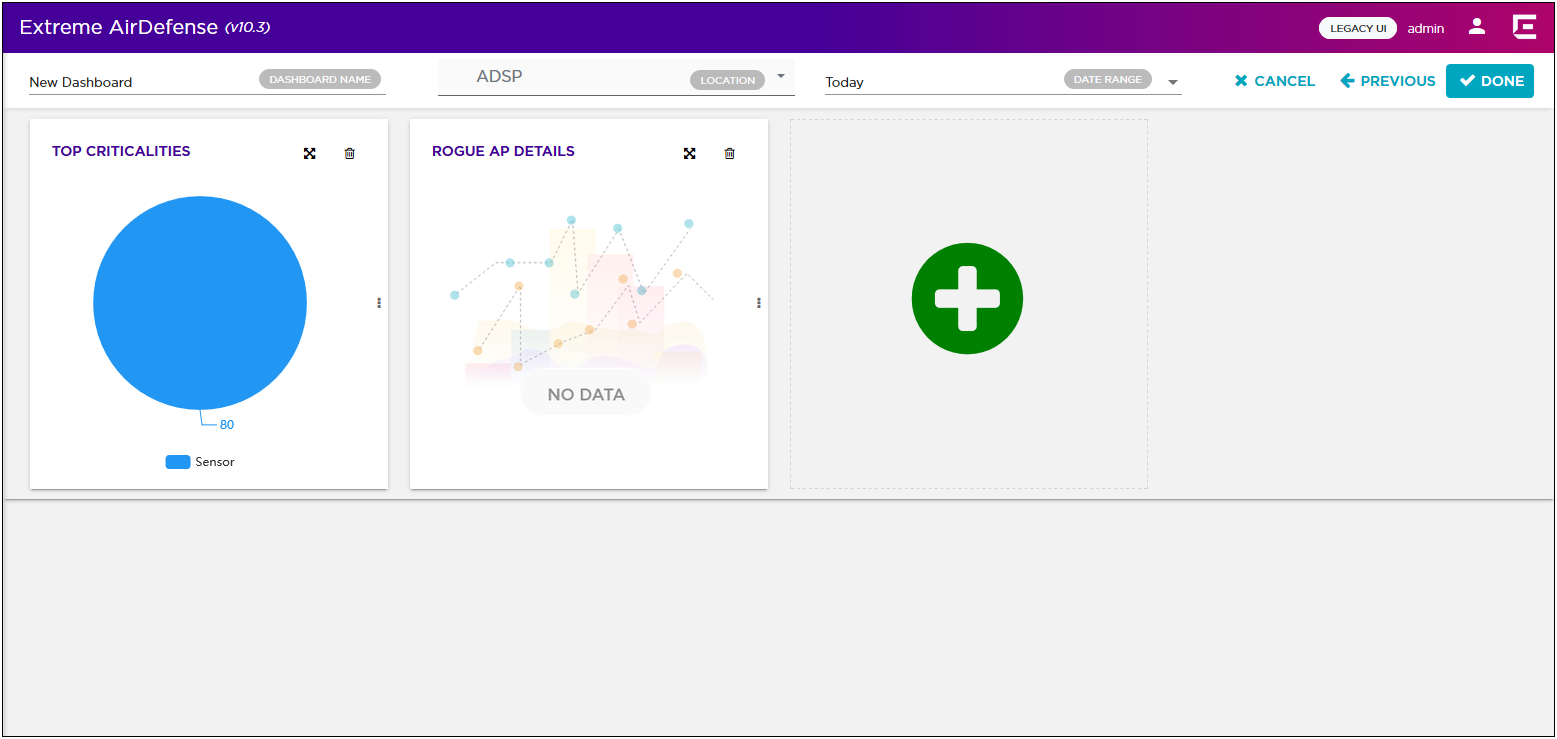
To remove a widget already placed on the dashboard, use
the ![]() icon located to
the top of that widget. This immediately removes the
widget from the dashboard.
icon located to
the top of that widget. This immediately removes the
widget from the dashboard.
Note
You can also use the big green circle to add more widgets to this dashboard.Note
When a widget is added to the dashboard, it will display its data even when its dashboard is being created or edited. This is by design.Hover over the widget's title. The arrow changes to
![]() . Then click and hold
the primary mouse button, and drag
the widget to the desired location on the dashboard. The
other widgets on the dashboard are automatically
rearranged to accommodate the moved widget.
. Then click and hold
the primary mouse button, and drag
the widget to the desired location on the dashboard. The
other widgets on the dashboard are automatically
rearranged to accommodate the moved widget.
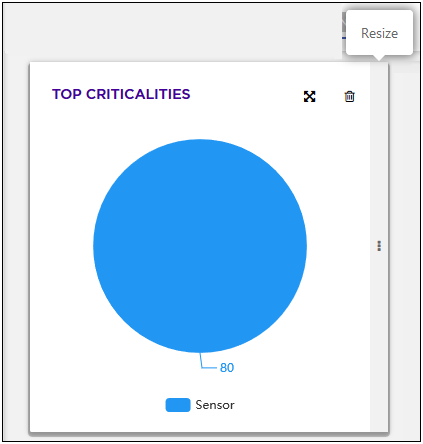
The arrow changes to ![]() . Then click and hold
the primary mouse button, and drag
the edge of the widget to resize it. The other widgets
on the dashboard are automatically rearranged to
accommodate the resized widget.
. Then click and hold
the primary mouse button, and drag
the edge of the widget to resize it. The other widgets
on the dashboard are automatically rearranged to
accommodate the resized widget.
Note
You cannot increase the height of the widget. Widget width can only be increased in fixed increments. You can only resize to the next available size.