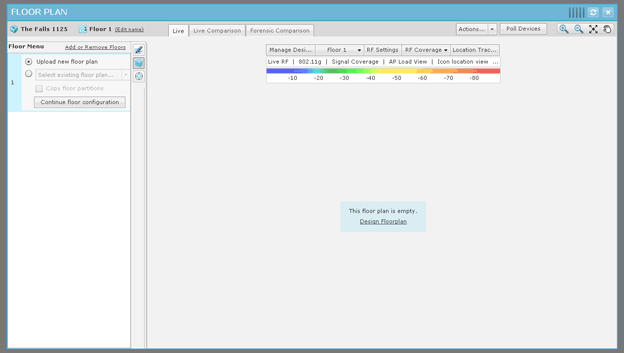
The first time that you access a Floor Plan, you will need to upload a background image for your first floor. If you are accessing a Floor Plan from an area (building), the first floor is selected. If you are accessing a Floor Plan from a floor, that floor is selected.
When the floor plan is complete, you will need to click the Close button X to save and close. The Floor Plan can then be viewed throughout AirDefense, and can be used to locate devices in your network and display Live RF data.
To upload a background image, click the Continue floor configuration button or the Design Floorplan link to get started.

Note
The Floor Plan single dimension limit (width or height) is 8192 pixels while the total pixel count (width x height) limit is 8,000,000 pixels. If the appliance has at least 2GB of memory, the total pixel count may be as high as 16,777,215 pixels but the single dimension limit is still 8192 pixels.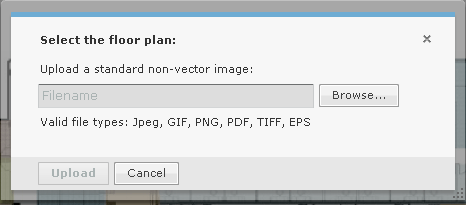
This is the Floor Plan wizard. You can use it to guide you through adding a floor to your Floor Plan.
Note
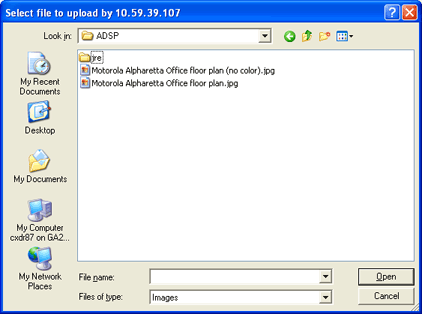
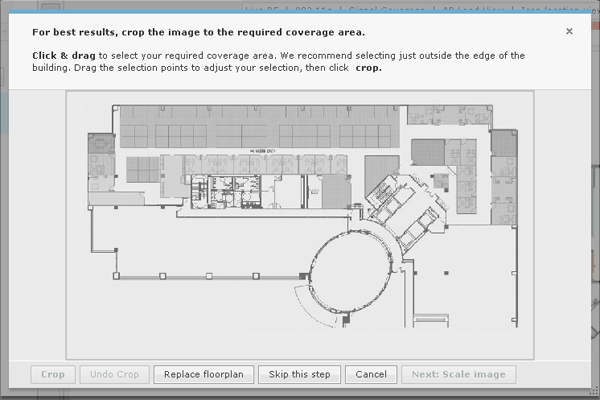
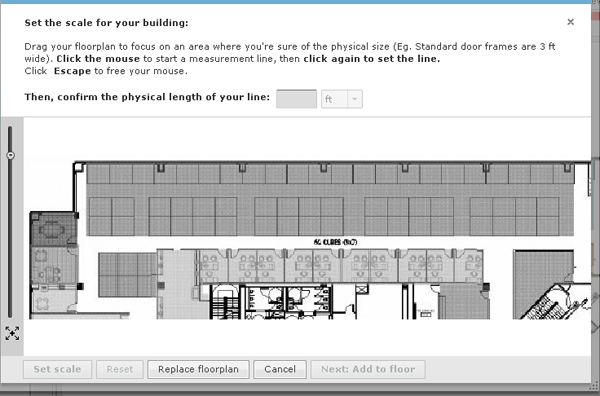
You can undo any changes by clicking the Cancel button. You can remove an image by clicking the Replace floor plan button.Your uploaded floor plan will look similar to the following one:
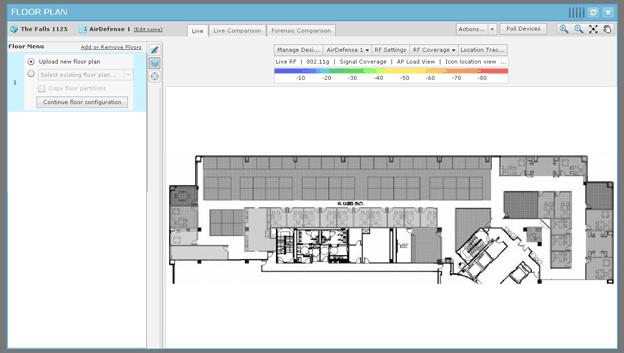
You can now use the editing tools to add walls, cubicles, doors, elevators, etc. This allows you to account for building obstacles when AirDefense does calculations to locate devices and/or to display Live RF data.