Tracking enables you to locate and track rogue devices that may be threatening your wireless LAN. In order for Tracking to open and function properly, you must have at least three sensors for each floor map that is loaded.

Note
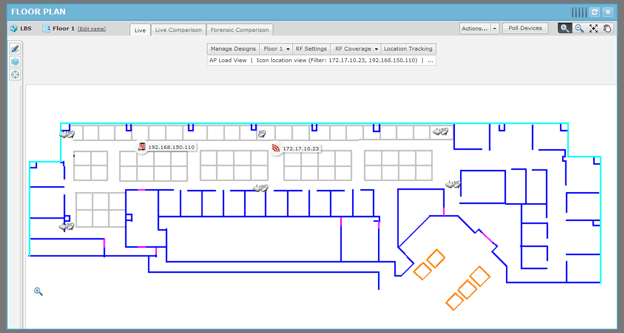
Tracking is not intended to be used on devices that are being terminated.To start tracking a device, click the Location Tracking button in the Context Label.
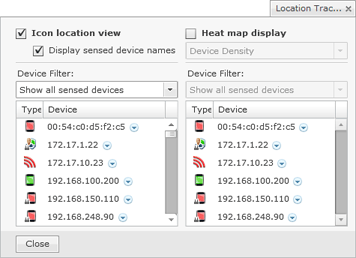
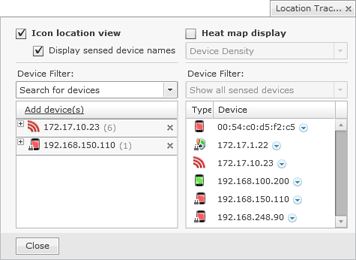
All sensed devices are displayed when Location Tracking (in the list of devices and the floor plan) is first accessed. You can group devices by type by selecting Filter by device type from the drop-down menu. You can search for devices by selecting Search for devices from the drop-down menu.
There are two views for Location Tracking:
For either view, you can search for a device by selecting Search for devices and then clicking the Add Device button. The Add Tracked Devices dialog opens where you can type in a MAC address.
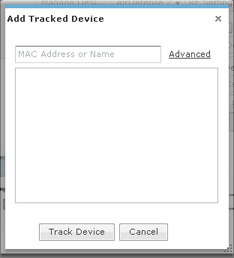
You can enter the complete MAC address or a part of it.
Note
The Advanced link is used to open a search dialog that gives you more options to find devices.When you see the device listed, click on it and then click Track Device. The device is displayed in the tracked device list.
Note
You may select more than one device using the <Shift> key or the <Ctrl> key.
Click the Close button or anywhere outside the Location Tracking dialog to display the device in the Floor Plan.
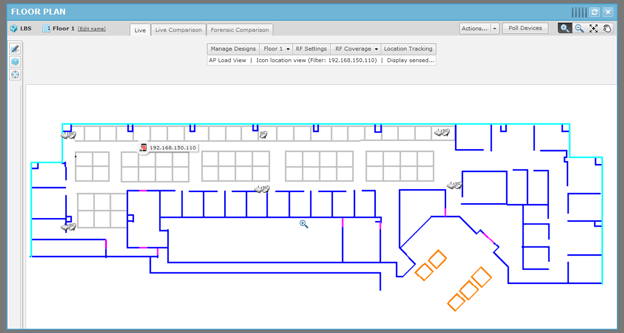
The Floor Plan shows the device being tracked. Click the Refresh button to refresh the image. If the device has moved, you will see its current position in the floor plan.
You can track more than one device by adding them as described above. Each time you add a device it is displayed in a list of tracked devices.
Click the Close button or anywhere outside the Location Tracking dialog to display the devices in the Floor Plan.